Published on June 15, 2025
Text with dripping paint (Generative Fill)
Looking for a way to make text with a dripping paint effect in Photoshop? This tutorial walks you through the tools and workflow needed to turn simple type into dynamic, paint‑soaked lettering using Photoshop’s powerful tools, like Generative Fill.
Rather watch the video with instructions? Then click here to watch the tutorial on YouTube or scroll down to the end of this page.
Step 1: Make selection
Create a new document. Then use the horizontal type tool to type your text.
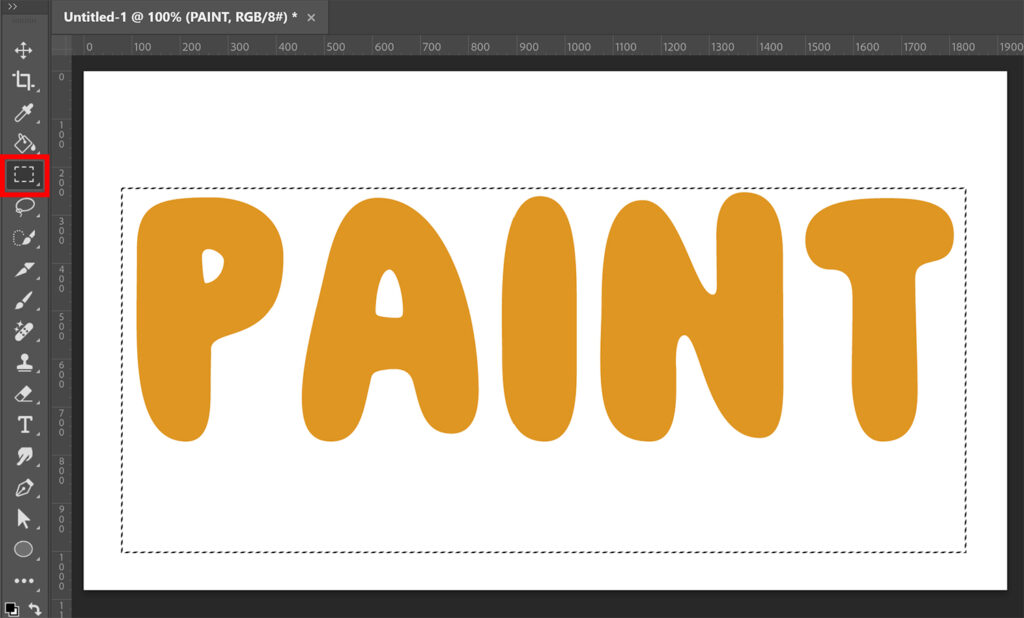
Use the rectangular marquee tool to make a selection around your text.
Press CTRL+ALT and click on the thumbnail of the text layer. This will deselect the text.
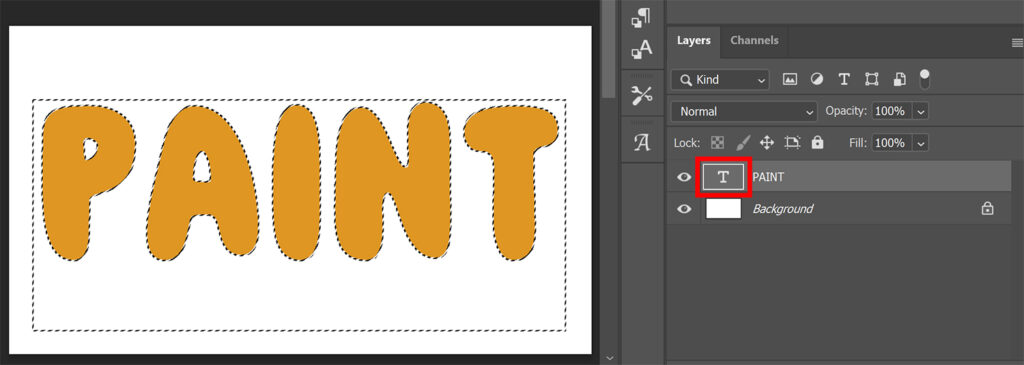
Go to ‘Select > Modify > Expand‘ and expand the selection by 2 pixels.
Step 2: Dripping paint effect
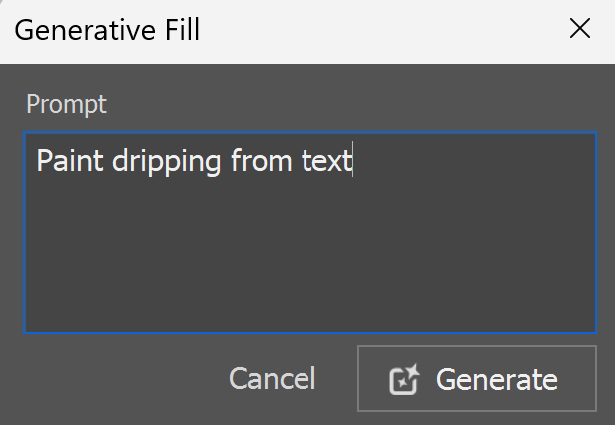
Go to ‘Edit > Generative Fill‘. I use the prompt ‘Paint dripping from text’.
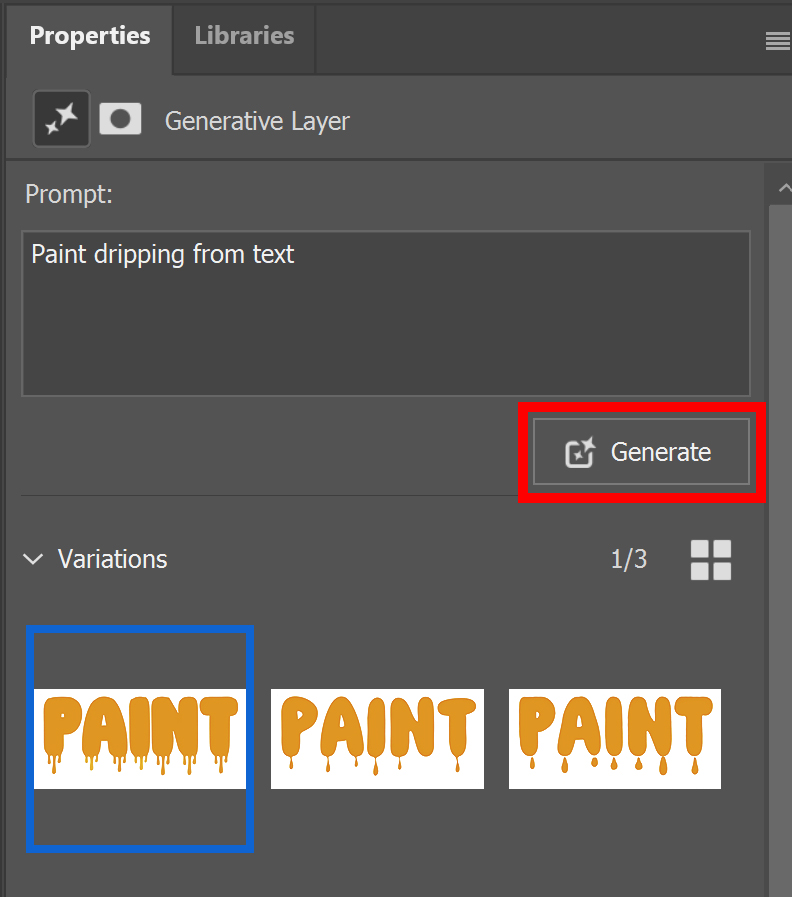
Photoshop will now generate 3 different variations for you.
If you don’t like any of the results, you can generate again. You can repeat this until you’re happy with the paint drip effect.
And that’s how you add a dripping paint effect to your text with Generative Fill in Adobe Photoshop!

Learn more about editing in Adobe Photoshop
Check out my other blogs and my YouTube channel if you want to learn more about editing in Adobe Photoshop!
Follow me on Facebook if you want to stay updated about new blogs and tutorials!
Photoshop
Basics
Photo editing
Creative editing
Camera Raw
Neural filters
Text effects

