

Published on July 20, 2025
Blend subject with background (gradient mask)
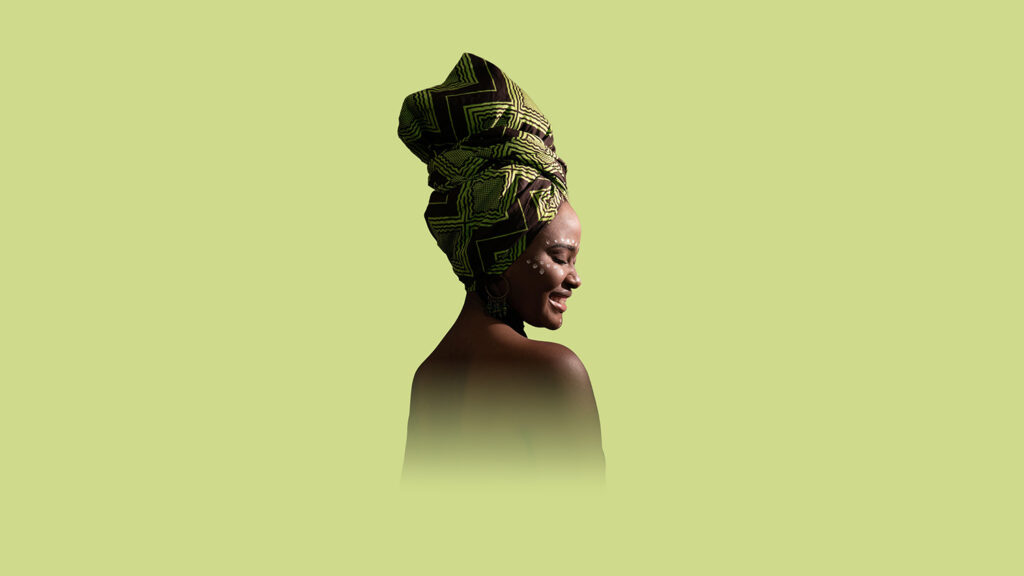
Want to fade your subject seamlessly into the background using a gradient mask in Adobe Photoshop? In this easy‑to‑follow Photoshop tutorial, you’ll learn how to apply a gradient mask to gently blend your subject with the background — perfect for creating dreamy portraits, artistic composites, and stylish design effects. This step‑by‑step guide breaks down the exact tools and techniques you need to fade a subject in Photoshop.
Rather watch the video with instructions? Click here to watch the tutorial on YouTube or scroll down to the end of this page.
You can download the photo I used here.
Step 1: Cut out subject
Open the photo you want to use. Then go to ‘Select > Subject‘ to select your subject.
Press CTRL+J to duplicate the subject in a new layer. This layer now contains your subject with a transparent background.
Step 2: Change background
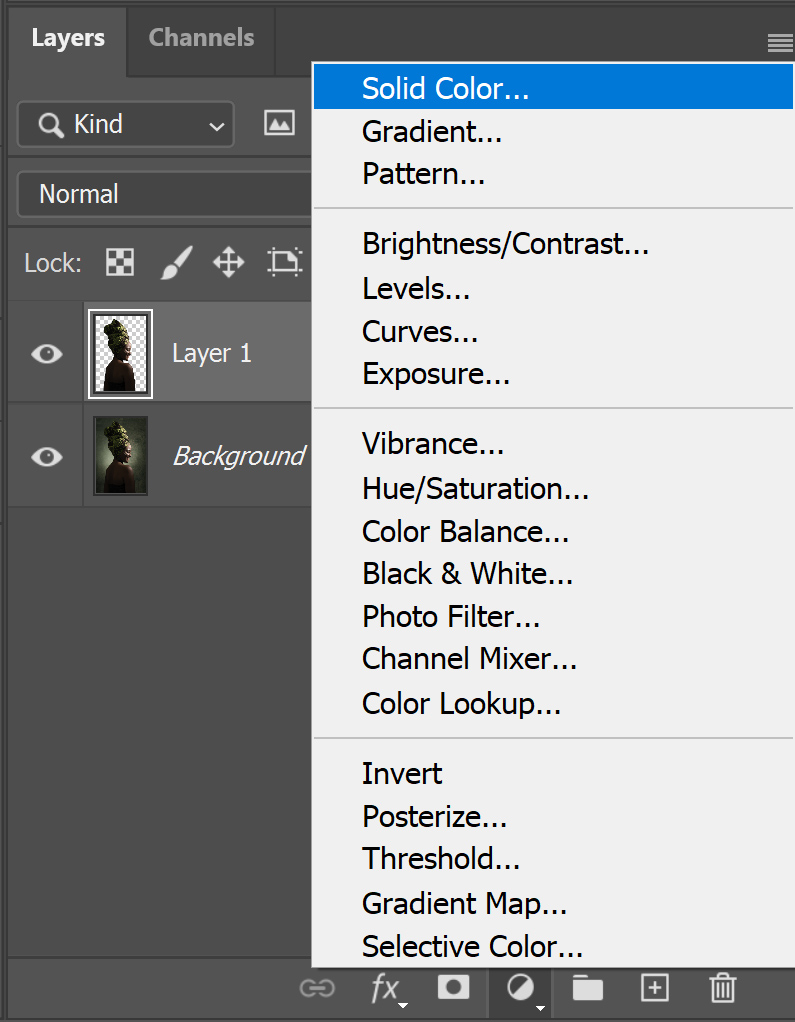
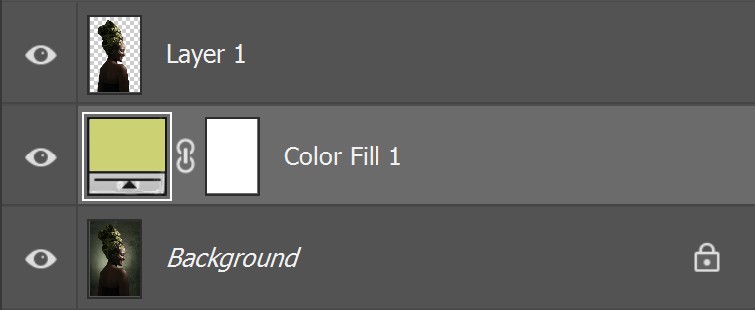
Add a solid color layer and pick a background color.
Place the color fill layer below the layer with your subject.
Step 3: Fading subject (gradient mask)
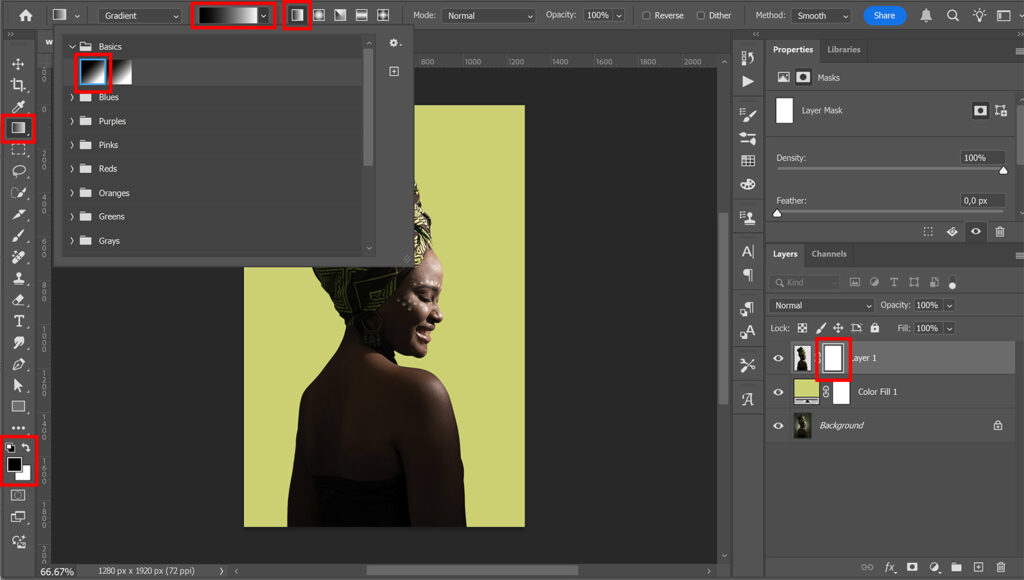
Select the layer with your subject and add a layer mask. Then select the gradient tool. Use the following settings:
- Foreground color: Black
- Background color: White
- Foreground to background gradient
- Linear gradient
Make sure the mask of the subject layer is selected. Then drag from the bottom of the subject up to create the gradient.
You can move the stops to adjust the fade effect.
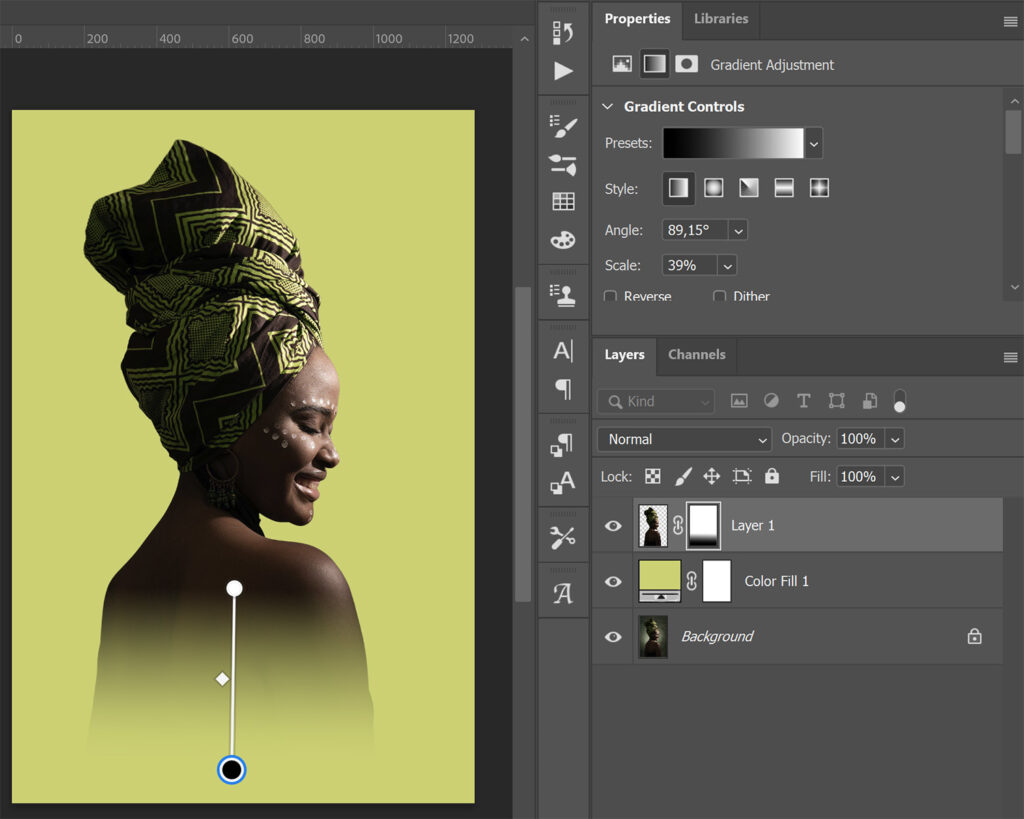
And that’s how you fade out your subject to blend it with the background using a gradient mask in Adobe Photoshop!
Learn more about Photoshop
Check out my other blogs and my YouTube channel if you want to learn more about editing in Adobe Photoshop!
Follow me on Facebook if you want to stay updated about new blogs and tutorials!
Photoshop
Basics
Photo editing
Creative editing
Camera Raw
Neural filters
Text effects