
Published on March 1, 2026
Struggling to organize multiple images into a cohesive design? In this tutorial, you’ll discover how to automatically build a photo collage in Adobe Photoshop, saving time and effort with Photoshop’s powerful automation tools. No advanced design experience needed — just follow along to use the Contact Sheet II feature and turn a folder of photos into a polished collage instantly.
Rather watch the video with instructions? Click here to watch the tutorial on YouTube or scroll down to the end of this page.
Automatic photo collage
Open Photoshop. You don’t have to create a new document or open any files first.
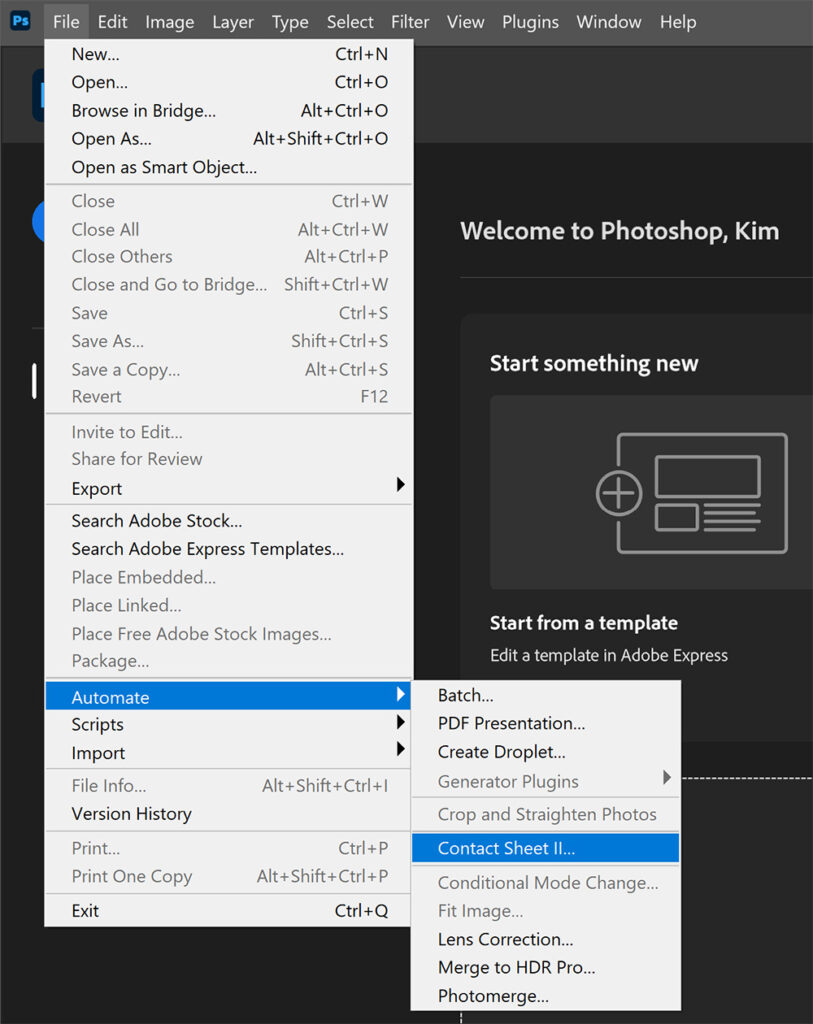
Just go to ‘File > Automate > Contact sheet II‘.
Now follow the following steps:
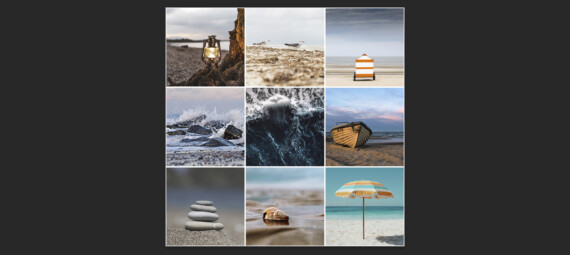
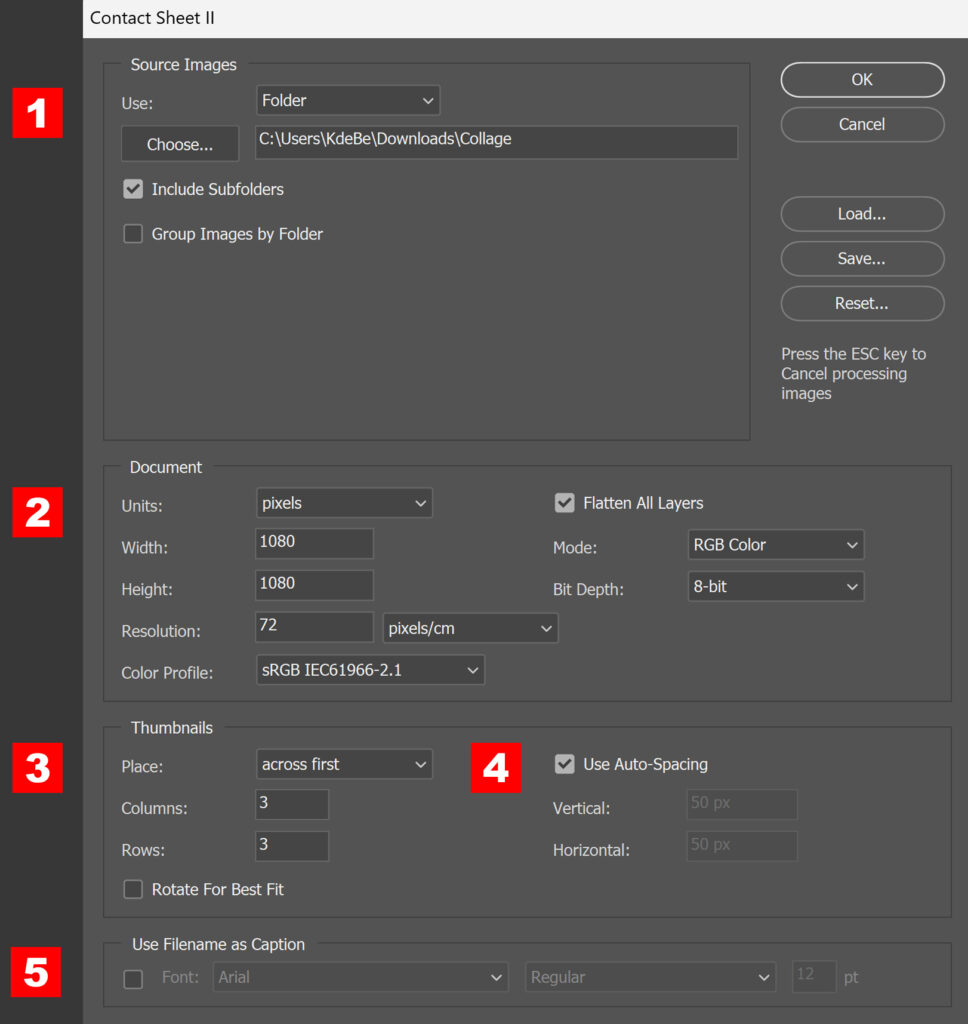
- Select the folder with the photos you want to use for the collage. I cropped these photos first to make them all square.
- Adjust the document settings to your liking.
- Select in which direction you want the photos to appear in the collage (across first or down first). Then adjust the amount of columns and rows. The folder I selected contains 9 photos, so I make a 3×3 collage.
- You can use auto-spacing, or you can adjust these settings yourself. For this example I am using the auto-spacing option.
- If you want, you can use the file name as a caption. The file name will appear beneath the photo in the collage if you select this.
When you’re done, click OK. Photoshop will now create the collage for you!
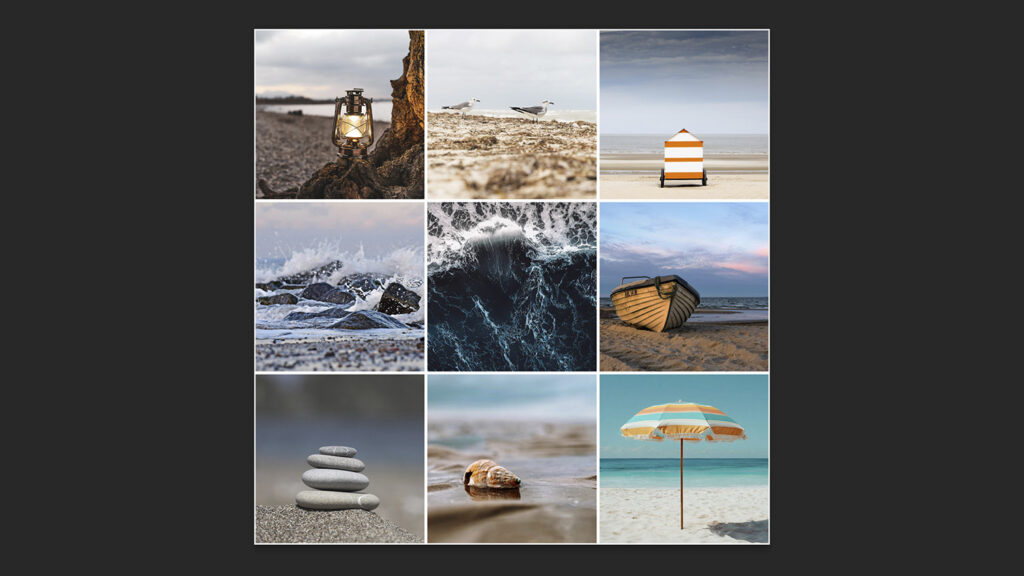
And that’s how you automatically create a photo collage in Adobe Photoshop!
Learn more about editing in Adobe Photoshop
You can check out my other blogs and my YouTube channel if you want to learn more about editing in Adobe Photoshop!
Follow me on Facebook if you want to stay updated about new blogs and tutorials!
Photoshop
Basics
Photo editing
Creative editing
Camera Raw
Neural filters
Text effects