
Published on October 19, 2021
In this blog I’ll show you how to blur your background in Adobe Lightroom. The first thing we need to do, is select (mask) the background. You can also use the Graduated Filter or Radial Filter for this, but I’m using the Adjustment Brush.
If you want to download the image I’m using for this explanation, click here.
Before we start, it’s good to know when to use this method. My advise is to use this on a background that’s already (slightly) blurry. You can use this to make it blurrier and smoother. Using this on a sharp background might make it look unrealistic.
Step 1: Select background
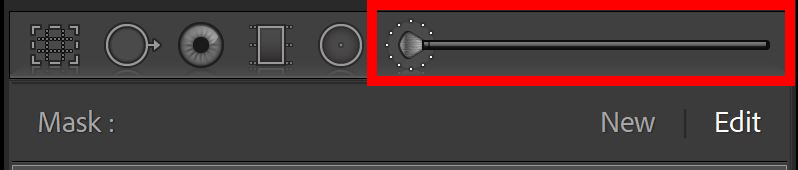
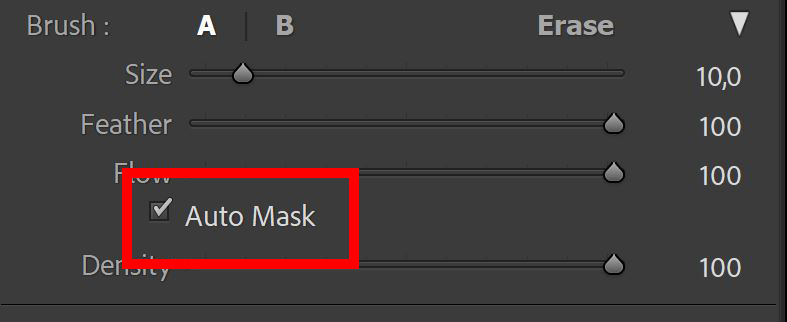
Select the Adjustment Brush and brush in your background. You can use ‘Auto Mask‘ to make a more precise selection.
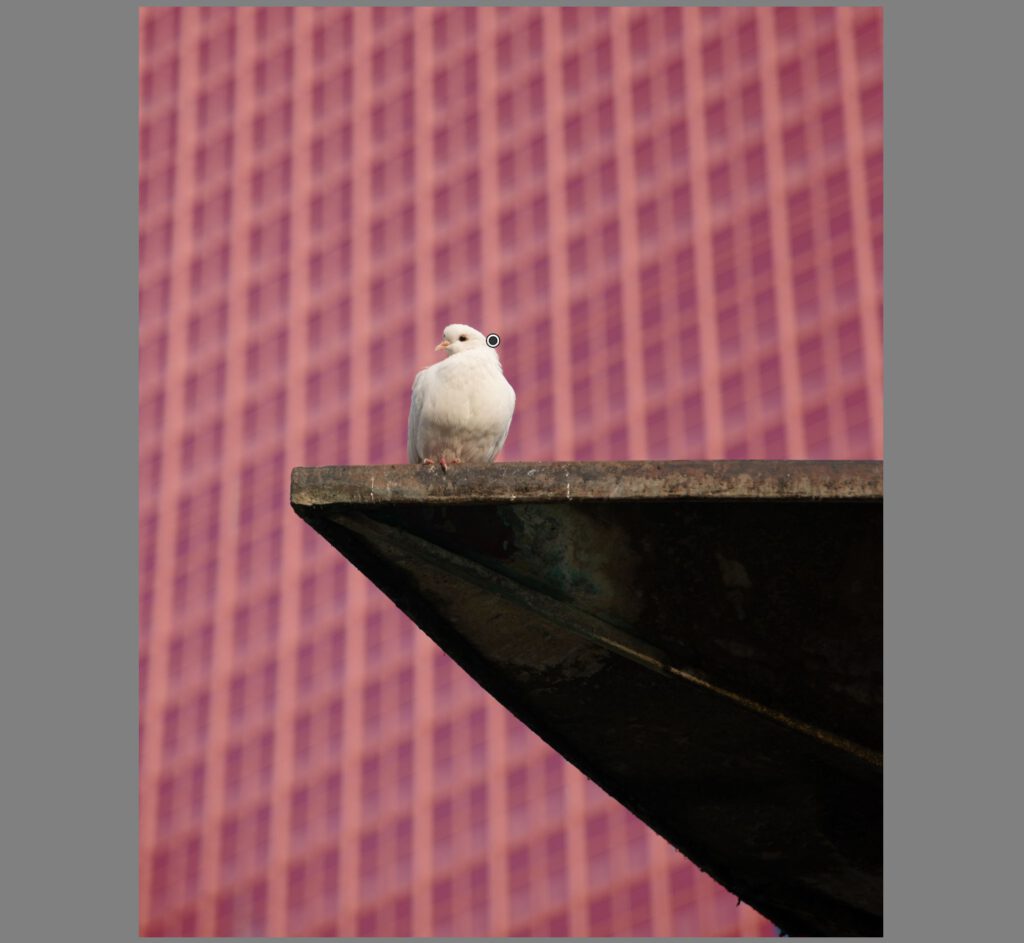
If you press the O key, you can make the mask overlay visible/invisible. Your mask should look something like this.
Step 2: Blur background
When you made your selection, you can start editing. If you just want to create a subtle blur, you can use the texture and noise sliders. To remove any noise/grain, slide the texture all the way to the left (-100) and the noise all the way to the right (+100).
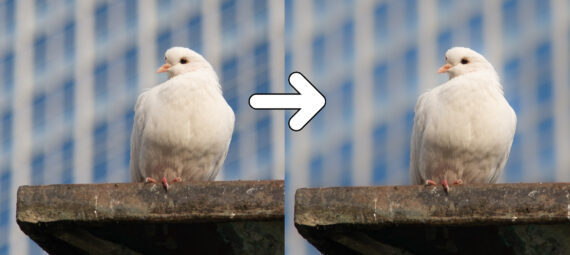
The image below shows the original next to the edited image after applying these texture and noise adjustments.
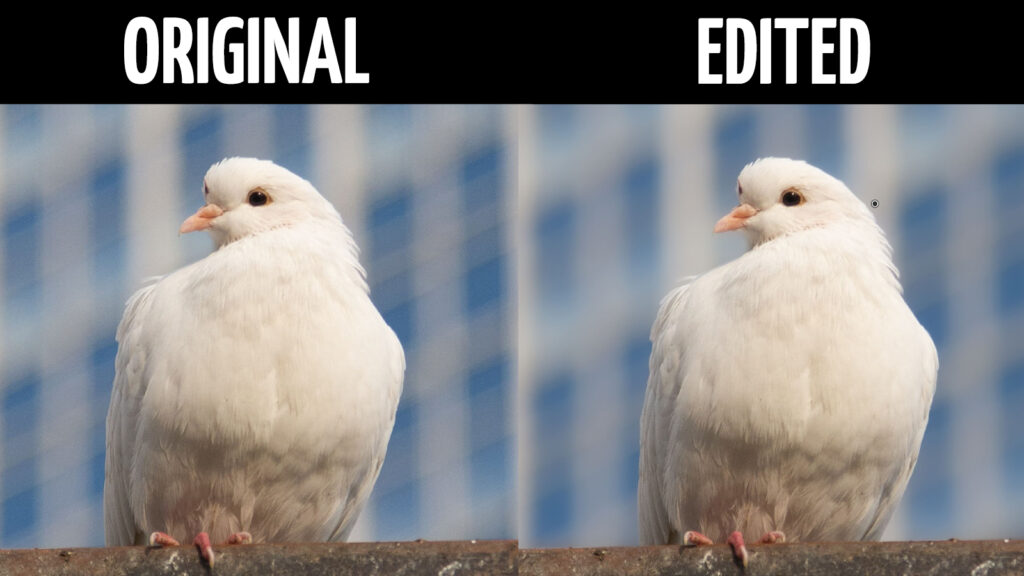
These adjustments created a subtle blur and mainly removed the noise/grain. If that’s not enough blur, you can adjust the clarity. In order to blur the background, we need to decrease the clarity.
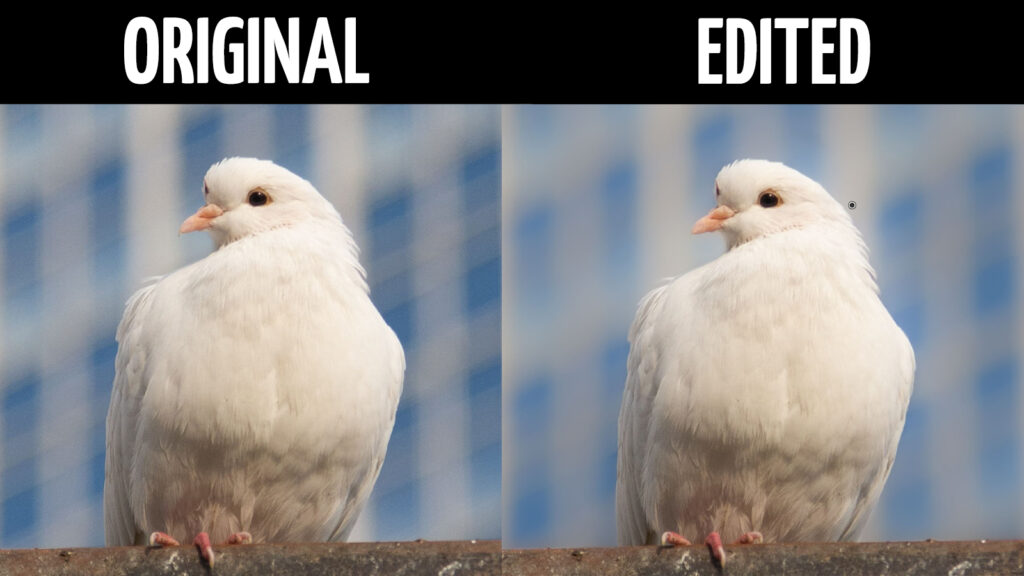
The image below shows what the image looks like if you decrease the clarity to -100. This is in addition to the adjustments described above. So the settings are:
Texture -100
Clarity -100
Noise +100
I’m adjusting everyting to the max to show the difference, but you don’t have to do that. Just decrease/increase the settings to an amount that looks good to you.
If these changes made the edges of your subject, the bird in this case, a little hazy you can try to increase the sharpness of your selected area. To do that, slide the sharpness to the right.
To create more blur, you can duplicate the masked area. To do that, right click on the pin and select ‘duplicate‘. This copies the selection you made earlier, along with the adjustments you made to that selection.
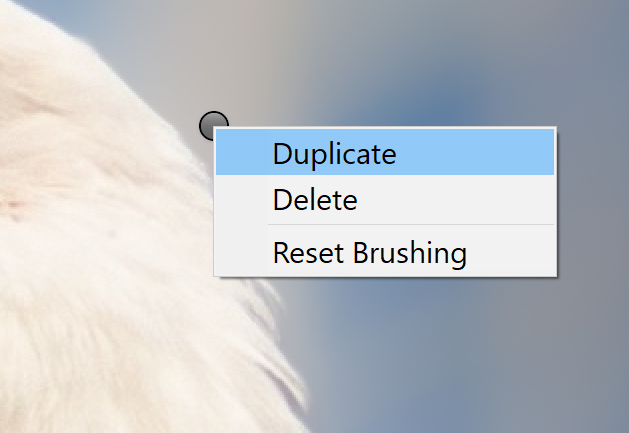
You can now adjust the settings for this new (duplicated) layer or you can duplicate it again to make the blur even heavier. You can continue duplicating it until you’re happy with the blur, but make sure you don’t overdo it.
Learn more
And that’s how you blur the background in Adobe Lightroom. Want to know more about Lightroom? Check out my other blogs or take a look at my YouTube Channel.
Photoshop
Basics
Photo editing
Creative editing
Camera Raw
Neural filters
Text effects