
Published on October 1, 2022
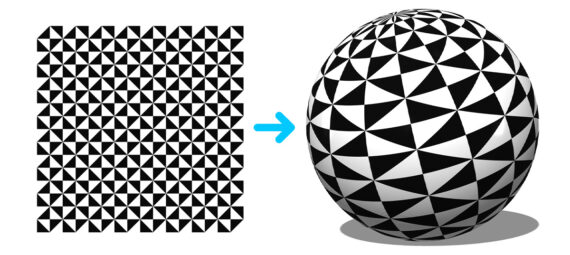
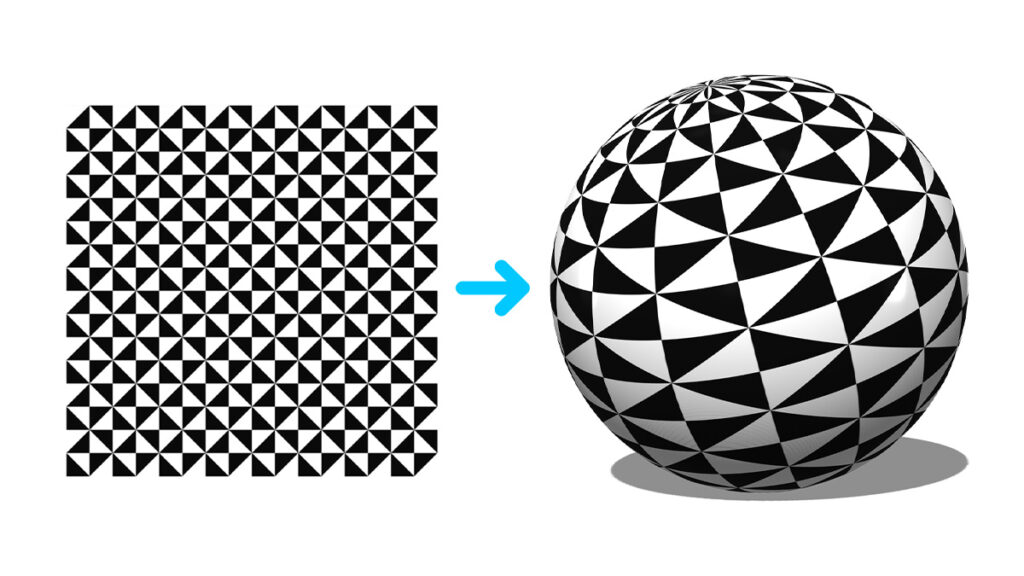
Turn 2D image into 3D sphere
In this blog I’ll show you how to easily turn a regular 2D image into a 3D sphere in Adobe Photoshop!
If you’d rather watch the video with instructions, click here or scroll down to the end of this page.
Click here to download the image I’m using. Let’s get started!
3D sphere
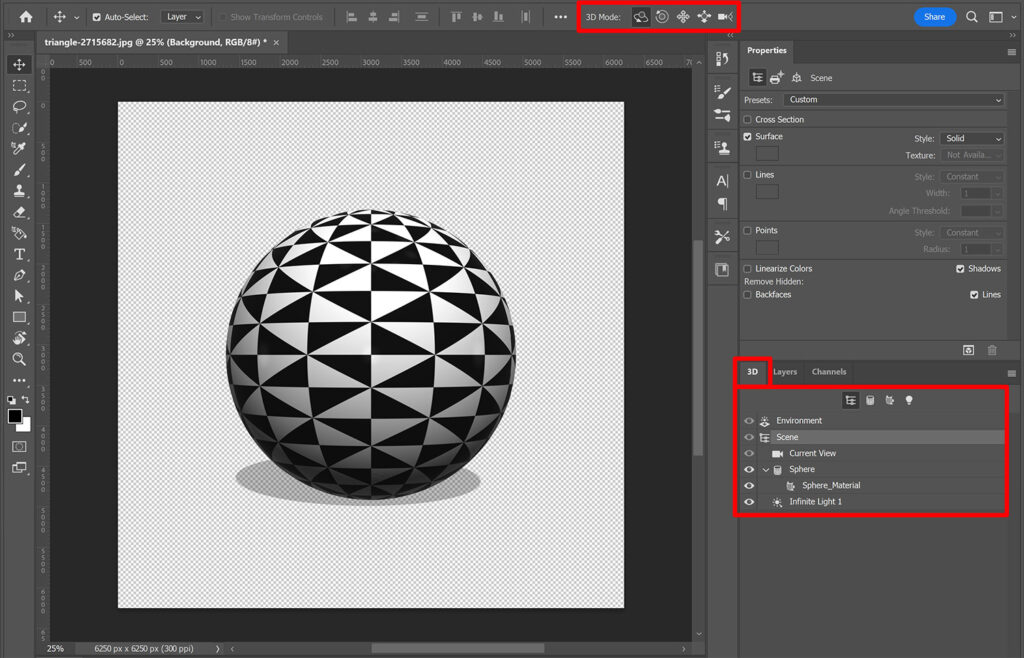
Open the photo or image you want to use. Then navigate to ‘3D > New mesh from layer > Mesh preset > Sphere‘. Photoshop will now transform your image into a 3D sphere.
If you select 3D (above your layer panel), you can adjust the sphere:
- Select environment to adjust the color, shadows and reflection.
- Select scene to turn the entire sphere (including the shadow).
- You can also use current view to turn the entire sphere. You can also use this to adjust the perspective.
- If you select sphere, you can turn the sphere without changing the shadow.
- Use sphere_material to adjust the glow, metallic effect and roughness.
- To adjust the color and shadow, select infinite light.
You can also use the options at the top of your screen to adjust the sphere. Hover over the icons to see what each one is used for.
Add background
Your image now has a transparent background. To add a background, go back to layers. Then add a solid color layer and pick a background color. Place this layer below the sphere layer.
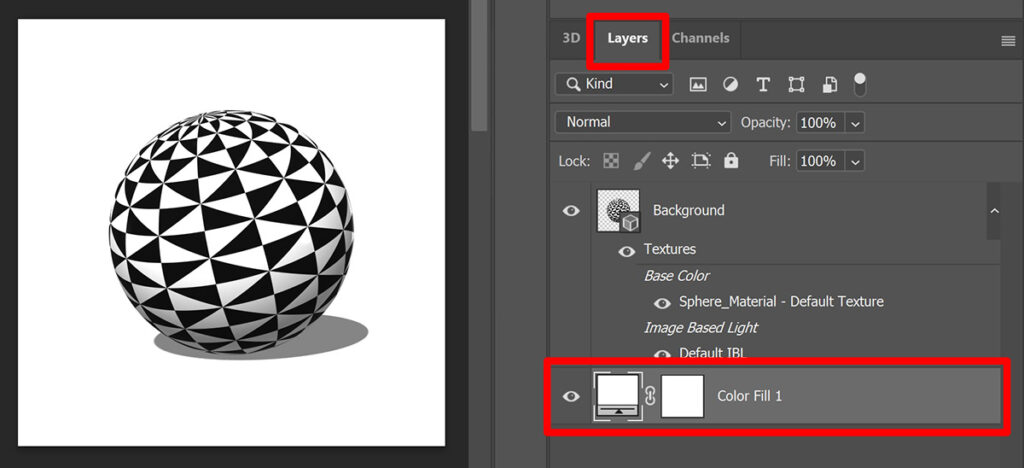
To make adjustments to the sphere, select the sphere layer and then select 3D again at the top of your layer panel (next to layers).
And that’s how you turn a 2D image into a 3D sphere in Adobe Photoshop!
If you want to learn more about editing in Adobe Photoshop, check out my other blogs or take a look at my YouTube channel.
Follow me on Facebook to stay updated! You can find the video with instructions below.
Photoshop
Basics
Photo editing
Creative editing
Camera Raw
Neural filters
Text effects