
Published on August 7, 2022
Duotone halftone pattern effect
In this blog I’ll show you how to create a duotone halftone effect with a line or circle pattern in Adobe Photoshop!
Rather watch the video with instructions? Then click here or scroll down to the end of this page.
Click here if you want to download the photo that I’m using.
Step 1: Prepair photo
Open the photo that you want to edit. Press CTRL+J to duplicate the background layer.
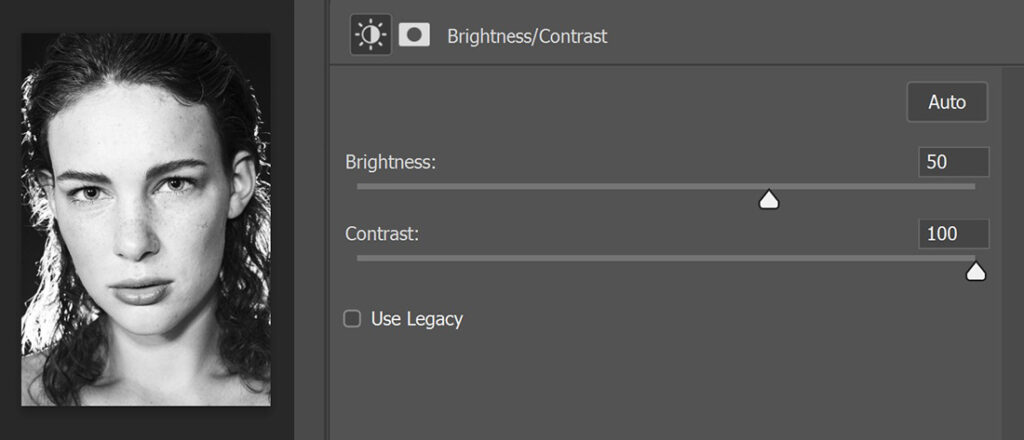
Then press SHIFT+CTRL+U to desaturate this layer. To create the halftone pattern, your photo needs to have a lot of contrast. Add a brightness/contrast layer.

Increase the contrast. You can also increase the brightness if the highlights in your photo are too dark. The contrast in your photo should look similar to mine (see image below).
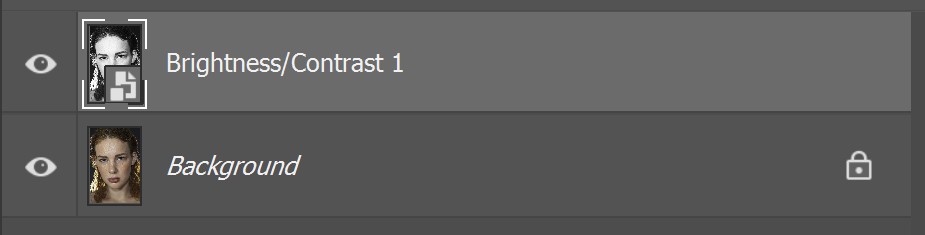
Then select both the brightness/contrast layer and layer 1 (the black and white layer). Press CTRL+E to merge these two layers.
Right click on the merged layer and select ‘convert to smart object‘. You now have two layers, the background layer and the black and white layer (which is a smart object).
Step 2: Halftone effect
Make sure your foreground color is black (if not, press the D key to make it black). Then navigate to ‘Filter > Filter gallery‘.
Under sketch you’ll find the halftone pattern option, select that. Adjust the pattern type to make a circle or line pattern. Also adjust the size and contrast. It depends on your photo what settings you need to use. So take a good look at your preview to pick the right settings.
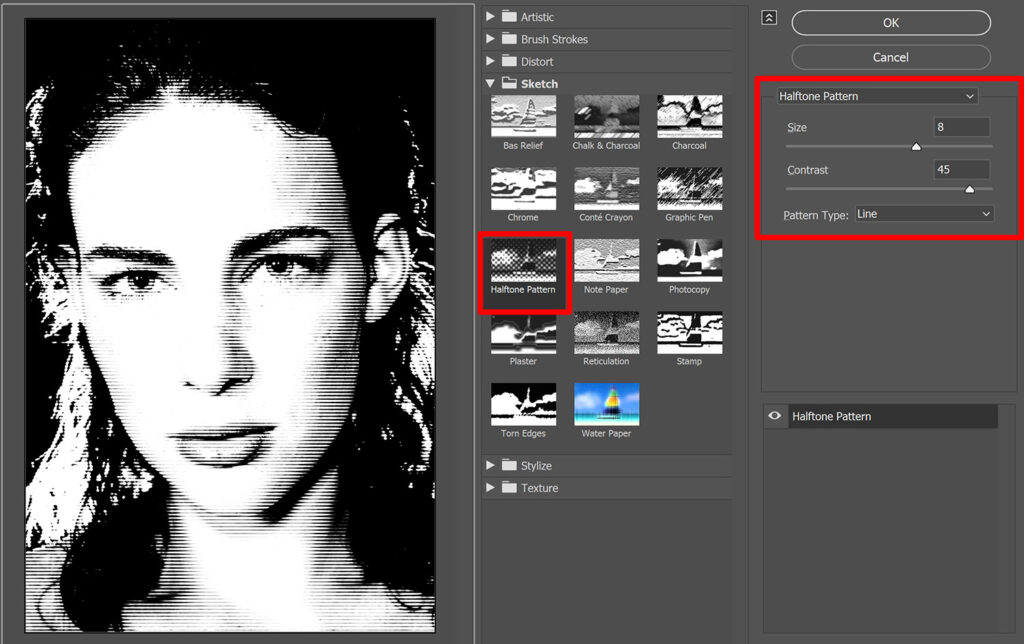
When you’re done, click OK to apply the changes.
Step 3: Duotone effect
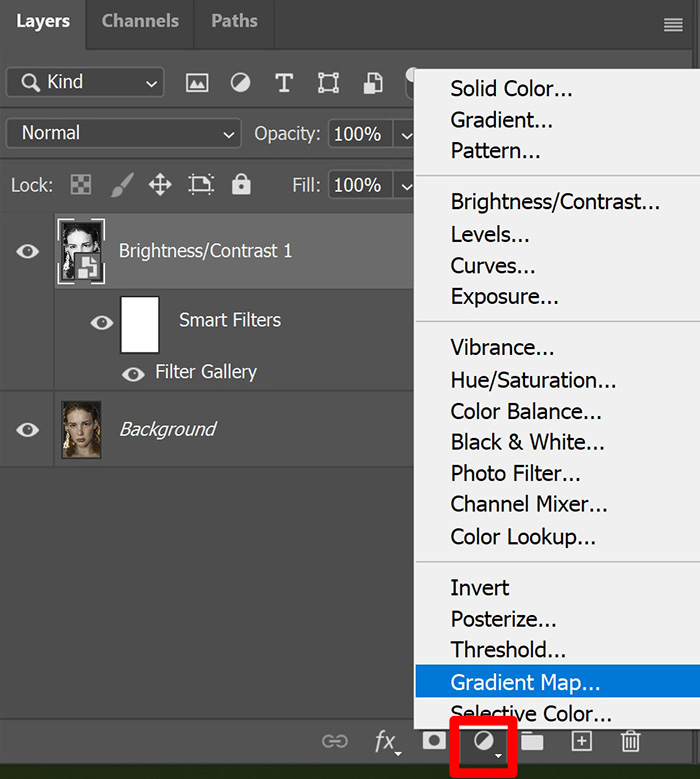
Add a gradient map layer to create the duotone effect.
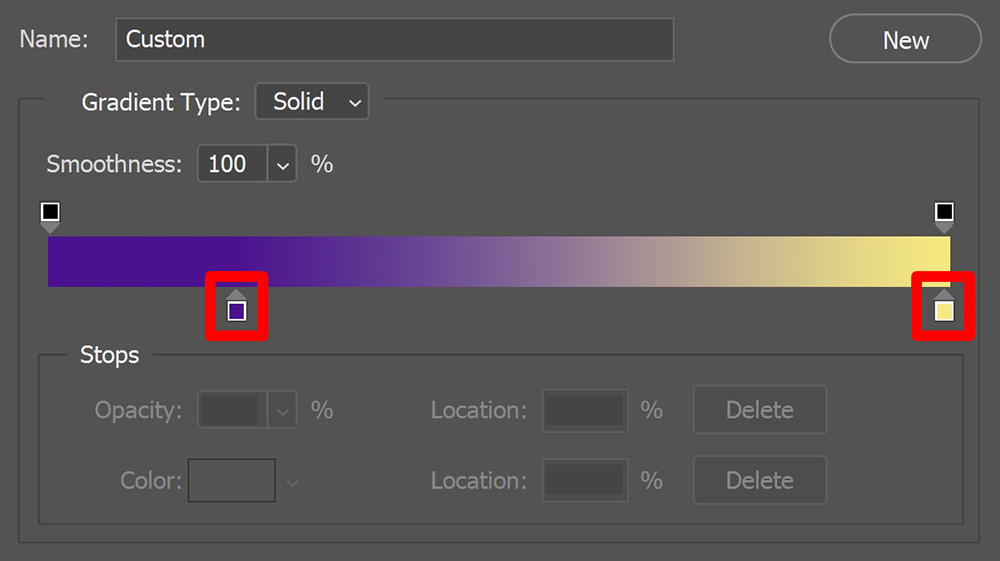
Click on the gradient to adjust the colors. Double click on a color stop to change the color of that stop.
You can also move the color stops to adjust the ratio between the two colors. I moved the purple color stop towards the middle, so now my image proportionately contains more purple than yellow.
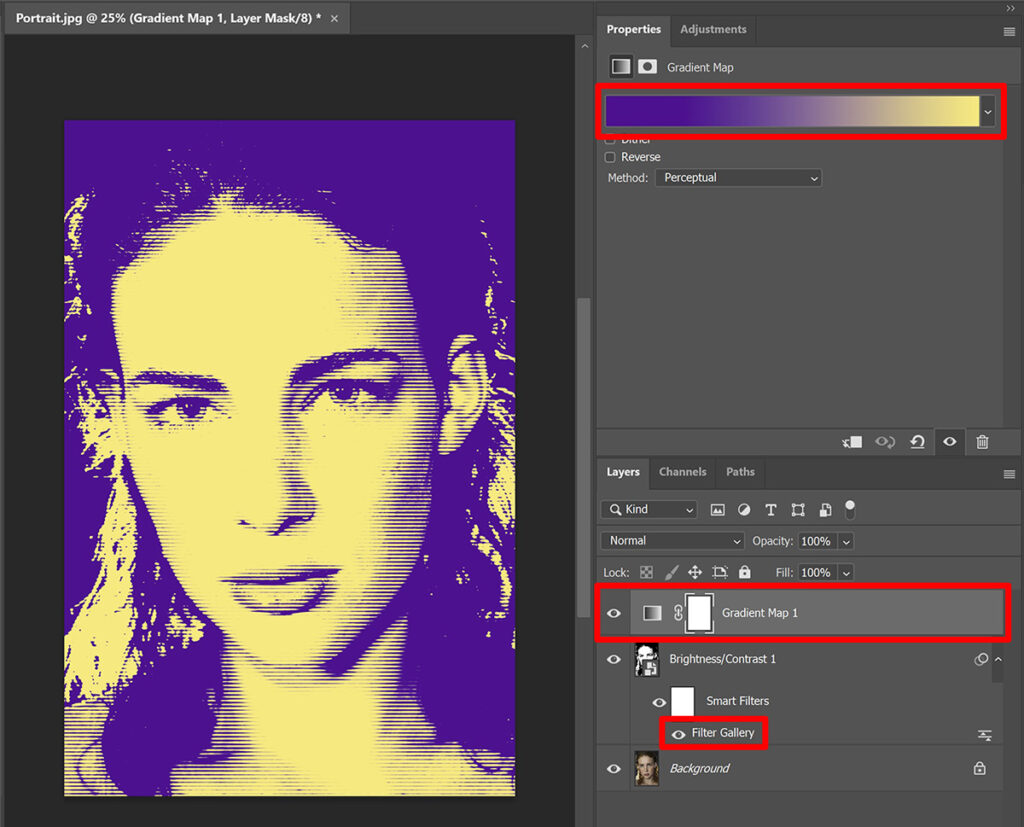
Step 4: Adjust halftone and duotone
You can still make adjustments to the effects you created. To adjust the halftone effect, double click on the filter gallery layer. The window you used to create the halftone pattern in step 2 will open again. You can now adjust the effect.
To change the colors of the duotone effect, select the gradient map layer and click on the gradient. Double click on the color stop to change the color.
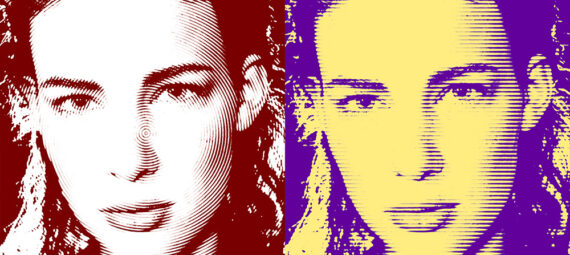
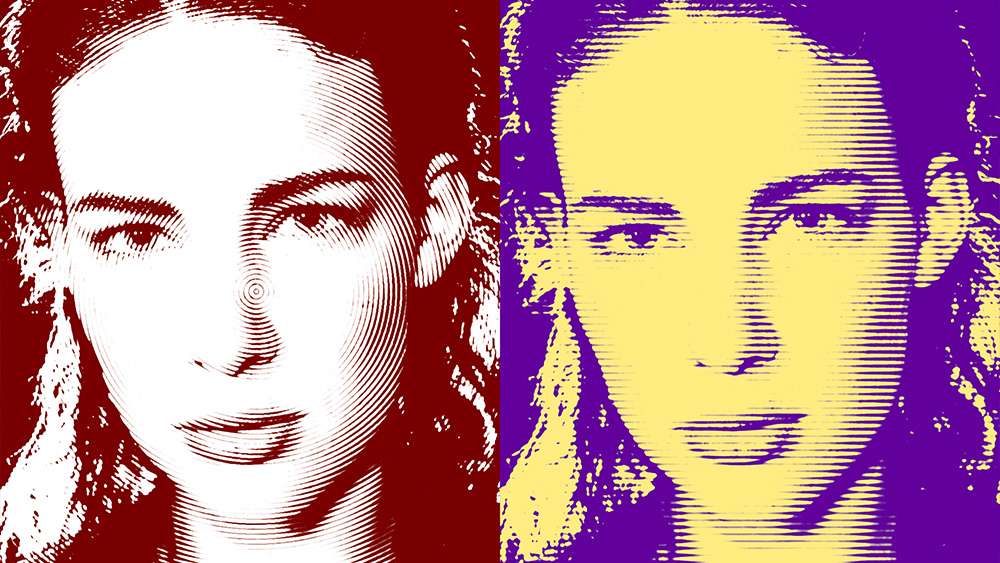
And that’s how you create a duotone halftone pattern effect in Adobe Photoshop. You can see an example of a circle and a line pattern in the image below!
Want to learn more about editing in Adobe Photoshop? Check out my other blogs or take a look at my YouTube channel.
Follow me on Facebook to stay updated! You can find the video tutorial below.
Photoshop
Basics
Photo editing
Creative editing
Camera Raw
Neural filters
Text effects