

Published on January 19, 2022
Overlapping text with a shadow in Photoshop
I’ll show you how to create overlapping text with a drop shadow in Adobe Photoshop.
If you’d rather watch the video tutorial of this process, click here or scroll down to the end of this page.
Step 1: Create file and text
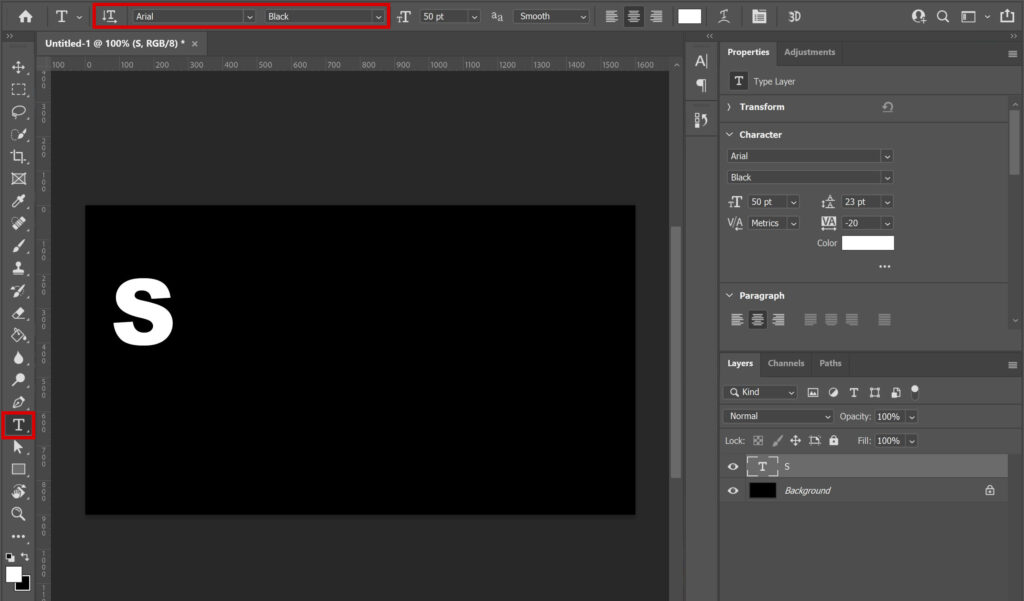
Create a new file. My file is 1600×900 pixels. You can use a different file size, but if your file is much smaller or larger you might have to use different settings when creating the shadows later on.
Start with selecting the horizontal type tool and pick a color and font you like. This effect looks best when you use a bold font. Then type the first letter of the word you want to create. We’ll change the placement of the text later, but make sure you start on the left side so there’s room for the rest of the letters.
Step 2: Shadow
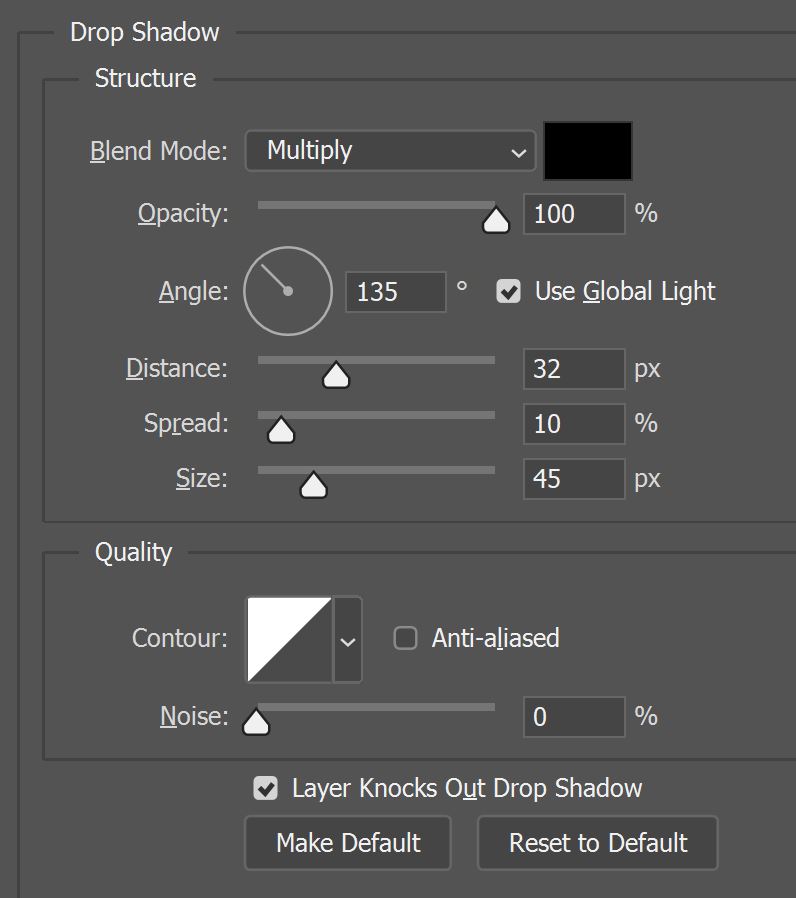
Double click on your text layer to open the layer style window and select drop shadow (or select the text layer, click on the ‘fx’ icon at the bottom of your layer panel and select ‘drop shadow’).
You can see the settings I used in the image below. Again, if your file is much smaller or larger you might have to use different settings. If you’re working with a black background, like I am, you won’t see the shadows at first. You will after you create the second letter though.
Step 3: Overlapping text
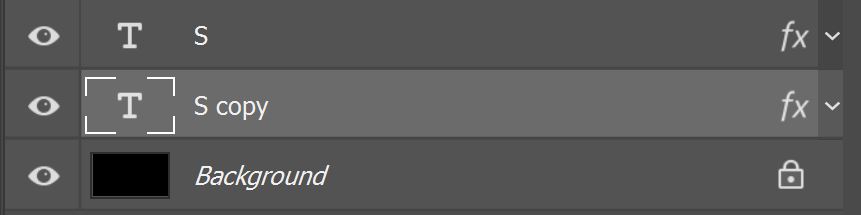
Select your text layer and press CTRL+J to duplicate it. Drag the layer copy below the original text layer.
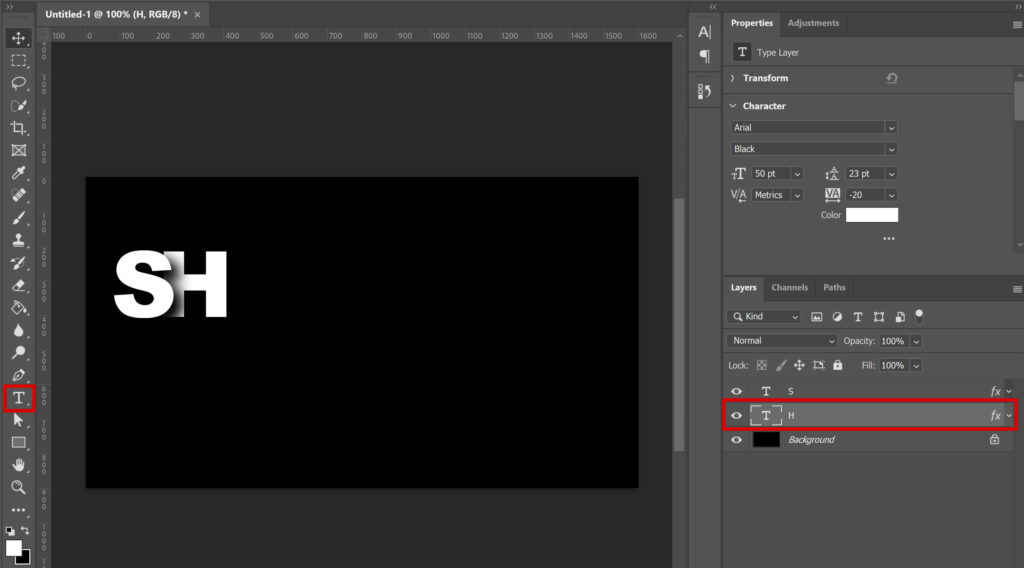
Select this second layer (the copy, I named it H because I’m creating the word shadow) and select the move tool. Use your arrow key to move this layer to the right. You’ll see the letter appear behind your first letter.
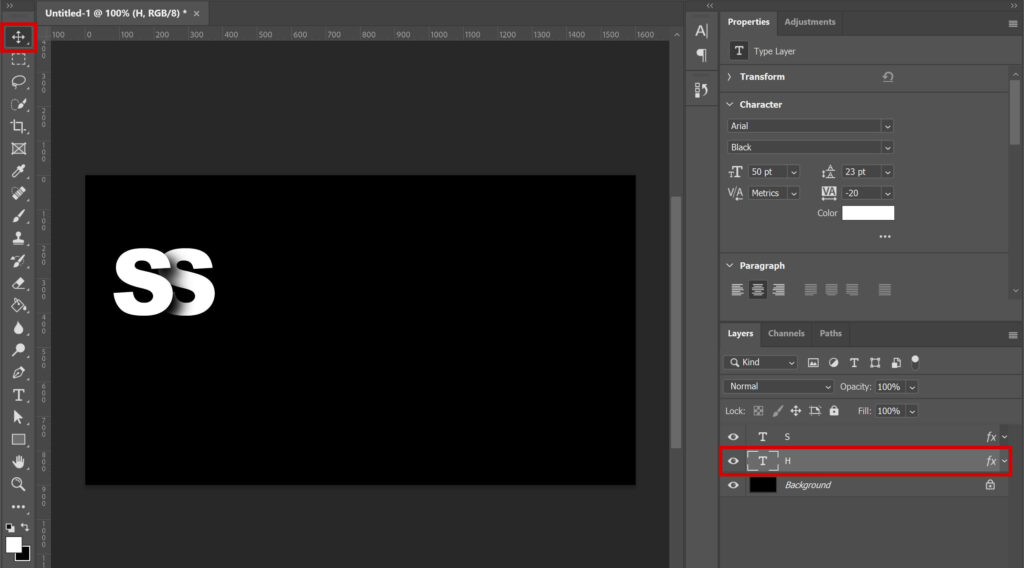
Because you copied the first text layer, the second letter is the same as the first. To change that, select the horizontal type tool and select the second letter. Change it to the letter it needs to be.
After you did that, select the move tool again and use the arrow keys to pick the correct placement for your second letter.
Select the text layer you’ve just been working on (the H in my case) and press CTRL+J to duplicate it. Again, move this layer below the other text layers.
You now have to repeat this process:
- Select the move tool
- Use the arrow keys to move the letter to the right
- Use the horizontal type tool to change your letter
- Use the move tool again to pick the correct placement
- Copy the layer (CTRL+J) and drag it below the other text layers to continue with the next letter
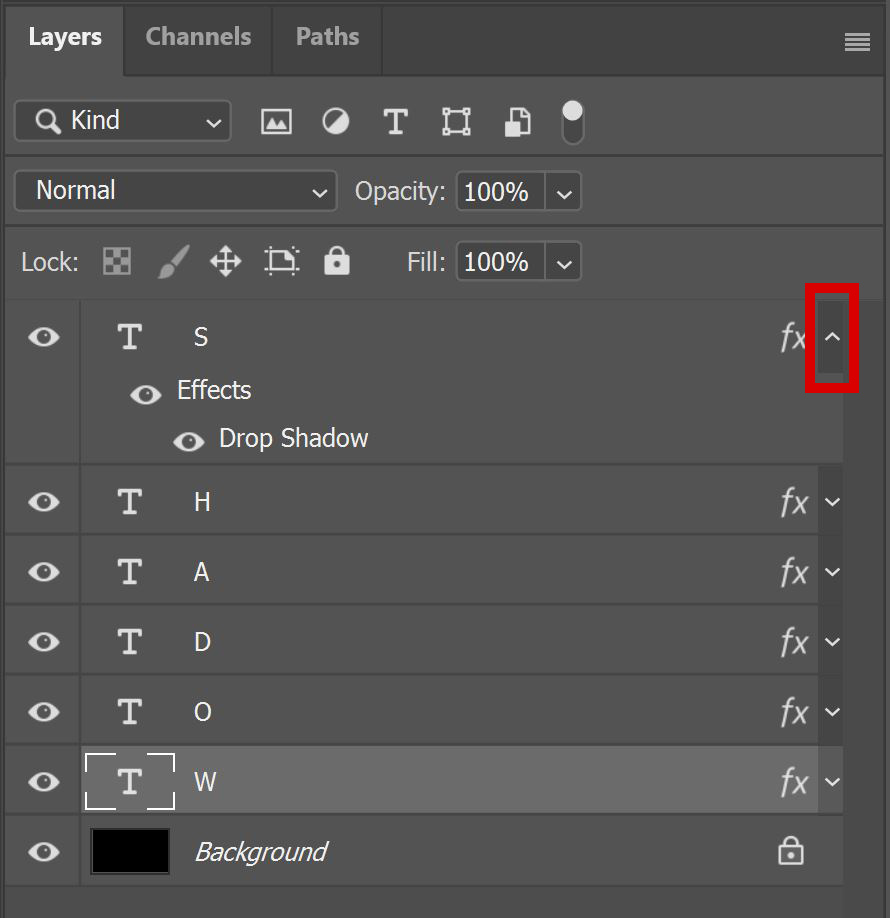
Continue this until your word is complete. Once you’re done, your layer panel should look similar to the one below. The first letter of your word is the top layer and the last letter is the bottom layer.
You can hide the effects in your layer panel by clicking on the icon next to ‘fx’. This makes your layer panel a bit clearer.
Step 4: Move and resize
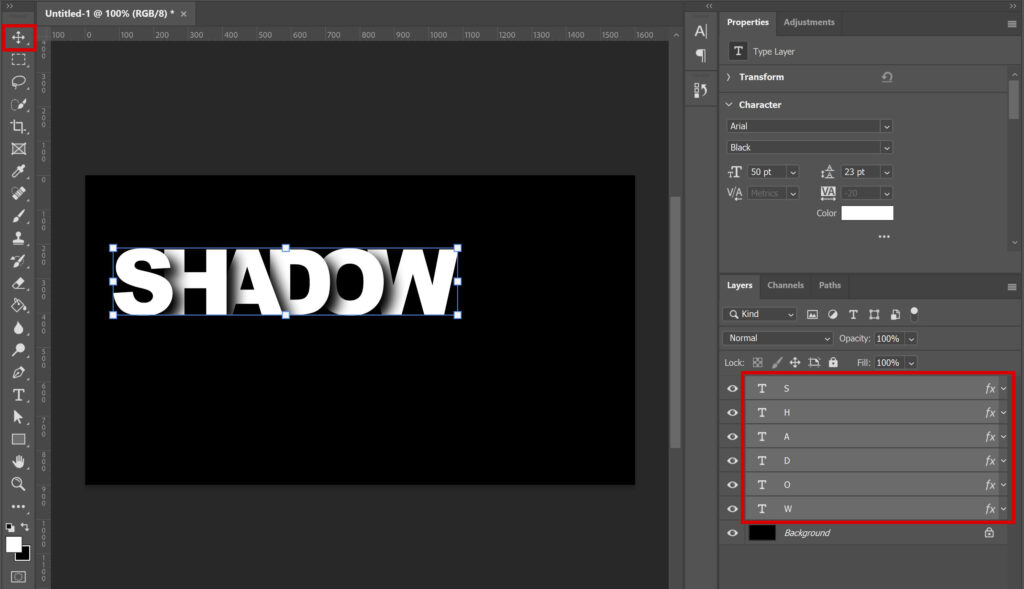
To resize and move the entire word, select all text layers. Then select the move tool and press CTRL+T. You can now resize the text and pick the correct placement.
You can also still adjust the placement of the individual letters. Select the letter/layer you want to move. Select the move tool and use the arrow keys to move that letter to the left or right. Continue this until you’re happy with the look.
And that’s how you create overlapping text in Adobe Photoshop! You can see the result below!

Want to learn more about Adobe Photoshop? Check out my other blogs or take a look at my YouTube channel.
Follow me on Facebook to stay updated! You can find the video tutorial of this process below!
Photoshop
Basics
Photo editing
Creative editing
Camera Raw
Neural filters
Text effects