

Published on September 30, 2025
Create a ripped paper effect (Generative Fill)
Looking for a Photoshop tutorial to make a torn or ripped paper photo effect? This guide breaks down the process so you can easily turn your images into a striking ripped paper design using Photoshop’s Generative Fill. You’ll learn a very fast and simple method to create realistic torn edges.
Rather watch the video with instructions? Click here to watch the tutorial on YouTube or scroll down to the end of this page.
You can download the photo I used here.
Step 1: Selections
Open the photo you want to use. Select the lasso tool and make a rough selection around your subject.
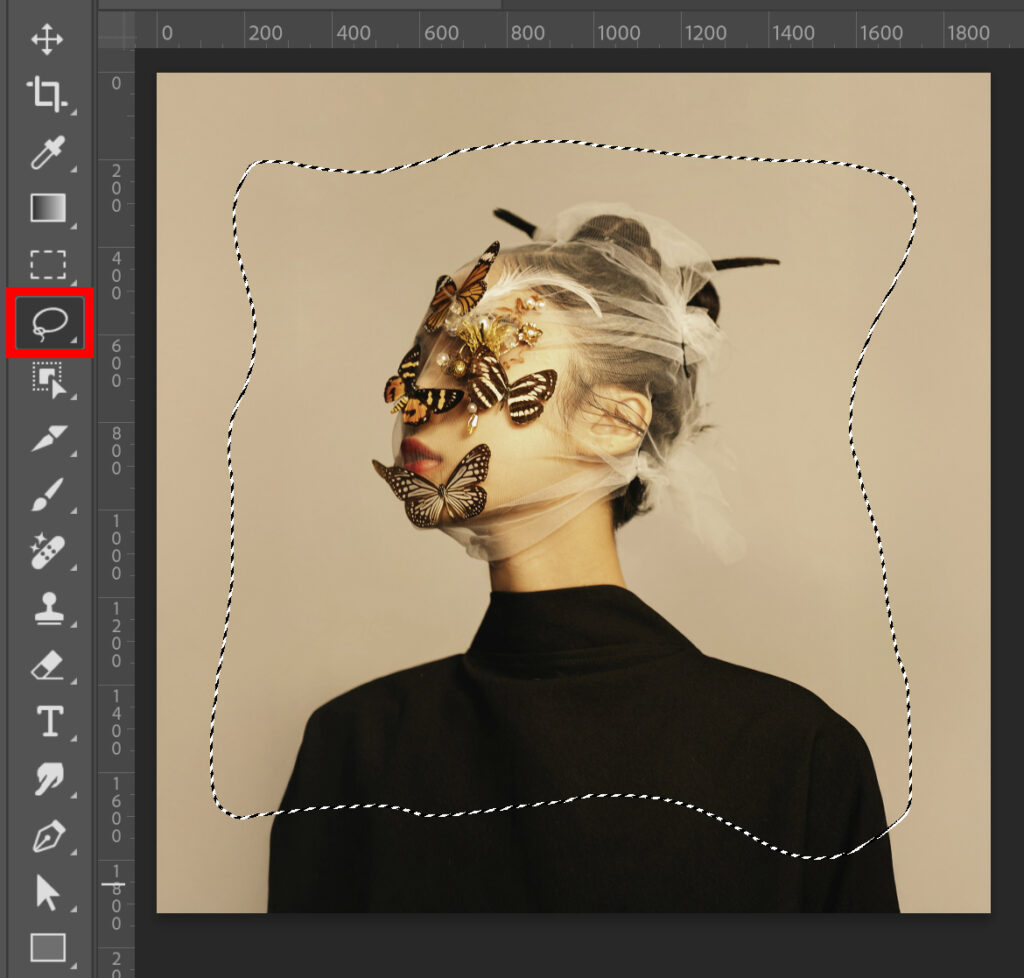
Press CTRL+J to duplicate the selected area in a new layer.
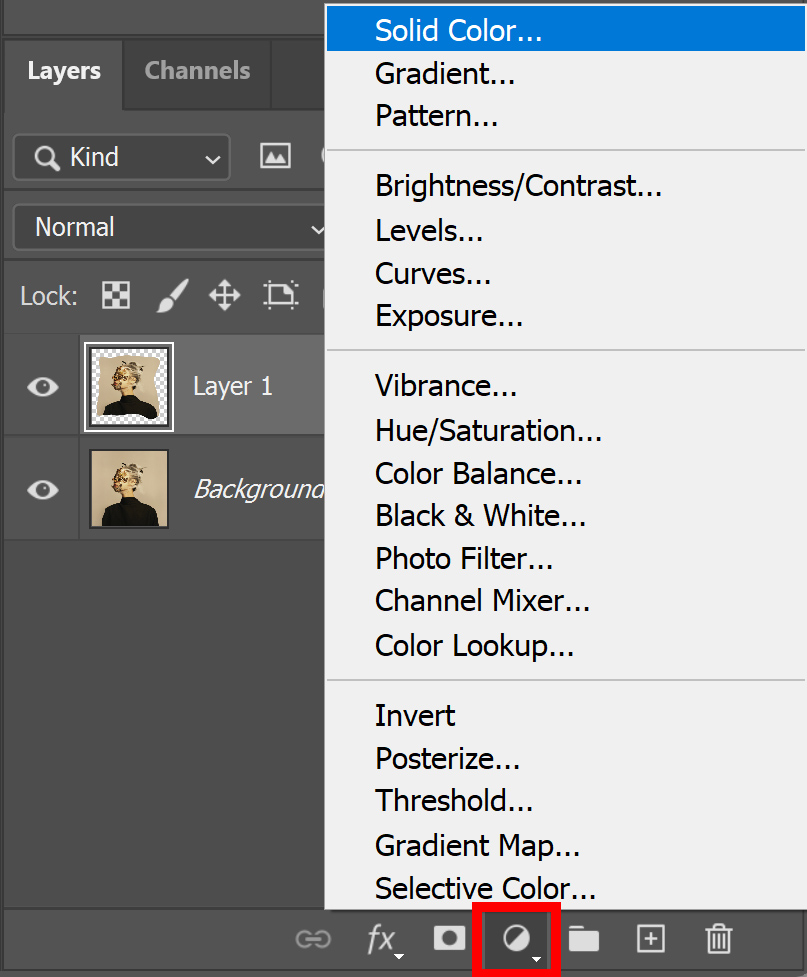
Then create a solid color layer and pick a background color.
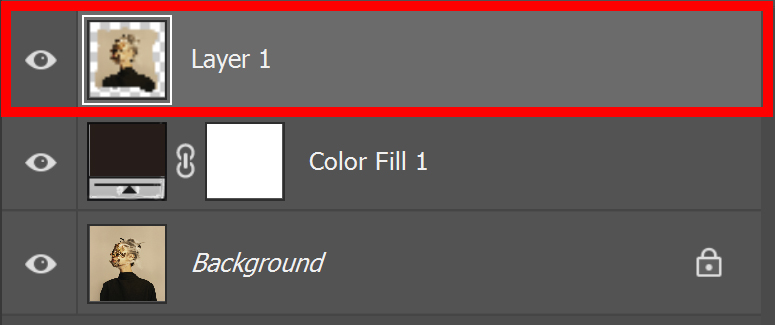
Place the color fill layer below the layer with the subject. Then select the layer with the subject.
Make a new selection with the lasso tool. Make sure this selection is larger than the photo.
Press CTRL+ALT and click on the thumbnail of your subject layer. This area is now deselected. Only the area around your photo should be selected.
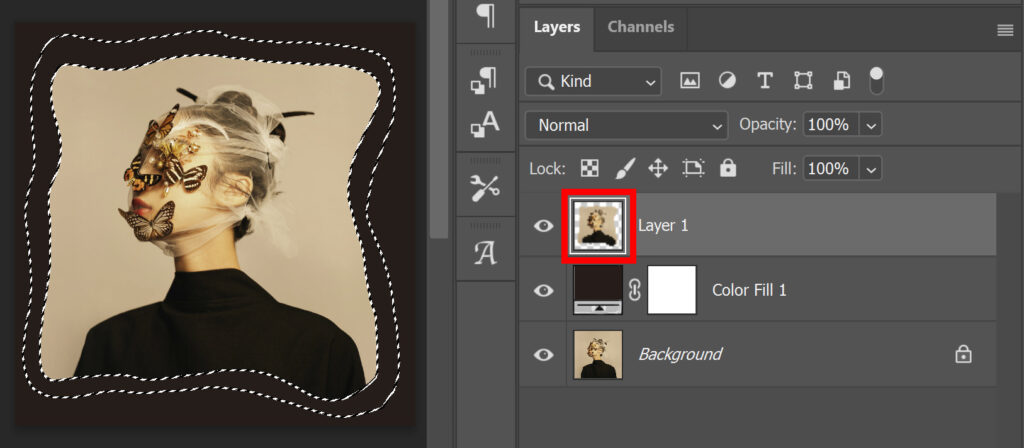
I feather the selection, because I find that this gives a better result when using Generative Fill.
To do this, go to ‘Select > Modify > Feather‘. I use a feather radius of 20 pixels.
Step 2: Ripped paper effect
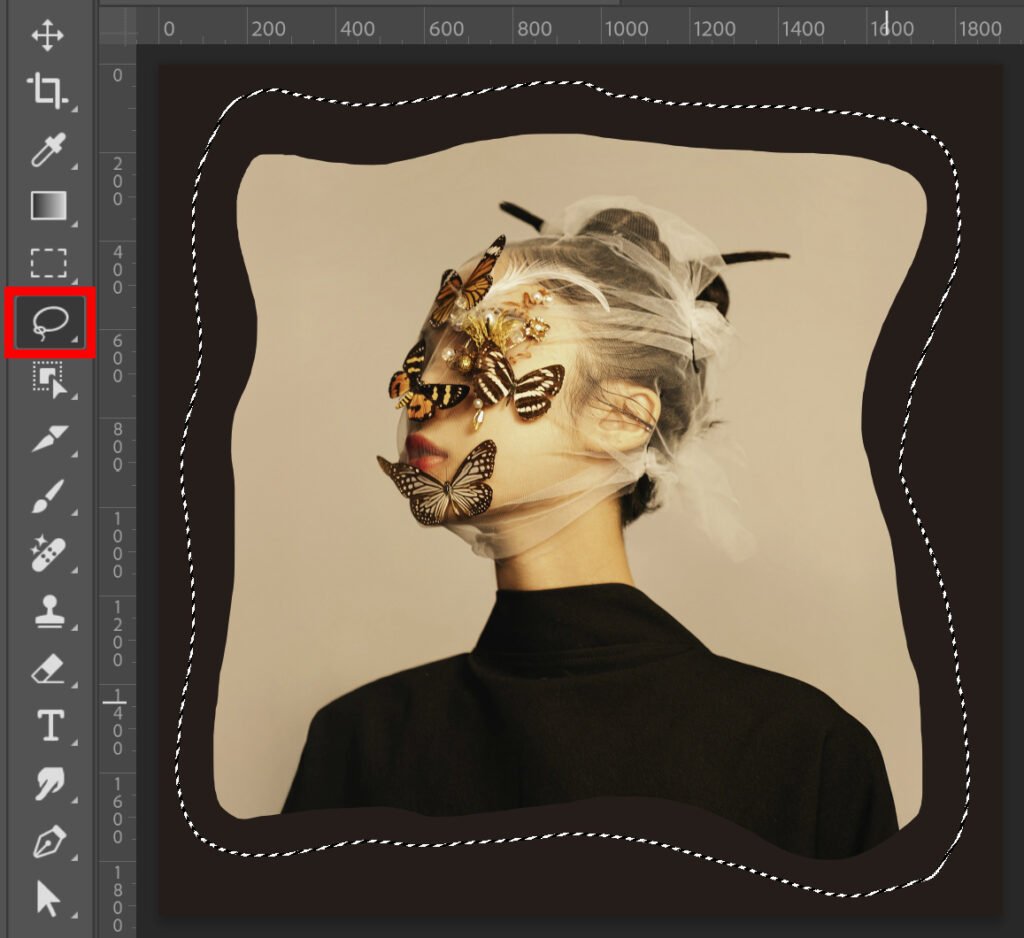
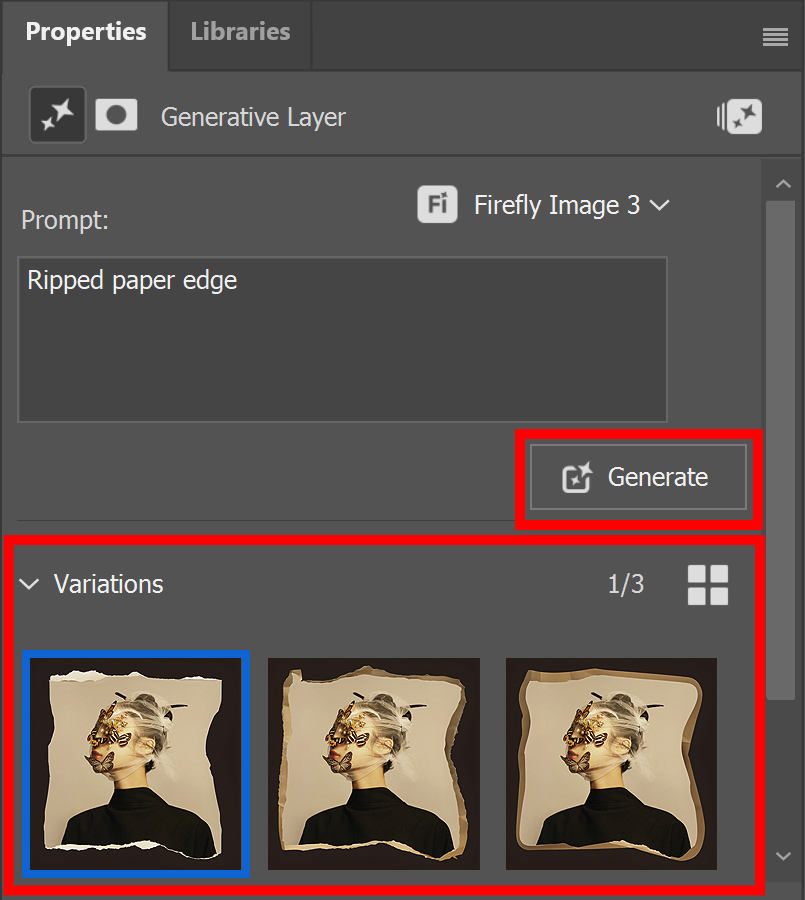
Go to ‘Edit > Generative fill‘. I used the prompt ‘ripped paper edge’.
Photoshop will now give you 3 different variations. If you don’t like any of the variations, you can generate again until you’re happy with the result.
And that’s how you create a photo with a ripped or torn paper edge in Adobe Photoshop!

Learn more about Photoshop
You can check out my other blogs and my YouTube channel if you want to learn more about editing in Adobe Photoshop!
Follow me on Facebook if you want to stay updated about new blogs and tutorials!
Photoshop
Basics
Photo editing
Creative editing
Camera Raw
Neural filters
Text effects