

Published on April 29, 2023
Stencil spray painted text effect
In this blog I will show you how to create a (stencil) spray painted text effect in Adobe Photoshop.
Want to watch the video with instructions? Then click here or scroll down to the end of this page.
Step 1: Create file and text
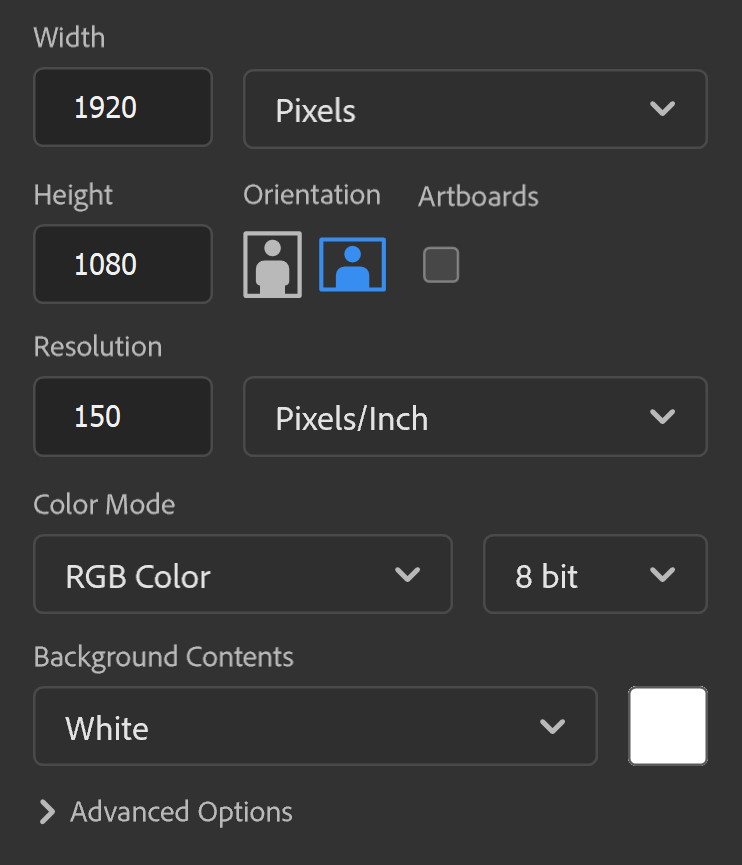
First create a new file. My file is 1920 x 1080 pixels. You can use a different size, but you might have to use different settings then. I’ll get back to that later.
Also pick a background color while creating the new file. I make the background white.
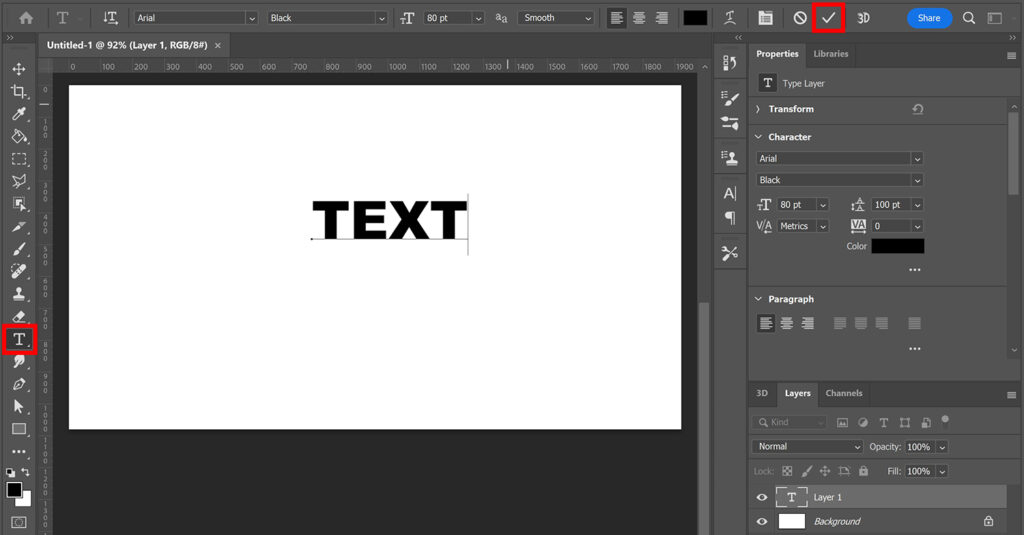
Select the horizontal type tool. Pick a font and type your text. It doesn’t matter what color the text is. We’ll make this the same color as the background in the next step.
When you’re done typing the text, click on the ✓ icon.
Press CTRL+T to activate free transform. You can resize and/or move the text now.
Step 2: Spray painted text effect
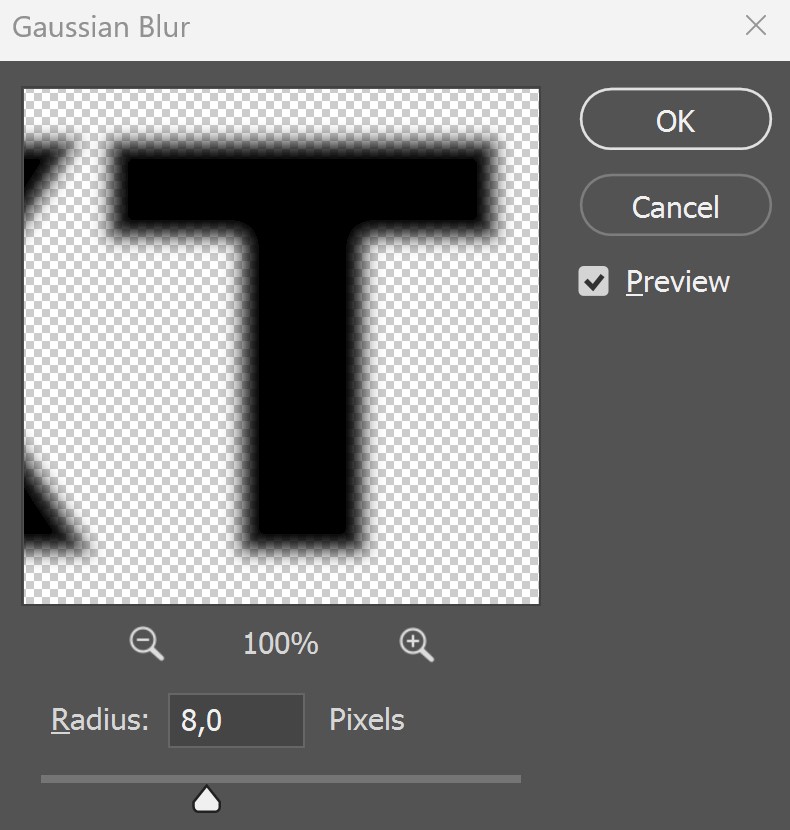
Make sure the text layer is selected. Then navigate to ‘Filter > Blur > Gaussian blur‘.
You will probably get a notification, saying that the layer has to be rasterized or converted to a smart object. Select ‘convert to smart object‘.
I use a radius of 8,0 pixels.
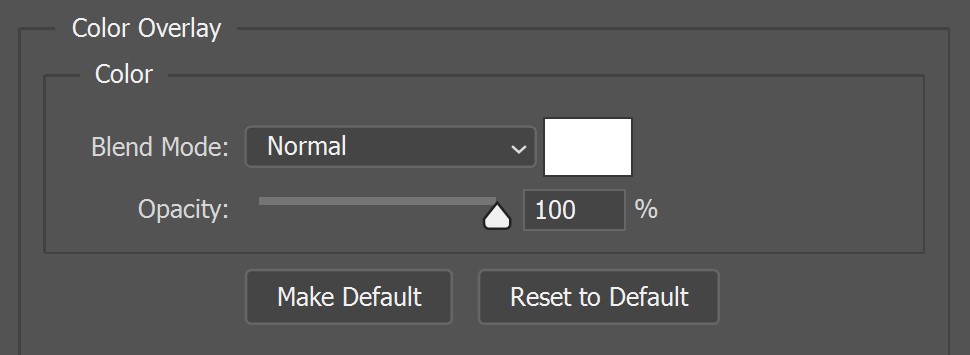
Then click on the fx icon below your layers and select ‘color overlay‘. Make the text the same color as your background. My background is white, so I make the color overlay white.
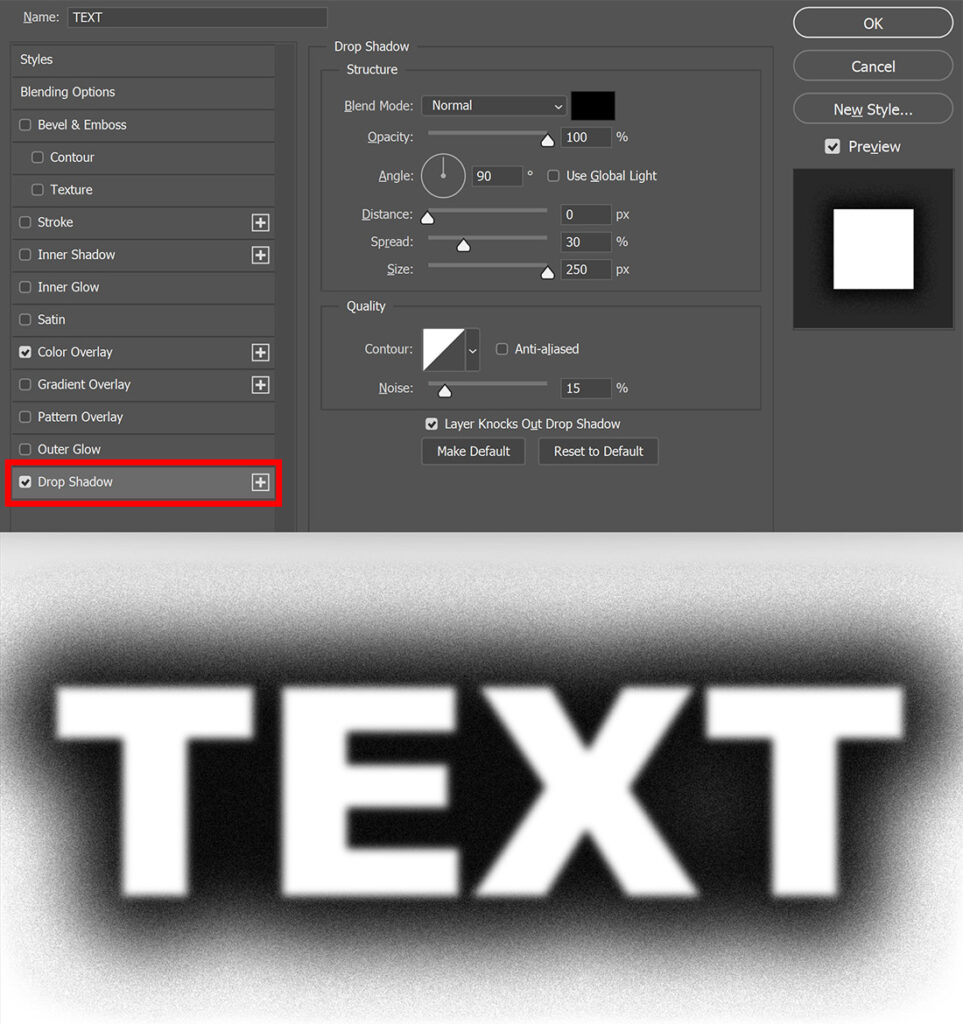
Select ‘drop shadow‘. You can find the settings I used in the image below. If your file has a different size than mine, these settings might not give you the same result. You might have to adjust these settings to get the same result then.
I make the drop shadow (the spray paint effect) black, but you can use any color you like.
After creating the drop shadow, select both the text layer and the background layer. Then navigate to ‘Layer > Merge layers‘ (or press CTRL+E). You won’t be able to adjust the drop shadow after merging the layers. So make sure it’s good before merging them.
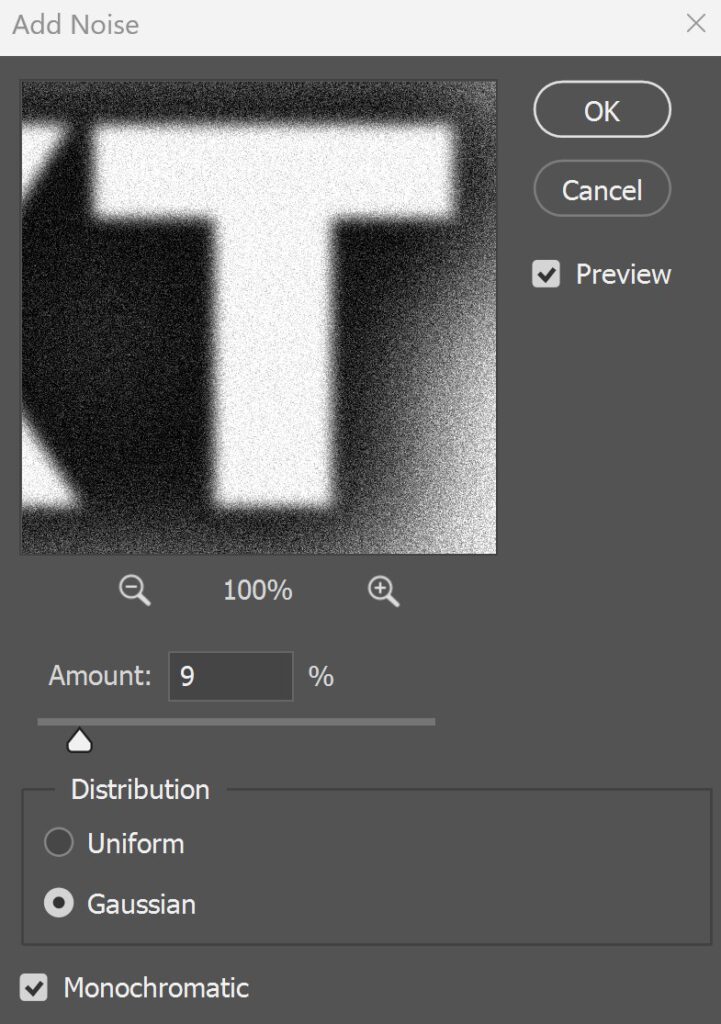
If you merged the layers, go to ‘Filter > Noise > Add noise‘. You can find the settings I used in the image below. You can use the same settings, but you can also adjust these settings if you want.
And that’s how you create this spray paint stencil text effect in Adobe Photoshop!

Learn more about Photoshop
Check out my other blogs or my YouTube channel if you want to learn more about editing in Adobe Photoshop!
Follow me on Facebook to stay updated about new blogs and tutorials! You can find the video with instructions below.
Photoshop
Basics
Photo editing
Creative editing
Camera Raw
Neural filters
Text effects