

Published on December 27, 2021
Text behind object or subject in Photoshop
In this blog I’ll show you how to (partially) place a text behind an object or subject in Adobe Photoshop.
If you want to download the image I’m using, click here. Let’s get started!
Step 1: Select subject
Open the image you want to edit. Press CTRL+J to duplicate the background layer and select the layer copy.
First you need to select your subject. There are several ways to do this, but I’m using the quick selection tool.
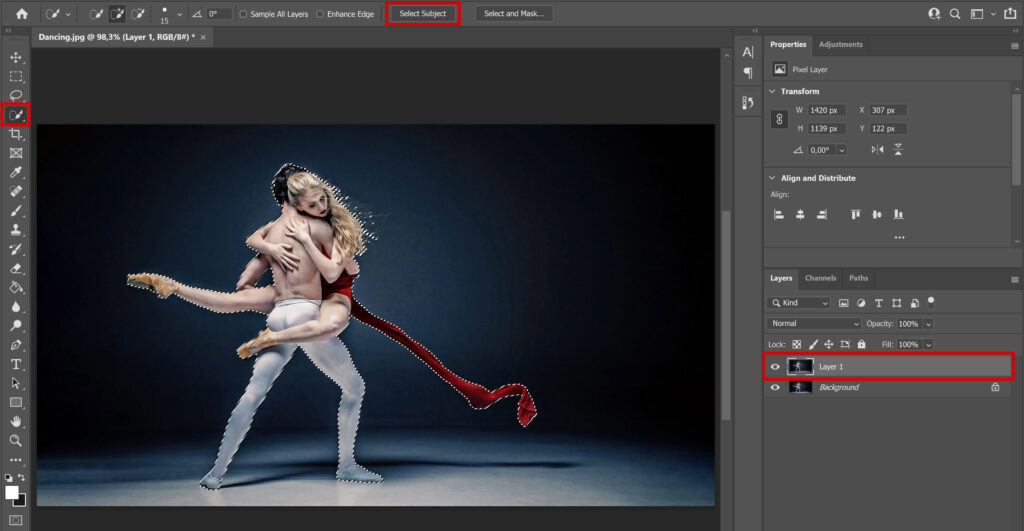
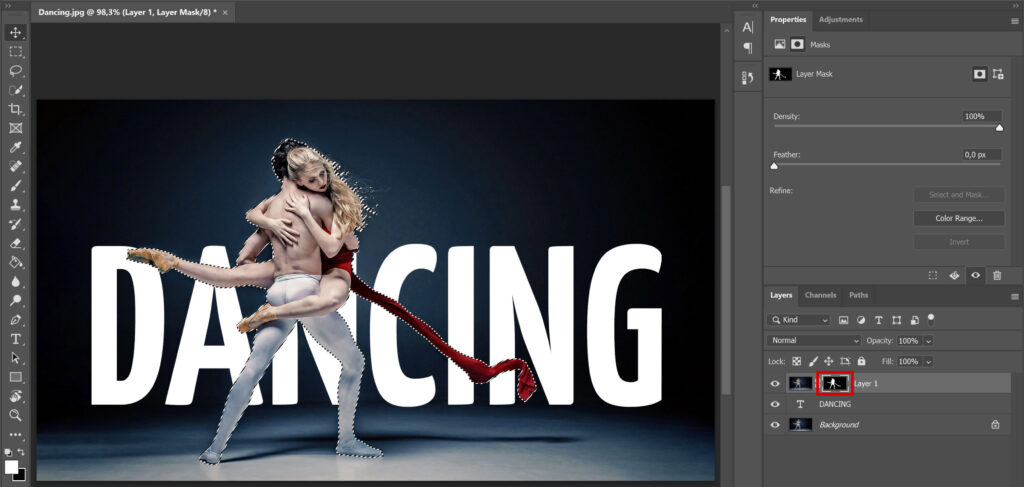
If your selection is done, add a layer mask to ‘Layer 1’.
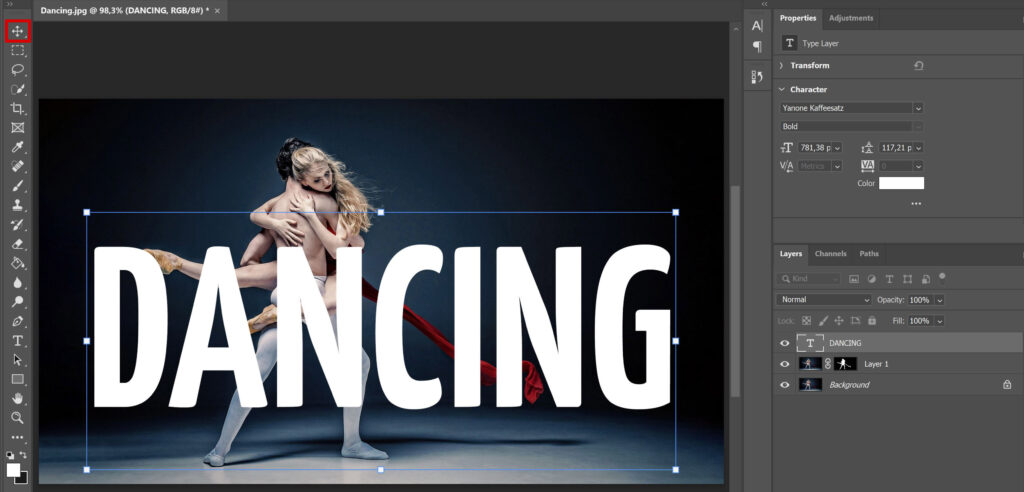
Step 2: Type text
Select the horizontal type tool, pick a font you like and type your text. Then select the move tool, press CTRL+T to resize your text and pick the correct placement.
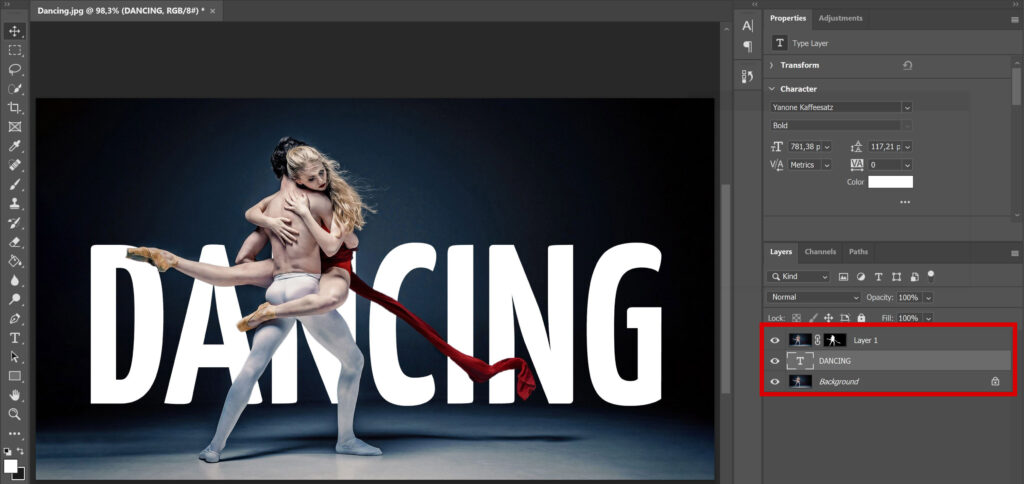
Step 3: Text behind object
Now drag the text layer below ‘layer 1’ in your layer panel. Your text is now behind your object/subject.
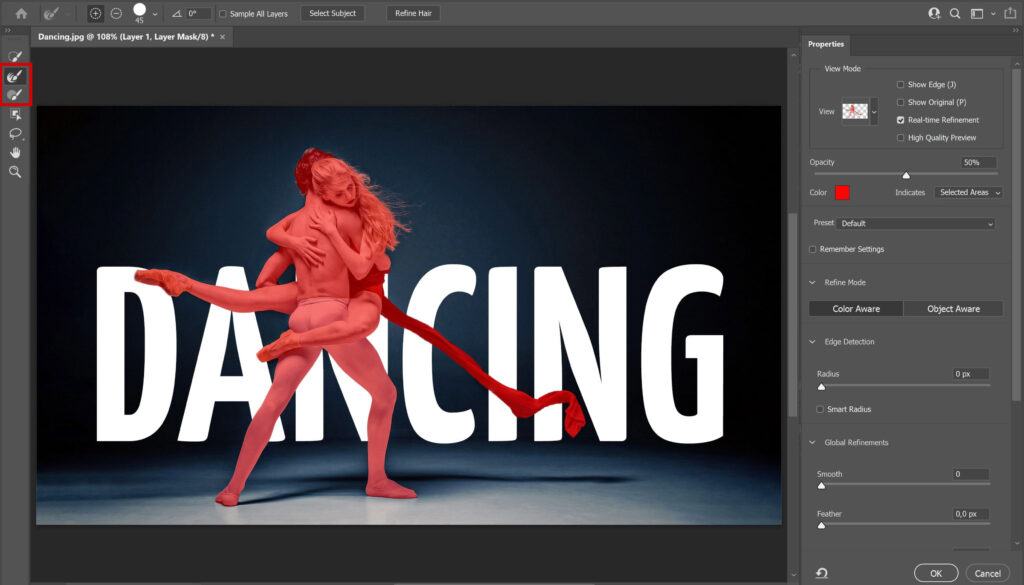
If you want to refine your selection, select the layer mask and click ‘select and mask‘.
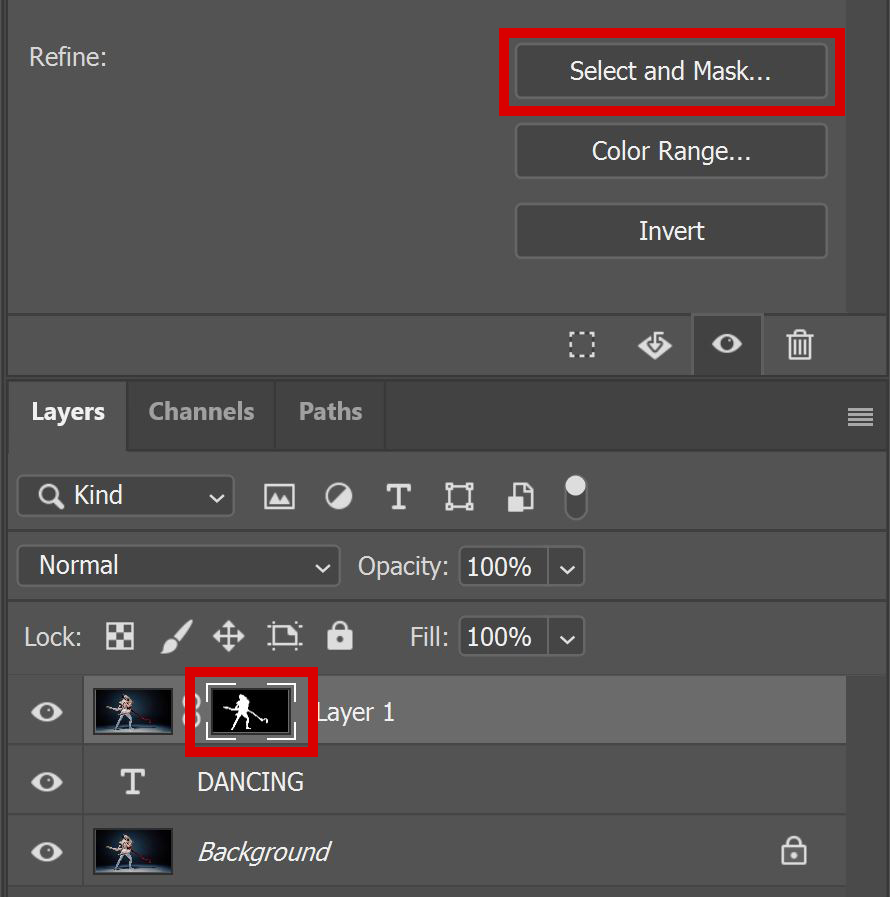
Select the ‘refine edge brush tool‘ and brush over the areas that you want to refine (like hair or other details). You can also use the ‘brush tool’ to add areas to your selection or erase parts of the selection (hold ALT while brushing).
If you want your entire text to be behind your subject, you’re done now. But you can also place parts of your text in front of your subject.
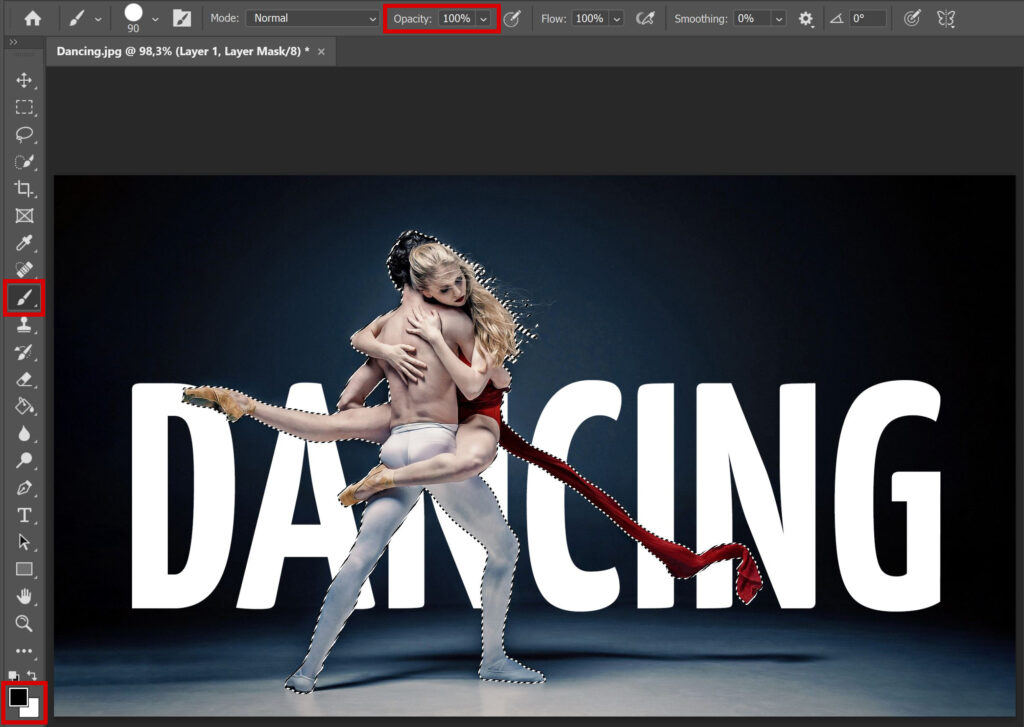
Select your layer mask. Now press CTRL and click on the layer mask again. You’ll now see the selection, which makes it easier to decide which areas you want to erase.
Then select the brush tool. I use a hard round brush, opacity 100%. Make the foreground color black. If you brush over your subject now, the text reappears.
Tip: Use the [ and ] keys to adjust the brush size.
If you want to place the text back behind the subject, brush over it again with white as the foreground color (instead of black).
When you’re done, press CTRL+D to deselect. If you still see some outlines of your subject, select the layer mask and brush over these lines with black as the foreground color.
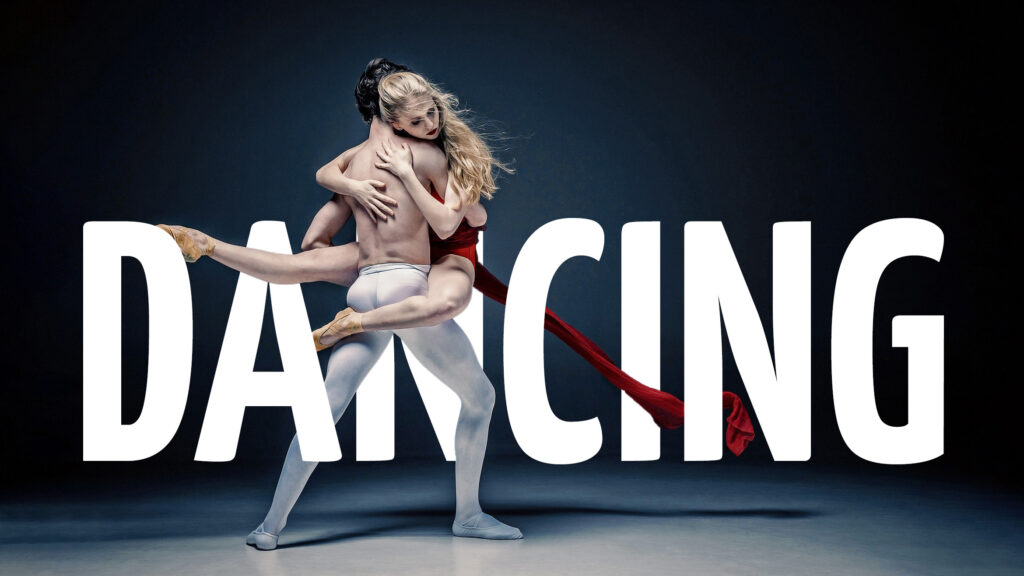
And that’s how you place a text behind an object or subject in Adobe Photoshop. You can see the result below!
Want to learn more about Adobe Photoshop? Check out my other blogs or take a look at my YouTube channel.
Photoshop
Basics
Photo editing
Creative editing
Camera Raw
Neural filters
Text effects