Published on December 14, 2022
Create a frozen text with icicles
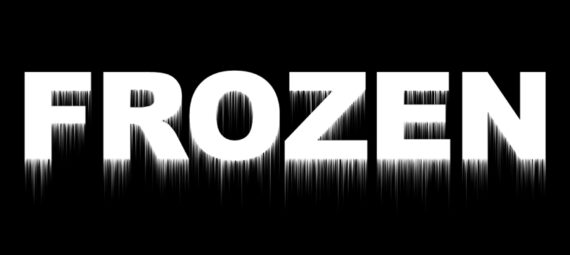
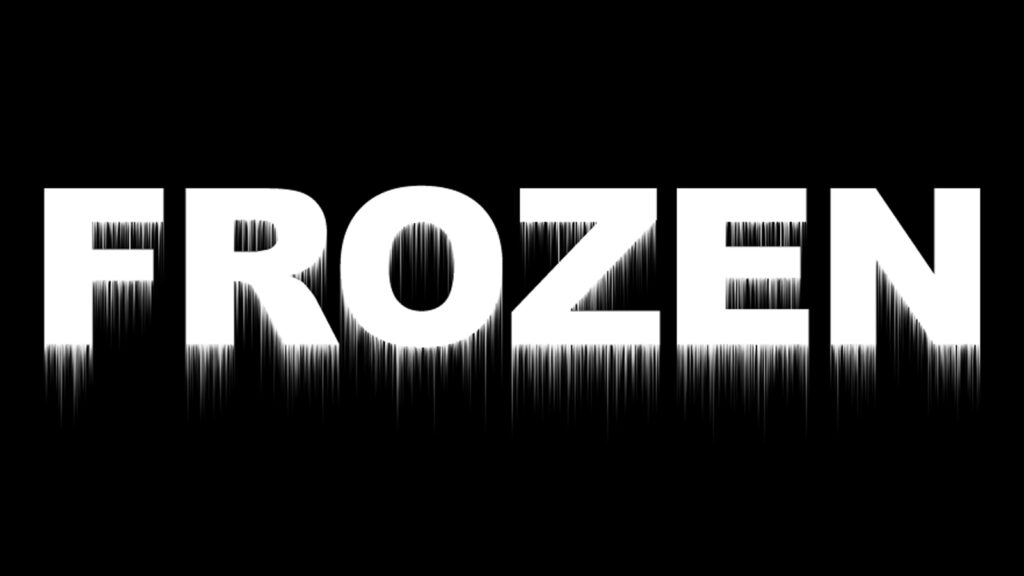
In this blog I’ll show you a super fast and simple method to create a frozen text effect with icicles in Adobe Photoshop.
Rather watch the video with instructions? Click here or scroll down to the end of this page. Let’s get started!
Step 1: Create file and text
Create a new file. It doesn’t matter what size your file is. If you want to add the text to another photo or image, open that file instead of creating a new one.
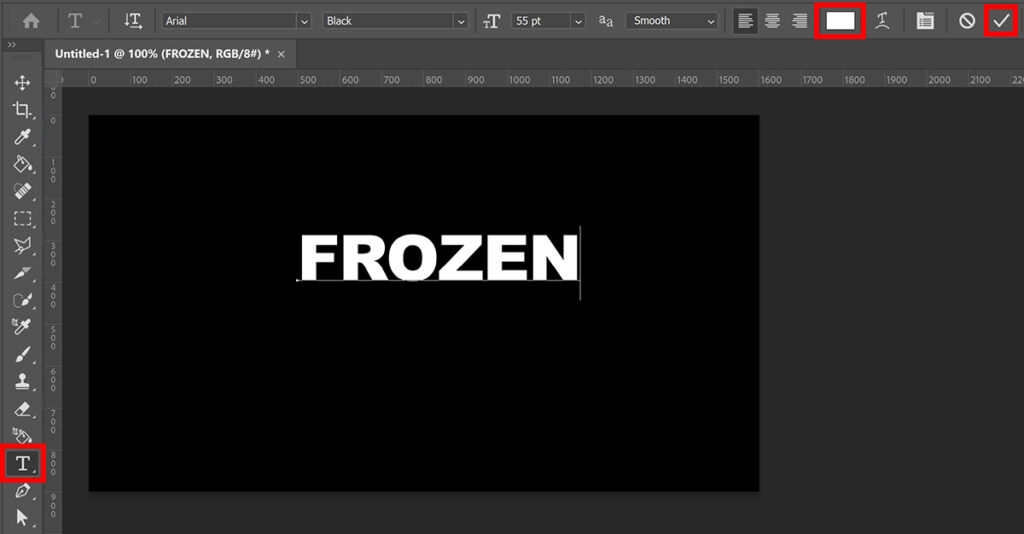
Select the horizontal type tool. Pick a font and make the text white. Type your text. After you did that, click on the ✓ icon.
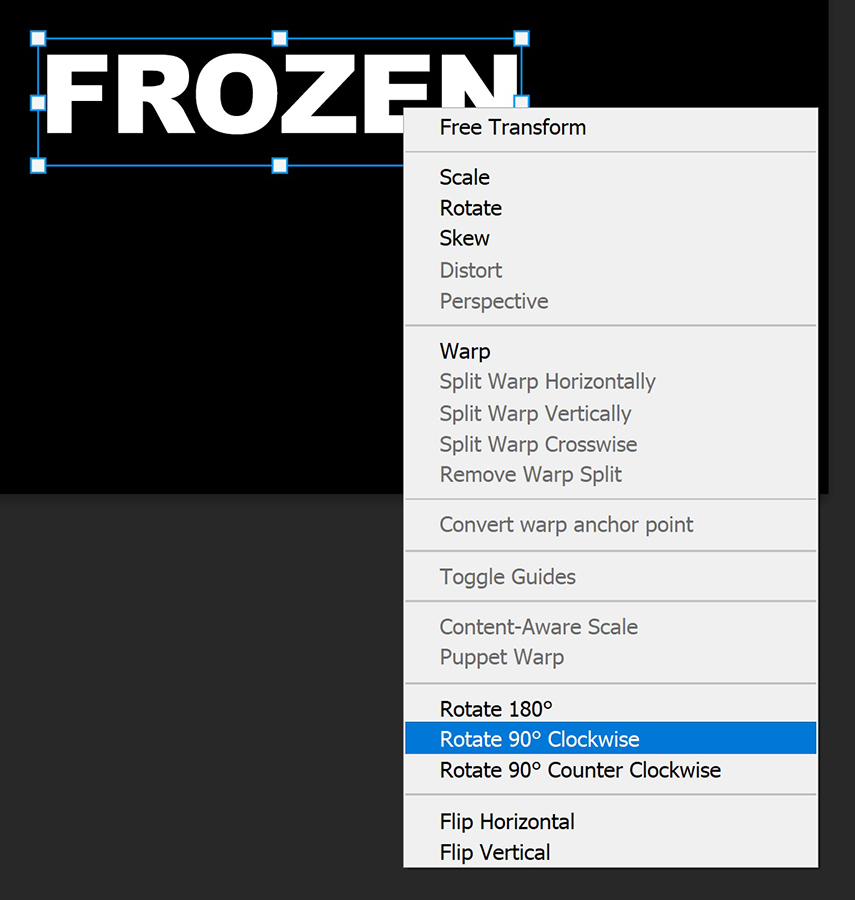
Press CTRL+T to activate free transform. Right click on the text and select ‘rotate 90° clockwise‘.
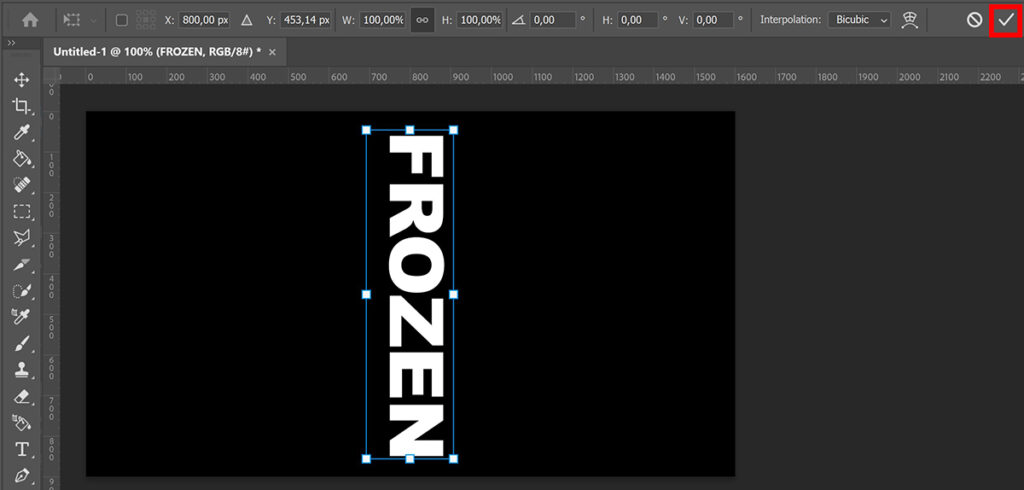
Your text is now rotated. If the text is too small, you can make it a little bigger. Then click on the ✓ icon again.
Step 2: Frozen text effect
Right click on the text layer and select ‘rasterize type‘. Make sure the text layer is selected, then navigate to ‘Filter > Stylize > Wind‘.
Method: Wind
Direction: From the right
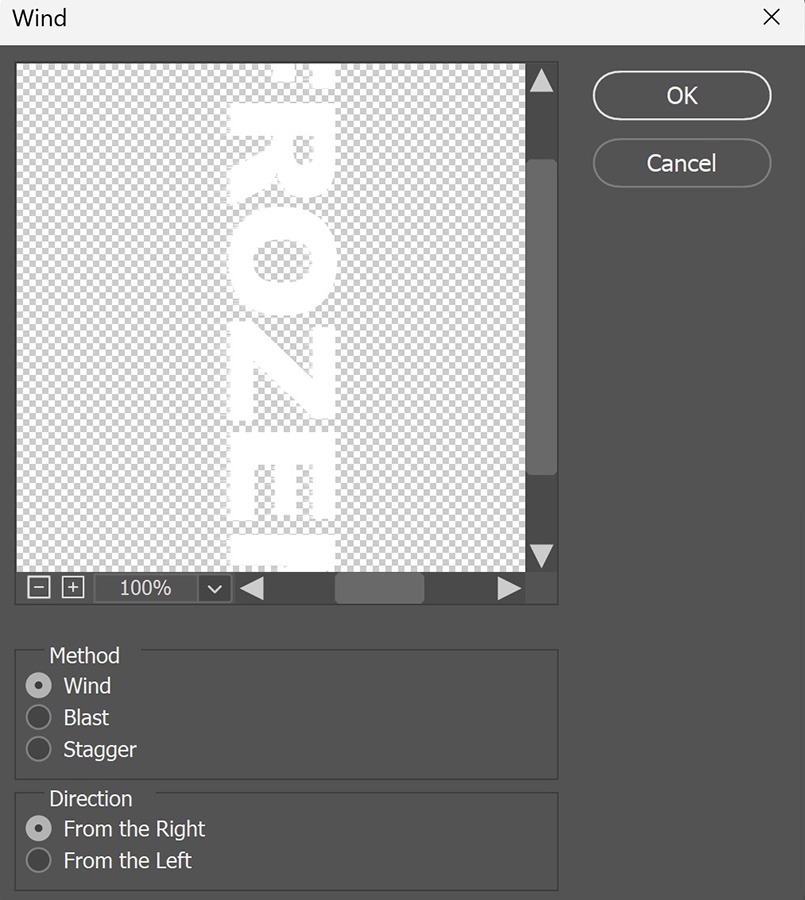
Click OK. The effect is very subtle now. To enhance the effect, navigate to ‘Filter > Wind‘ (the top option).
You will see that the icicles get longer after doing this.
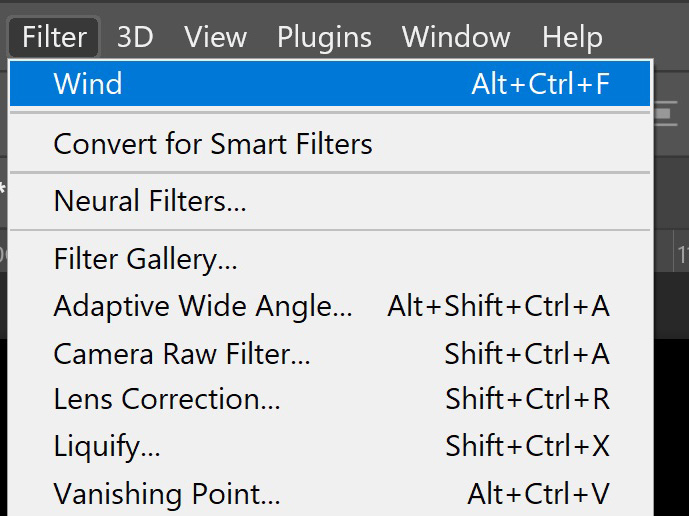
To make the effect even more prominent, repeat this (Filter > Wind). If you don’t like it, simply press CTRL+Z to undo this and go one step back.
When you’re happy with the effect, press CTRL+T again. Right click on the text, this time select ‘rotate 90° counter clockwise‘ to rotate it back. You can now resize the text and pick the correct position.
And that’s how you create this frozen text effect in Adobe Photoshop!
Learn more about Photoshop
Want to learn more about editing in Adobe Photoshop? Check out my other blogs or take a look at my YouTube channel.
If you want to stay updated, follow me on Facebook! You can find the video with instructions below.
Photoshop
Basics
Photo editing
Creative editing
Camera Raw
Neural filters
Text effects

