
Published on December 16, 2022
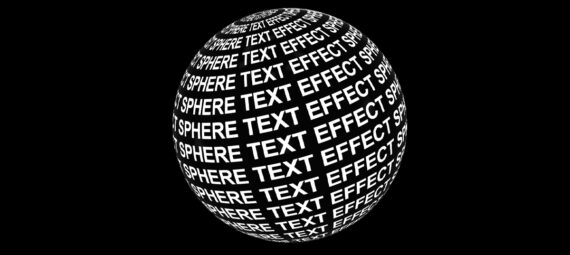
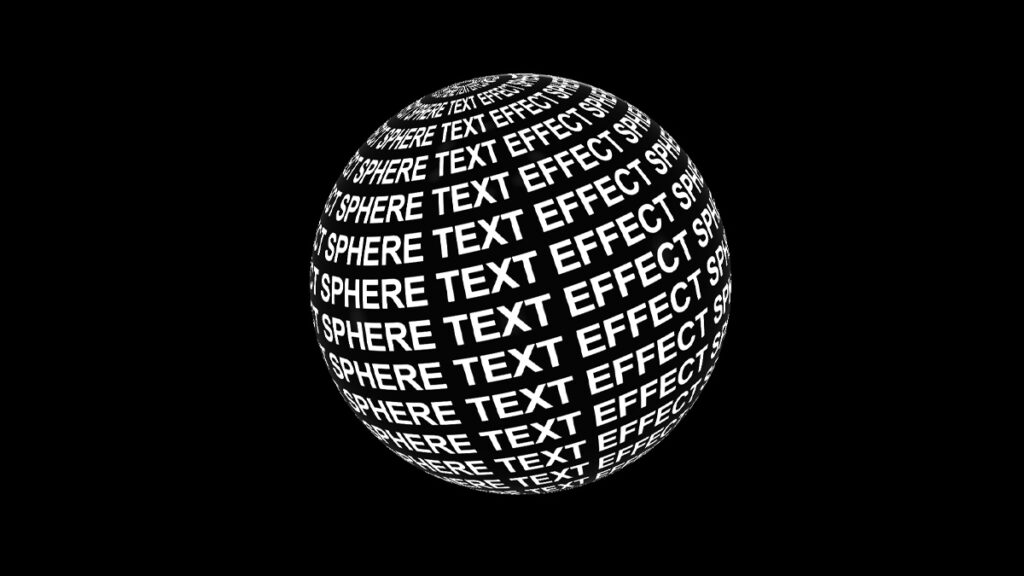
Create a 3D sphere text effect
In this blog I will show you how to create a 3D sphere with your text on it in Adobe Photoshop!
Rather watch the video with instructions? Click here or scroll down to the end of this page.
Step 1: Create text
Create a new file. It doesn’t matter what size this file is. Also pick a background color while creating the file.
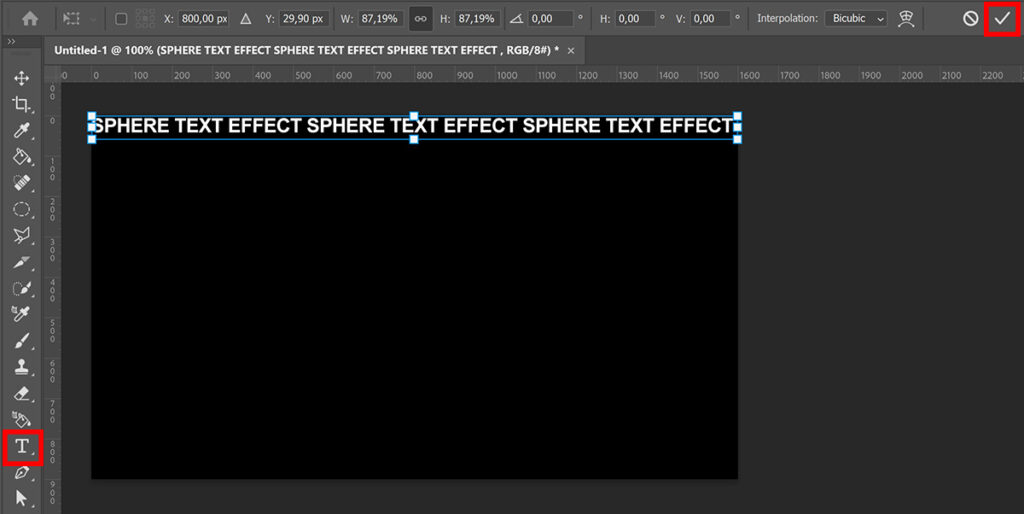
Then select the horizontal type tool. Pick a font and text color and type the first line of your text.
When you’re done with that, click on the ✓ icon and then press CTRL+T to activate free transform. Resize the text so it fits, then place it at the top.
After you did that, click on the ✓ icon again. The horizontal type tool should still be selected (if not, select it again).
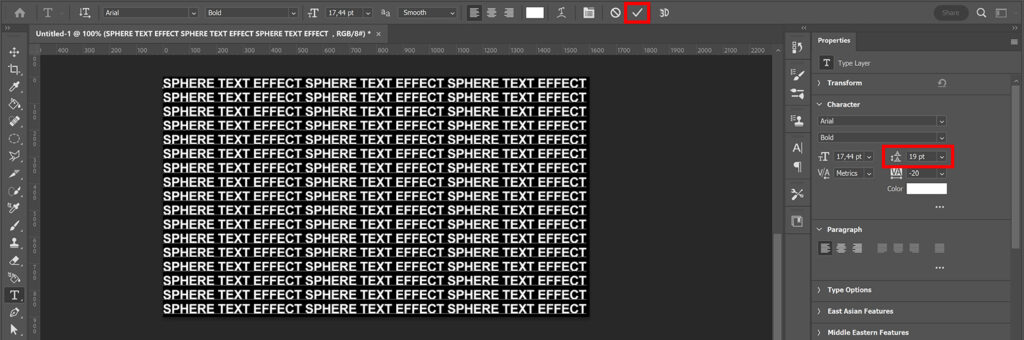
Select the entire text line (press CTRL+A), copy it (CTRL+C) and paste it (CTRL+V) until you’ve filled the entire surface.
To place the text lines closer together or further apart, you can adjust the leading. Select the entire text (CTRL+A) and change the leading to make the text fit.
Tip: If you click on the number next to the leading icon, you can use your arrow up and down keys to adjust the amount. If you can’t find the right amount to make it fit, you can also type in the amount (by adding ,5 for example).
If you want to move the text to place it in the middle, you can use the move tool to do that.
Step 2: Sphere text effect
Select the text layer. Navigate to ‘3D > New mesh from layer > Mesh preset > Sphere‘.
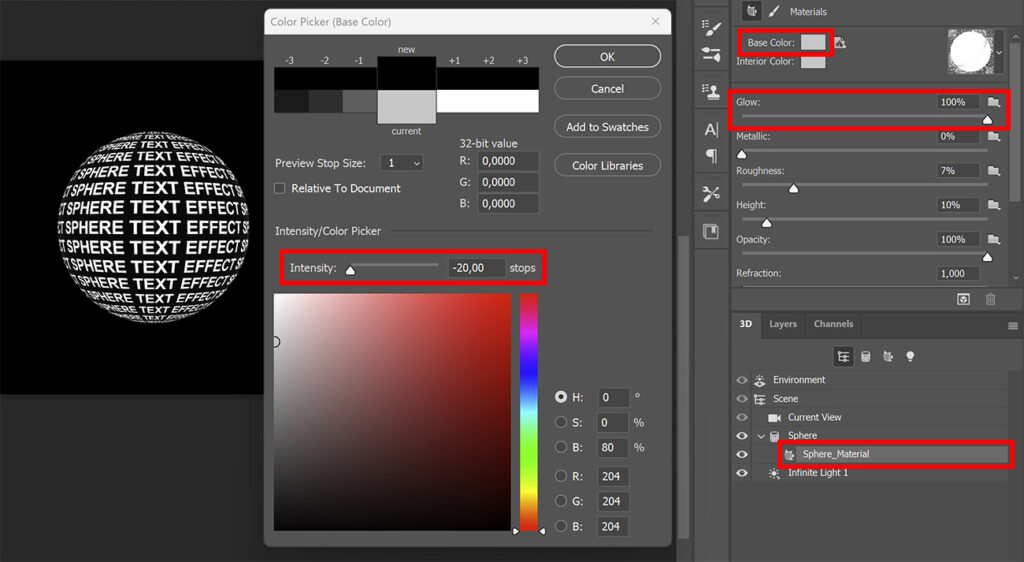
You now have a globe with the text on it, but it isn’t transparent. To fix that, select 3D (next to layers).
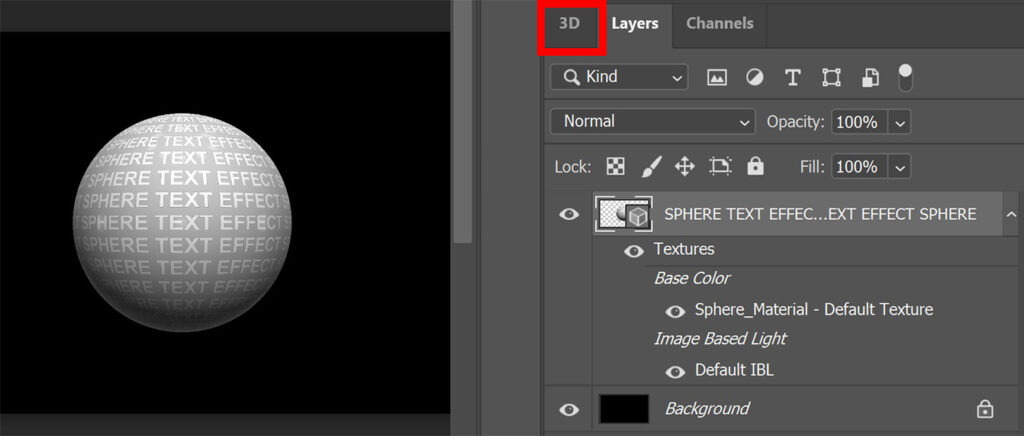
Then select ‘Sphere_Material‘ and select the base color (click on the color box next to it). Lower the intensity to -20 stops.
Part of the sphere has a shadow over it. To remove that shadow, you can increase the glow.
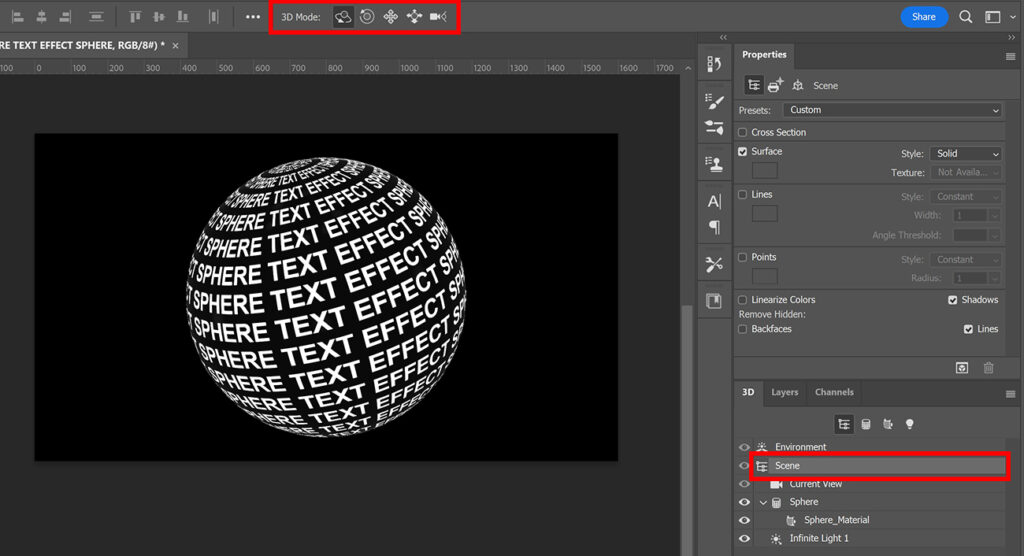
If you like the sphere like this, you’re done now. You can also rotate and move the sphere though.
To do that, select ‘scene‘. Next to 3D mode you’ll see 5 icons. I’ll explain what these icons are for (from left to right):
- First icon = to orbit the sphere.
- Second icon = to roll the sphere.
- Third icon = to pan (move) the sphere.
- Fourth icon = to slide the sphere.
- Fifth icon = to zoom (adjust the size of the sphere).
Adjust the sphere until you’re happy with the way it looks!
And that’s how you create this 3D sphere (or globe / orb) with your text on it in Adobe Photoshop!
Learn more about Photoshop
If you want to learn more about editing in Adobe Photoshop, check out my other blogs or take a look at my YouTube channel.
To stay updated, follow me on Facebook! You can find the video with instructions below.
Photoshop
Basics
Photo editing
Creative editing
Camera Raw
Neural filters
Text effects