
Published on December 18, 2022
Create shapes
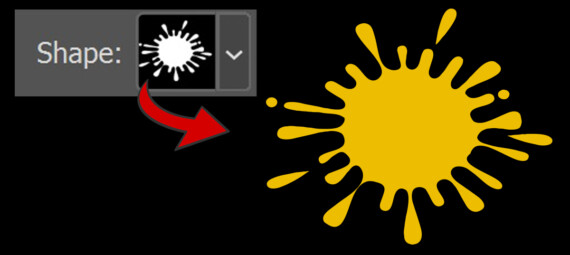
In this blog I’ll show you how to convert a regular image into a custom shape in Adobe Photoshop.
If you’d rather watch the video with instructions, you can watch it here (or scroll down to the end of this page to watch it).
Click here if you want to download the image I used. This is a file with a transparent background. I added a background to it to explain how to work with a JPG file. You don’t have to do this, I will also tell you how this works with a PNG file.
Step 1: Select shape
Open the file with the shape you want to use. If you’re working with a PNG file with a transparent background behind the shape, it’s easy to select the shape. Right click on the thumbnail of the layer with the shape and select ‘select pixels‘ (or press CTRL while clicking on the thumbnail). You’ll see that the shape is now selected.
If you’re working with a JPG file, you have to select the shape yourself. There are several ways to do that, I’m using the quick selection tool (because this also works if your shape doesn’t have a solid color). If you prefer another method to select the shape, that’s fine too!
If you’re using the quick selection tool, you can use the ‘select subject‘ option. Make sure everything is properly selected. So check if Photoshop hasn’t made any mistakes with the selection and fix those if needed.
Step 2: Create shapes
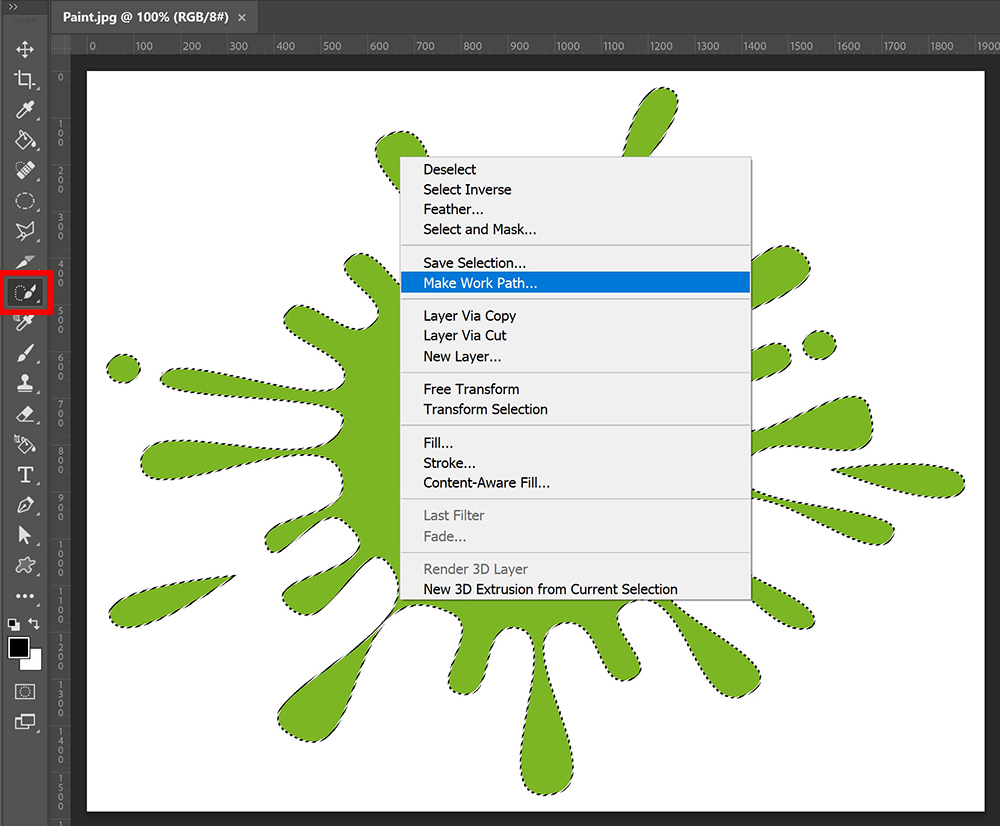
Once you have selected the shape, make sure one of the selection tools is selected (quick selection tool, magic wand tool or object selection tool for example). If you’ve use the ‘select pixels’ option to select the shape, you also have to select one of these tools now.
Right click on the selected shape and select ‘make work path‘. You can leave the tolerance at 1,0 pixels.
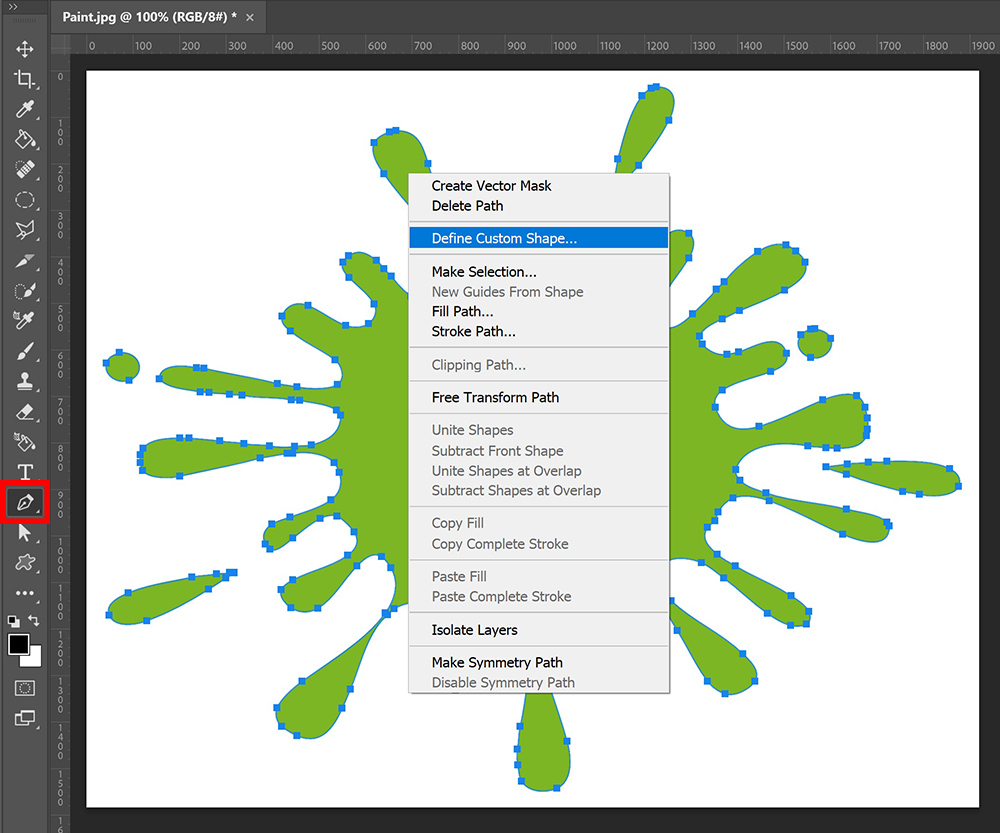
Then select the pen tool. Right click on the shape again. This time select ‘define custom shape‘. Name your shape and click OK to save it.
Step 3: Use new shape
Open a new file or make the layer with the original shape invisible (you might have to unlock this layer first if it’s the background layer). To remove the path, press the delete or backspace key.
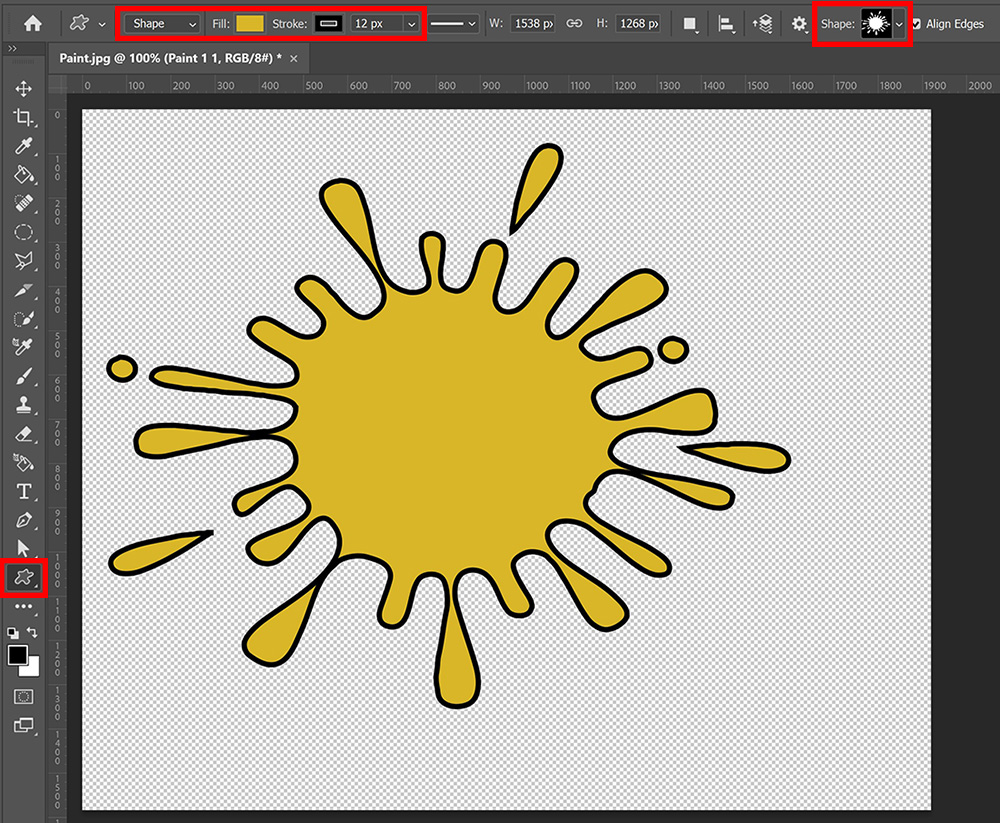
To use the new shape, select the custom shape tool. You’ll find the new shape below the other shapes. To get the correct ratio, press and hold SHIFT while creating the shape.
You can adjust the fill to pick a color for the shape. If you want to add a stroke, select a color and adjust the amount of pixels. To remove the stroke, select ‘no color’.
If you want to adjust the size or position of the shape, select the shape layer and the move tool. Then press CTRL+T to activate free transform. You can then adjust the shape.
And that’s how you create a custom shape in Adobe Photoshop!
Learn more about Photoshop
Want to learn more about editing in Adobe Photoshop? Check out my other blogs or take a look at my YouTube channel.
If you want to stay updated, follow me on Facebook! You can find the video with instructions below.
Photoshop
Basics
Photo editing
Creative editing
Camera Raw
Neural filters
Text effects