
Published on July 21, 2024
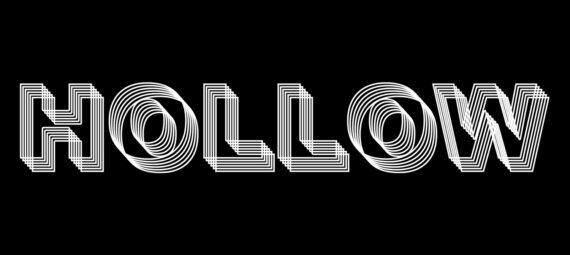
How to Create Hollow 3D Text with Outline in Photoshop (Step-by-Step Tutorial)
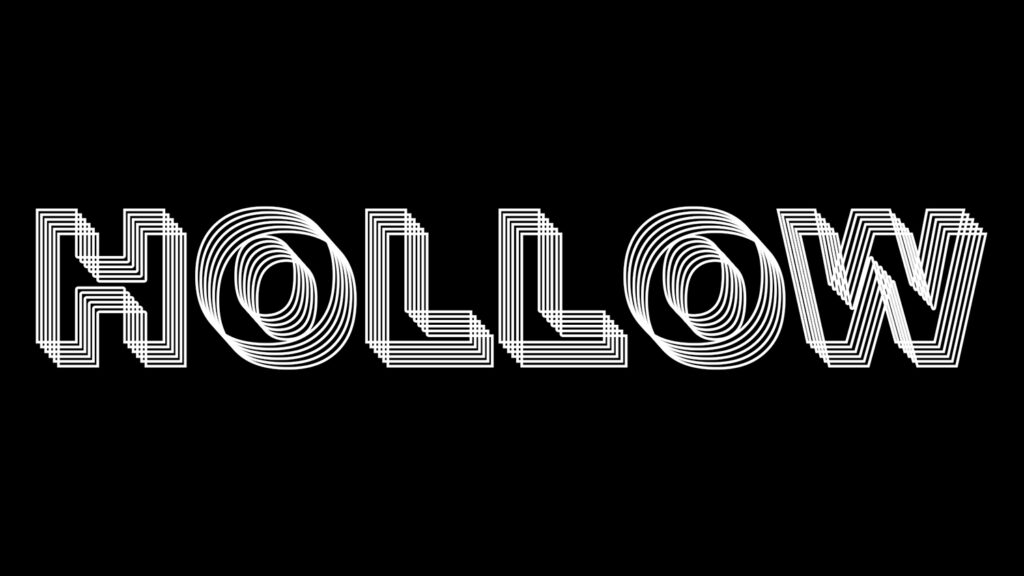
Want to create a transparent 3D text effect with an outline in Photoshop? In this step-by-step tutorial, you’ll learn how to design a bold, hollow text effect using simple layer styles and duplication techniques in Adobe Photoshop.
By combining stroke (outline) effects with repeated layers, you can easily create this hollow 3D text or outlined 3D text effect.
Rather watch the video with instructions? Then click here to open the tutorial on YouTube or scroll down to the end of this page.
Step 1: Create text
First create a new file. My file is 1920 x 1080 pixels and it has a black background.
Then select the horizontal type tool and type your text. It doesn’t matter what color the text is, we’ll make this transparent later.
Select the move tool and press CTRL+T to activate free transform. You can now resize and move the text.
Lower the fill of the text layer to 0%.
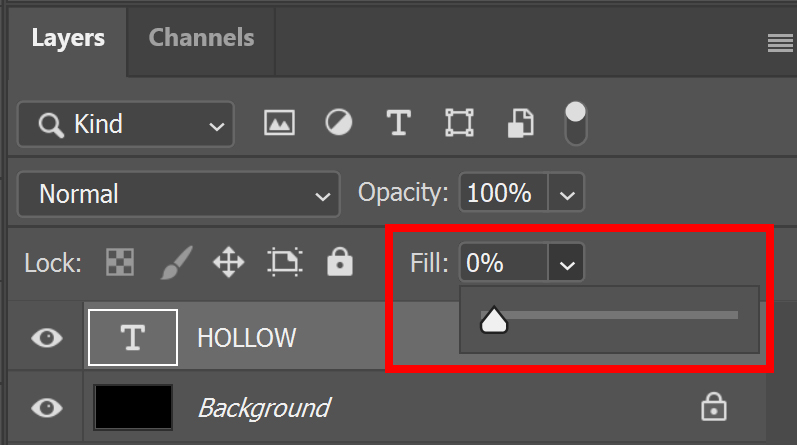
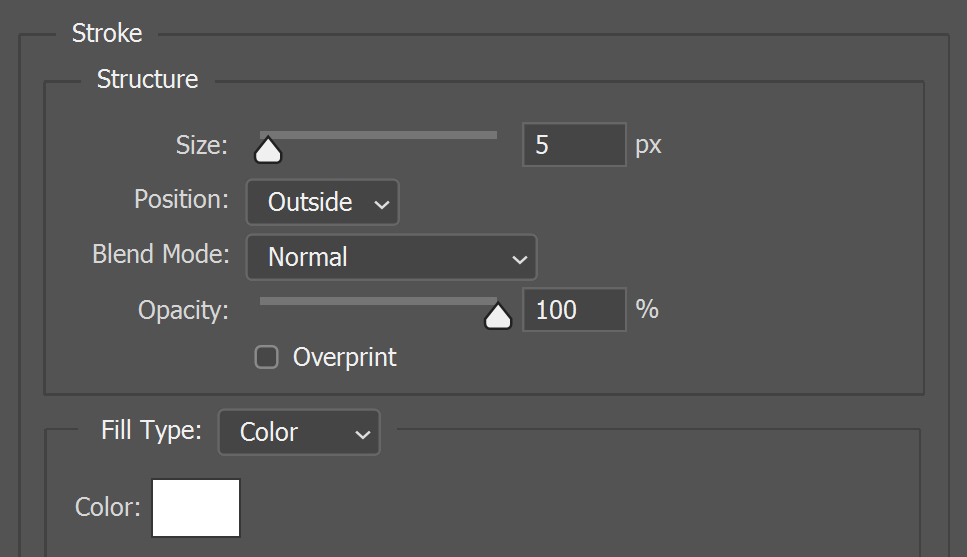
Click on the fx icon below your layer panel and select ‘stroke‘.
Pick a stroke color. You can find the settings I used in the image below.
Step 2: 3D text effect
Press CTRL+J to duplicate the text layer. Then press CTRL+T to activate free transform.
Use the arrow keys to move the text a little up and to the left. When you’re done moving the text, click on the ✓ icon.
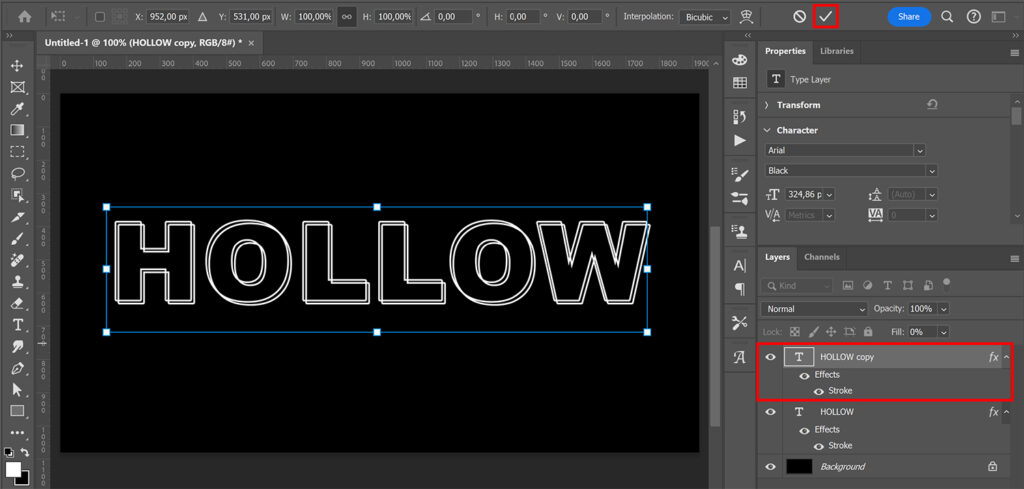
Now press CTRL+ALT+SHIFT+T multiple times to repeat this action. This will create the 3D effect!
To move or resize the text, select all the text layers. Then press CTRL+T. You can then adjust the size and/or position of the entire text.
And that’s how you create a hollow 3D text in Adobe Photoshop!
Learn more about Photoshop
Check out my other blogs and my YouTube channel if you want to learn more about editing in Adobe Photoshop!
You can follow me on Facebook if you want to stay updated about new blogs and tutorials!
Photoshop
Basics
Photo editing
Creative editing
Camera Raw
Neural filters
Text effects