
Published on November 4, 2024
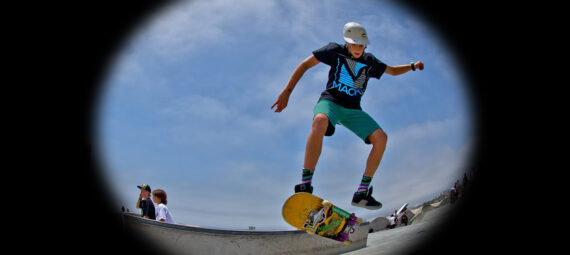
Looking for an easy way to add a fisheye effect in Lightroom using lens distortion tools? This tutorial shows you how to manually adjust distortion and vignette settings to recreate the iconic curved look of a fisheye lens.
Rather watch the video with instructions? Click here to watch the tutorial on YouTube or scroll down to the end of this page.
If you want, you can download the photo that I’m using here.
Fisheye lens effect
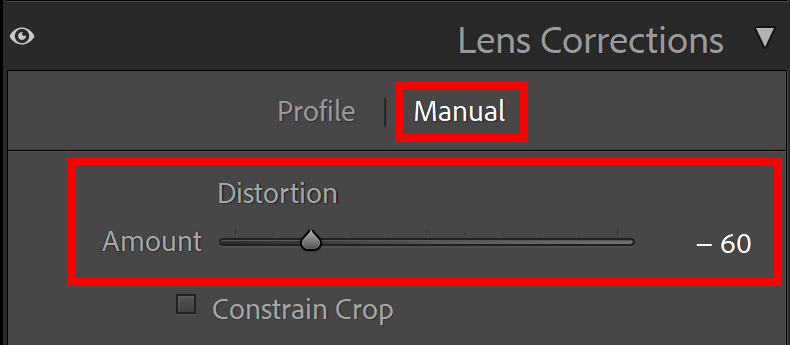
Open the photo that you want to edit. Then go to lens corrections and select manual.
Adjust the distortion. The amount depends on your photo and your personal preference.
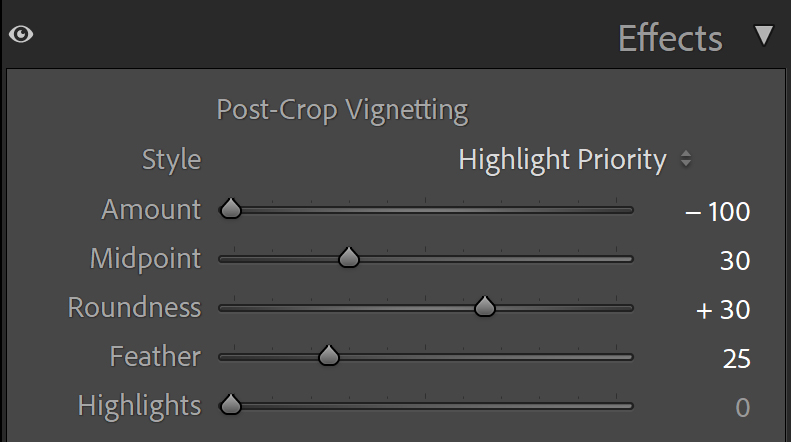
Then go to effects. Lower the amount to -100 to create a dark vignette.
Adjust the midpoint, roundness and feather to create a vignette that suits your photo.
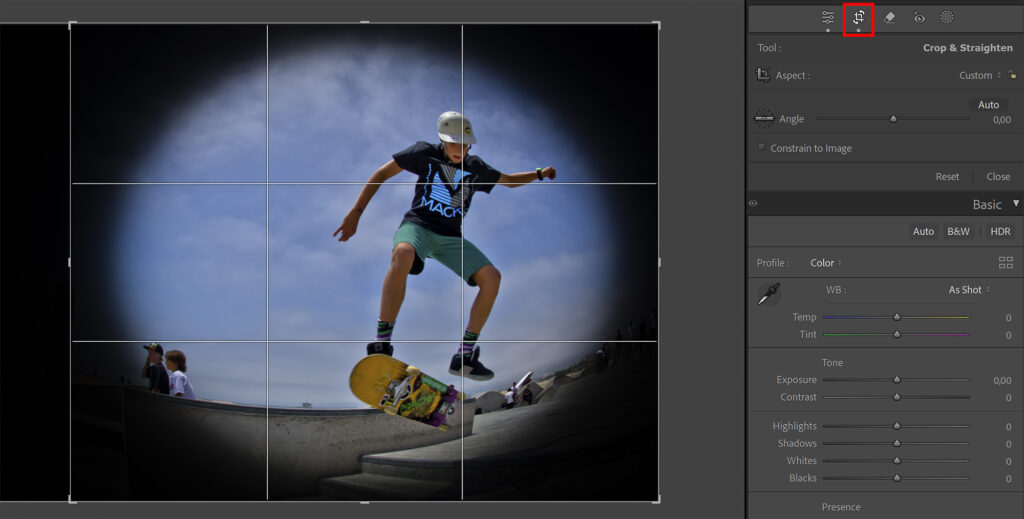
In the photo I’m using, the subject is not in the center of the photo. You can crop your photo and adjust the ratio to place your subject more towards the center of the photo. By doing this, the subject will also be more in the center of the vignette.
And that’s how you create a fisheye lens effect in Adobe Lightroom!

Learn more about editing in Lightroom
Want to learn more about editing in Adobe Lightroom? Check out my other blogs or take a look at my YouTube Channel.
You can also follow me on Facebook to stay updated about new blogs and tutorials!
Photoshop
Basics
Photo editing
Creative editing
Camera Raw
Neural filters
Text effects