

Published on May 29, 2023
Whiten teeth (adaptive presets)
I will show a super fast and simple method to whiten teeth in Adobe Lightroom (Classic). I’ll be using Adaptive Presets to do this.
Rather watch the video with instructions? Then click here or scroll down to the end of this page.
You can download the photo I used here.
Make teeth white
Open the photo you want to edit. Then open your presets.
Open the ‘Adaptive: Portrait‘ tab and then select ‘whiten teeth‘. If you can’t find the Adaptive Presets, you might have to update Lightroom first.
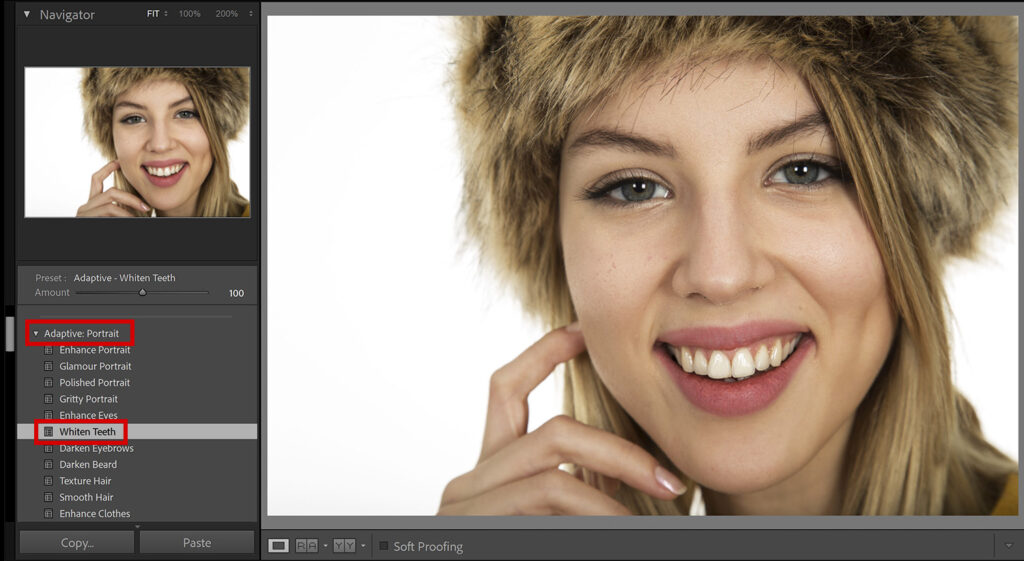
If you press \, you can switch between the before and after photo. If you do this, you will see that the teeth already look whiter.
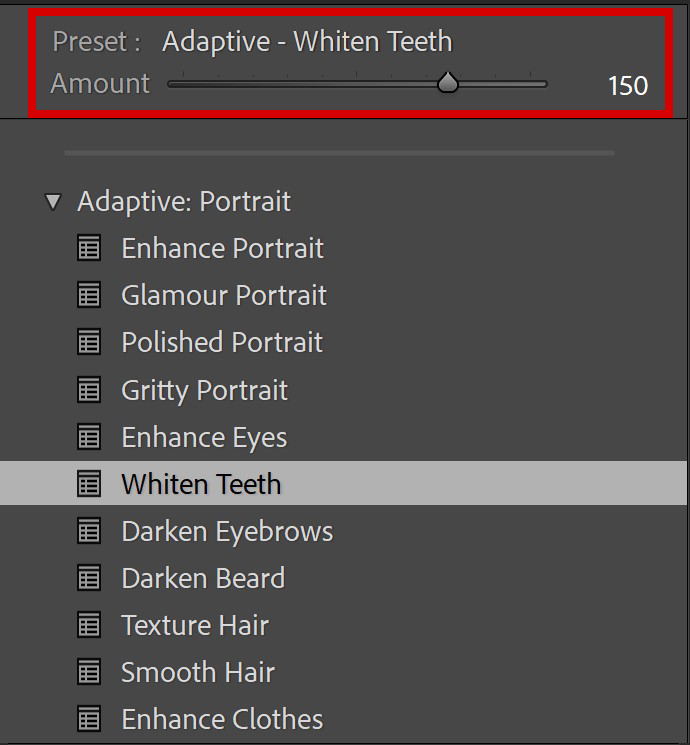
To make the teeth even whiter, you can increase the amount. You can also decrease the amount to make the teeth a little less white. I would not increase the amount too much, this might look unrealistic.
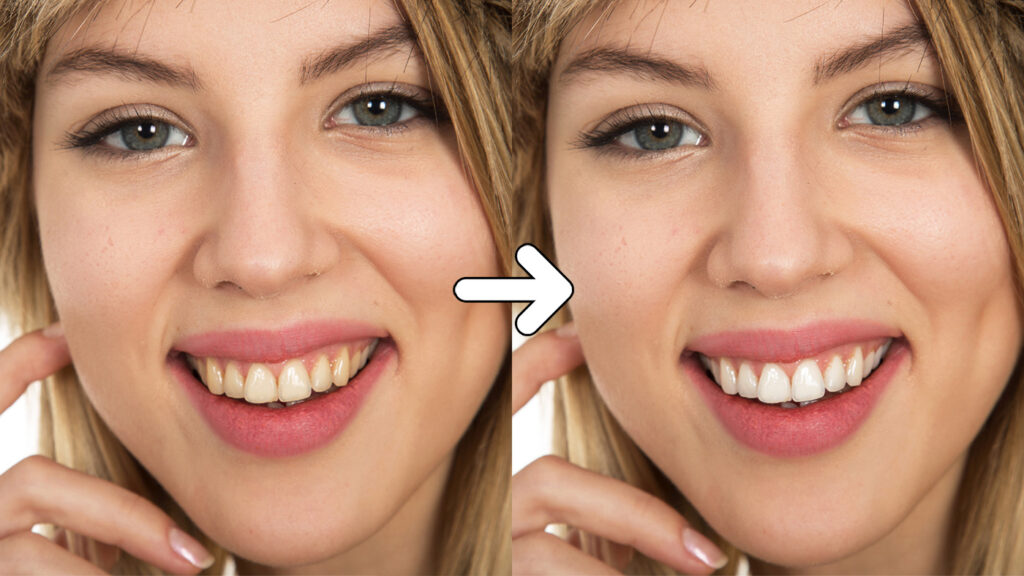
And that’s how you whiten teeth with the Adaptive Presets in Adobe Lightroom! You can see the result in the image below!
Learn more about Lightroom
Want to learn more about editing in Adobe Lightroom? Check out my other blogs or take a look at my YouTube Channel.
You can also follow me on Facebook to stay updated about new blogs and tutorials!
Photoshop
Basics
Photo editing
Creative editing
Camera Raw
Neural filters
Text effects