
Published on April 4, 2023
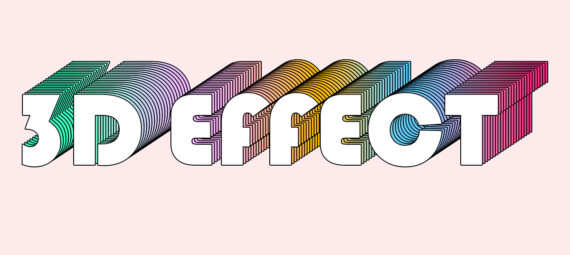
Gradient outlined 3D text effect
In this blog I’ll show you how to create this (gradient) 3D text effect with an outline in Adobe Photoshop!
Rather watch the video with instructions? Then click here or scroll down to the end of this page.
Step 1: Create file and text
First create a new file. My file is 1920 x 1080 pixels (resolution 150), but you can also use a different size.
Also pick a background color while creating the file. I wouldn’t make the background black or white (because the outline is black and the text white). Apart from that, you can use any color you like.
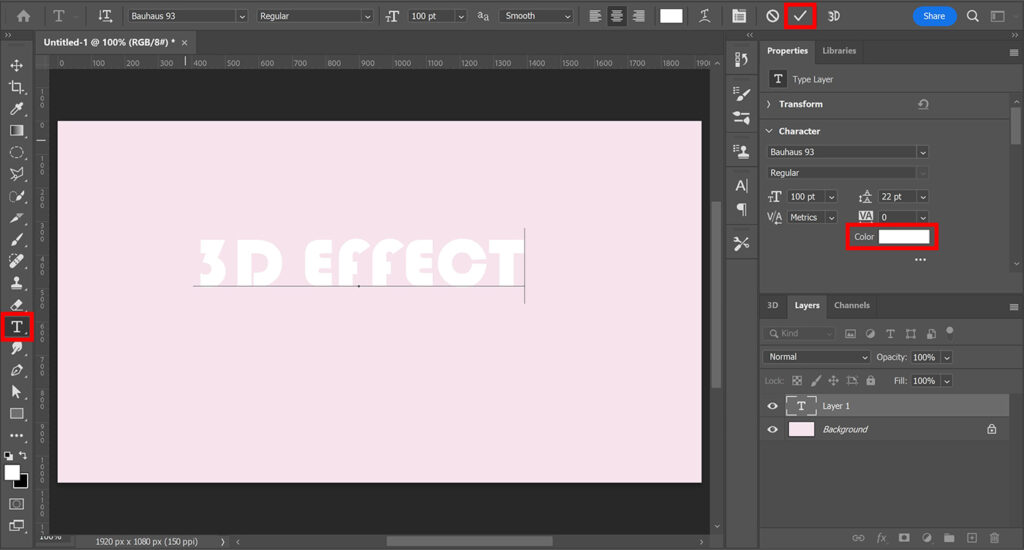
Select the horizontal type tool. Pick a font and make the text white. Then type your text.
When you’re done, click on the ✓ icon.
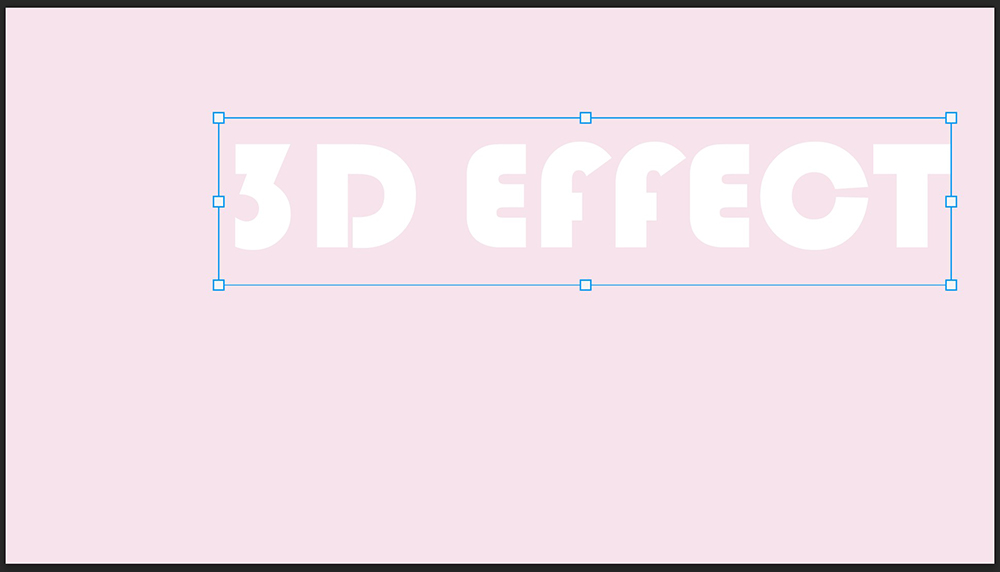
Then press CTRL+T to activate free transform. You can now resize and/or move the text. Move the text towards the top right corner, so there’s enough room left for the 3D effect.
Step 2: Add stroke (outline)
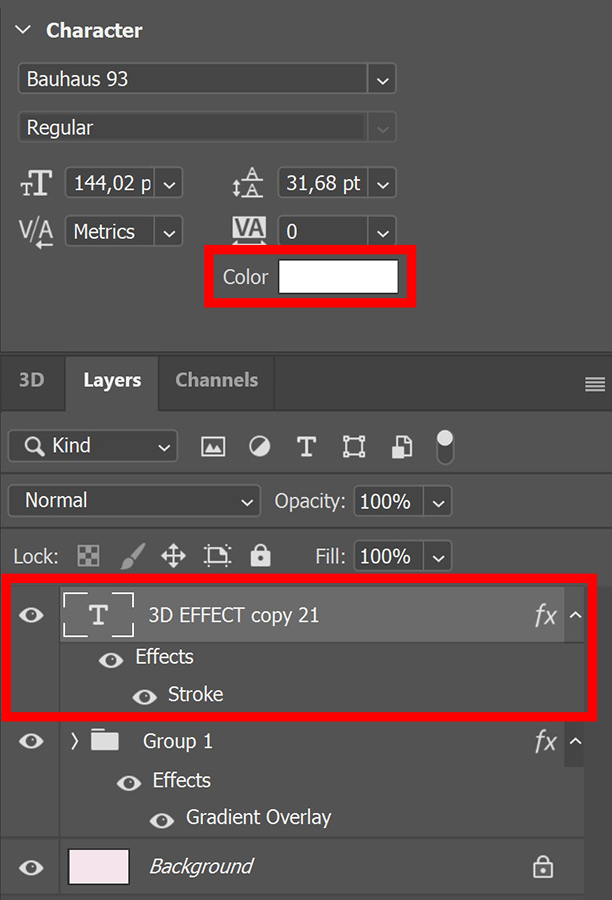
Make sure the text layer is selected. Click on the fx icon below your layers and select ‘stroke‘.
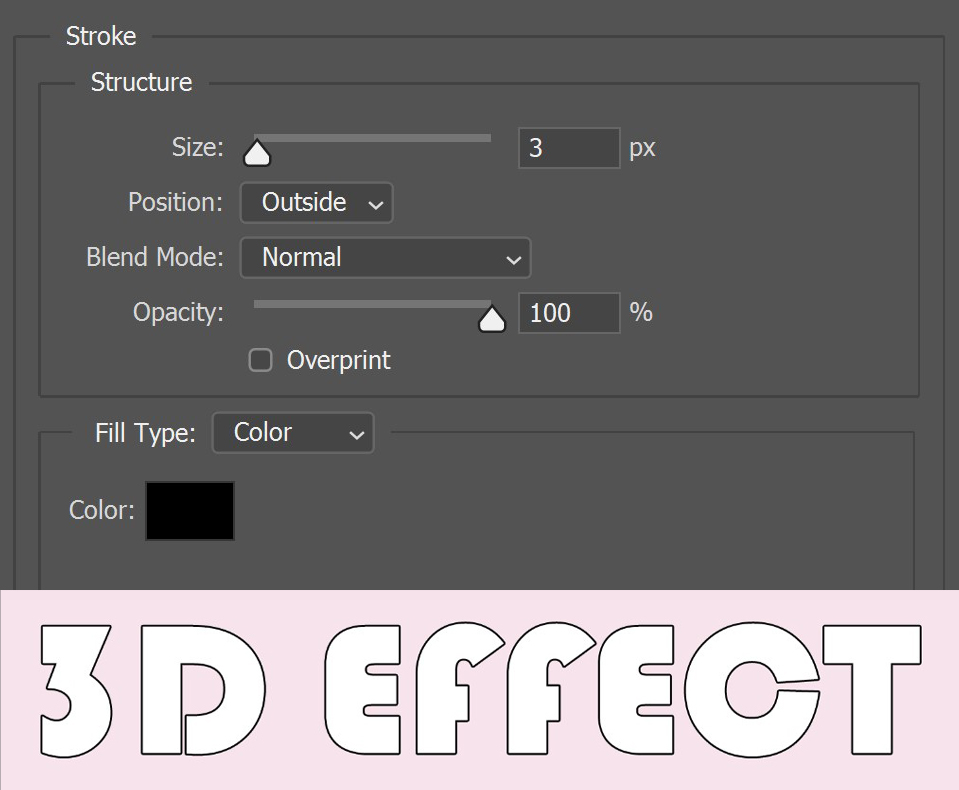
You can find the settings I used in the image below. Copy these settings. If your file size is different than mine, you might have to use a different stroke size. The stroke should have the same thickness as in the example below.
Step 3: Outlined 3D text effect
Press CTRL+J to duplicate the text layer.
Then press CTRL+T to activate free transform. Move the text layer down and to the left (use the arrow keys to do this). You only have to move the text a little bit (see example below).
When you’re done moving the text, click on the ✓ icon or press ENTER.
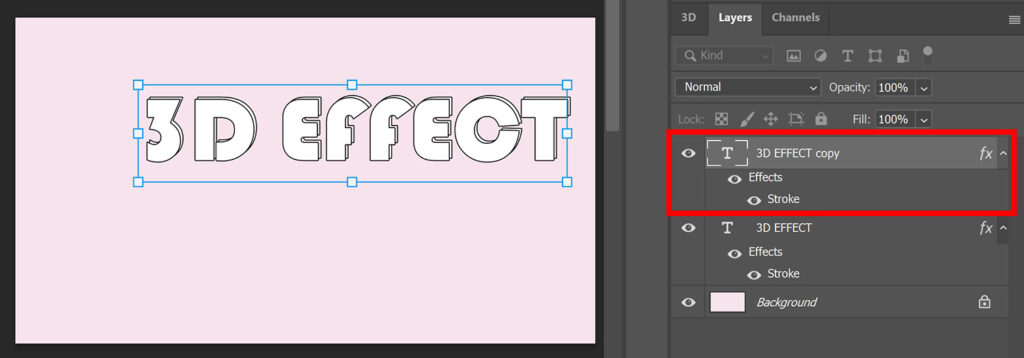
Then press CTRL+ALT+SHIFT+T to repeat the last action (moving the text) in a new layer. Keep pressing CTRL+ALT+SHIFT+T until you’re happy with the 3D effect!

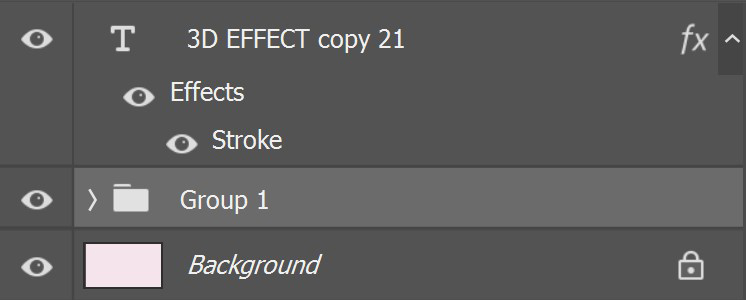
You have a lot of new text layers now. Select all the text layers, except the top one. Then press CTRL+G to group them. The 3D effect is now in this group.
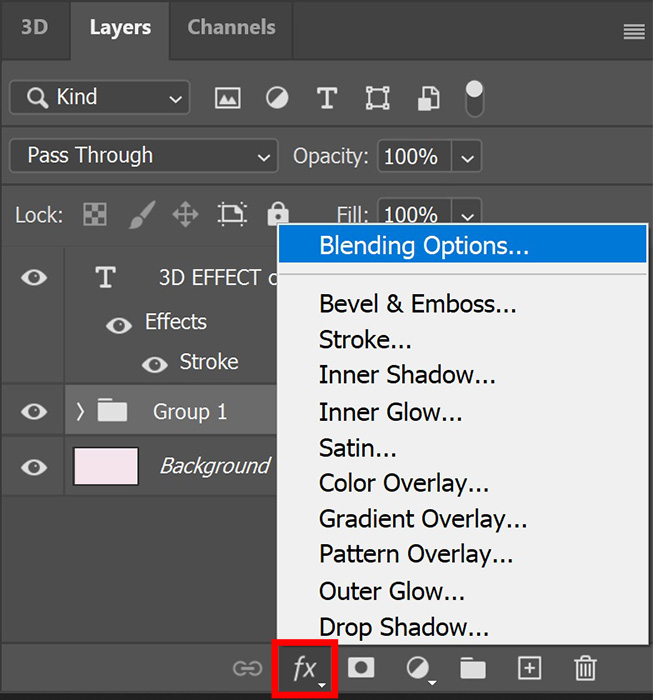
Step 4: Color 3D effect
I’ll now show you how to change the color of the 3D effect.
Select the group. Click on the fx icon and select ‘blending options‘.
To give the 3D effect a solid color, select ‘color overlay‘. Change the blend mode to multiply and pick a color!
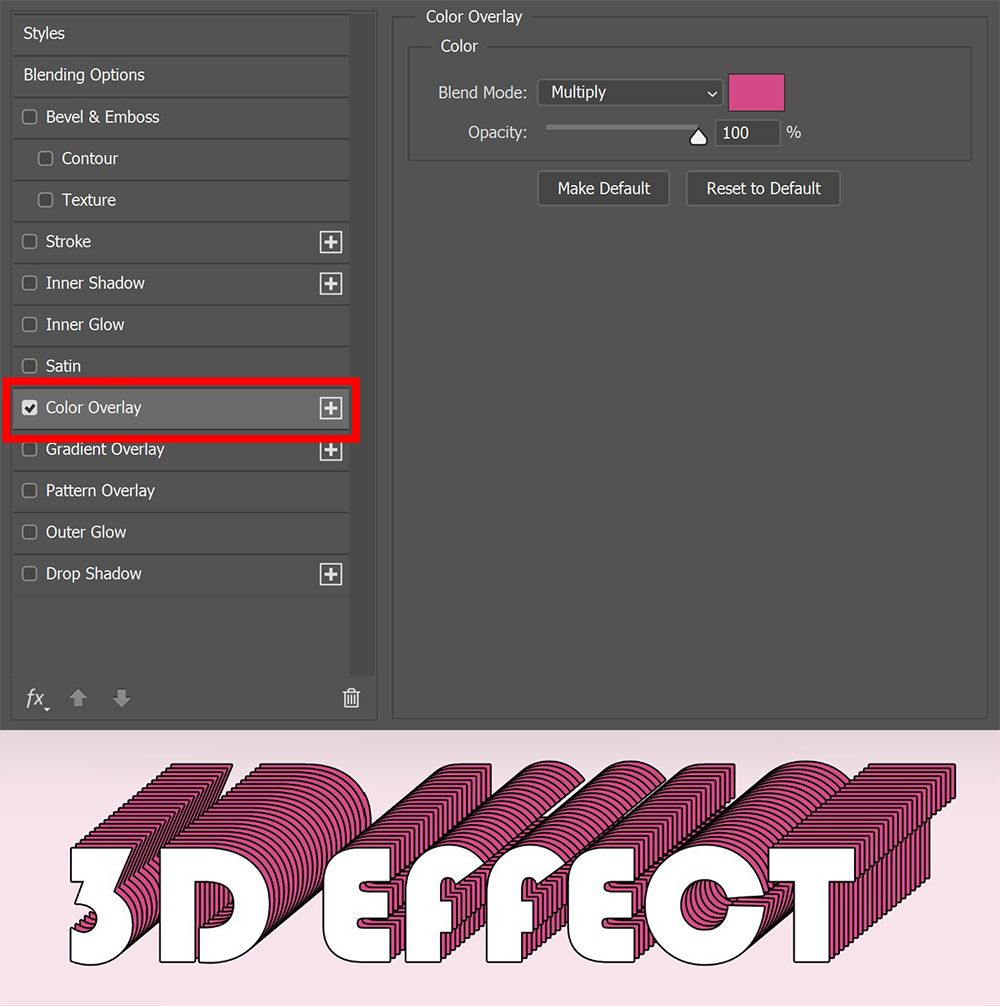
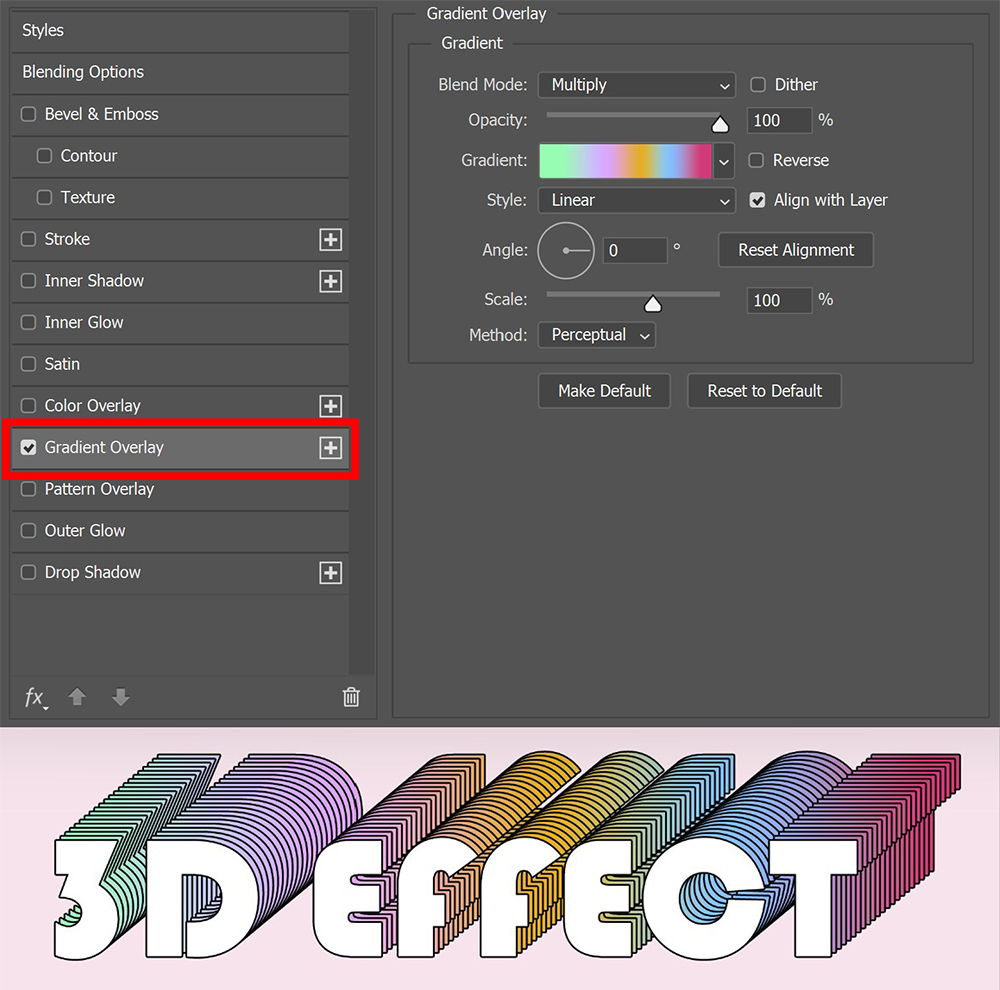
If you want to create a gradient effect, select ‘gradient overlay‘. Again change the blend mode to multiply. You can find the settings I used in the image below. I have created this gradient myself.
If you want to change the text color, select the text layer and click on the color box. I keep the text white.
To move and/or resize the text, select both the text layer and the group and press CTRL+T. You can then adjust the size and position of the text.
And that’s how you create this outlined 3D text effect in Adobe Photoshop!

Check out my other blogs or my YouTube channel if you want to learn more about editing in Adobe Photoshop!
Follow me on Facebook to stay updated about new blogs and tutorials! You can find the video with instructions below.
Photoshop
Basics
Photo editing
Creative editing
Camera Raw
Neural filters
Text effects