
Published on December 19, 2021
How to add borders to your photo in Photoshop?
In this blog I’ll show you a quick method to add borders to your photo in Adobe Photoshop.
Rather watch the video tutorial? Click here or scroll down to the end of this page. If you want to download the image I’m using, click here.
Step 1: Add borders
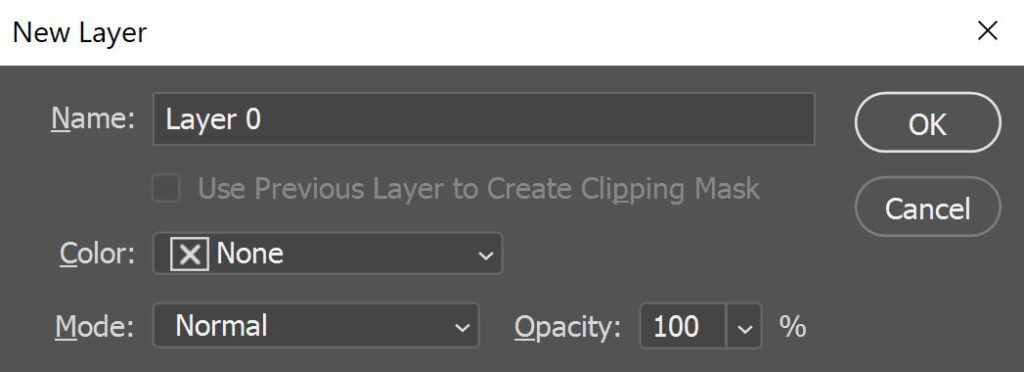
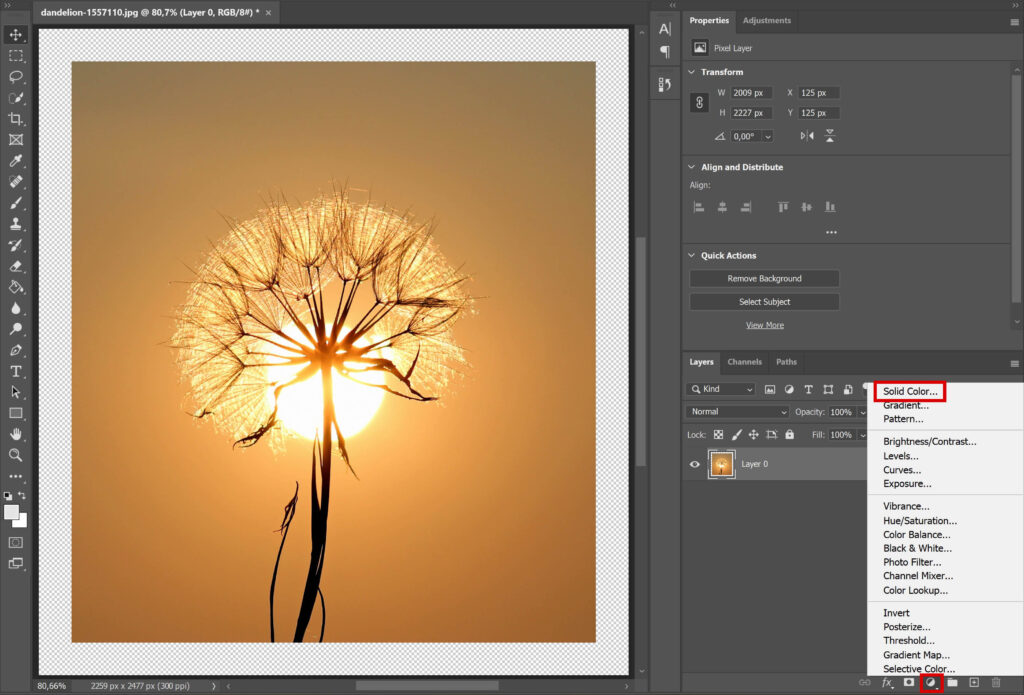
First navigate to ‘Layer > New > Layer from background‘. You can copy the settings I used (see image below). If you keep the color at ‘none’, you can pick the border color later.
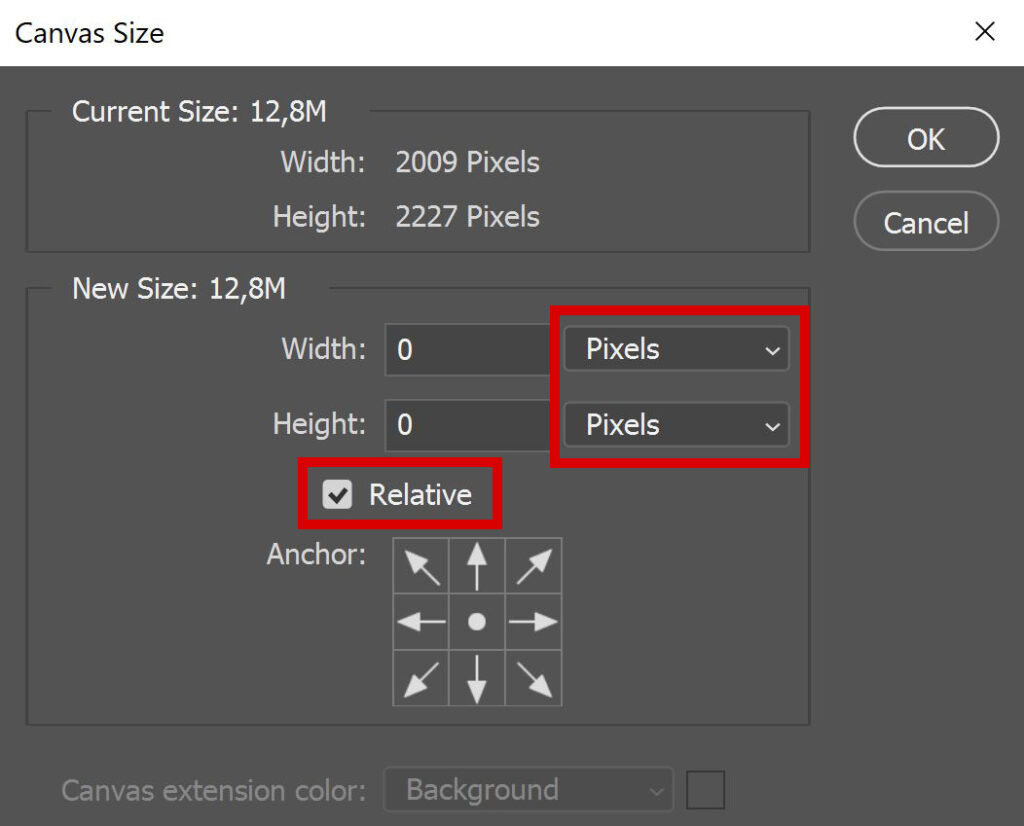
Now navigate to ‘image > canvas size‘. Select ‘relative‘. I’m using pixels, but you can also use a different measuring unit.
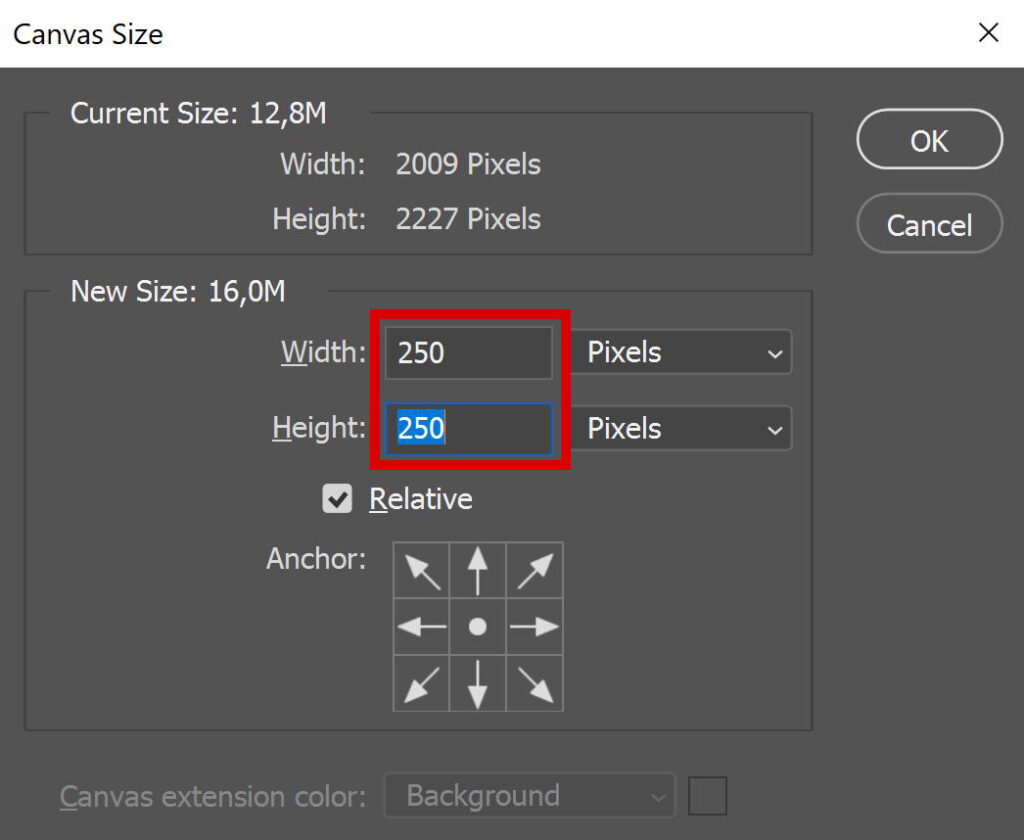
My original file is 2009×2227 pixels. I insert the amount of pixels that I want to add to my file. I want to create equal borders, so I add 250 pixels to both the width and the height. The amount of pixels that you need to add, depends on the size of your original file and on how big you want the borders to be (a larger amount of pixels creates a bigger border).
Click OK. If the borders aren’t right, press CTRL+Z to undo the last action and navigate back to ‘image > canvas size’. Try out a different amount than before.
Step 2: Pick a color
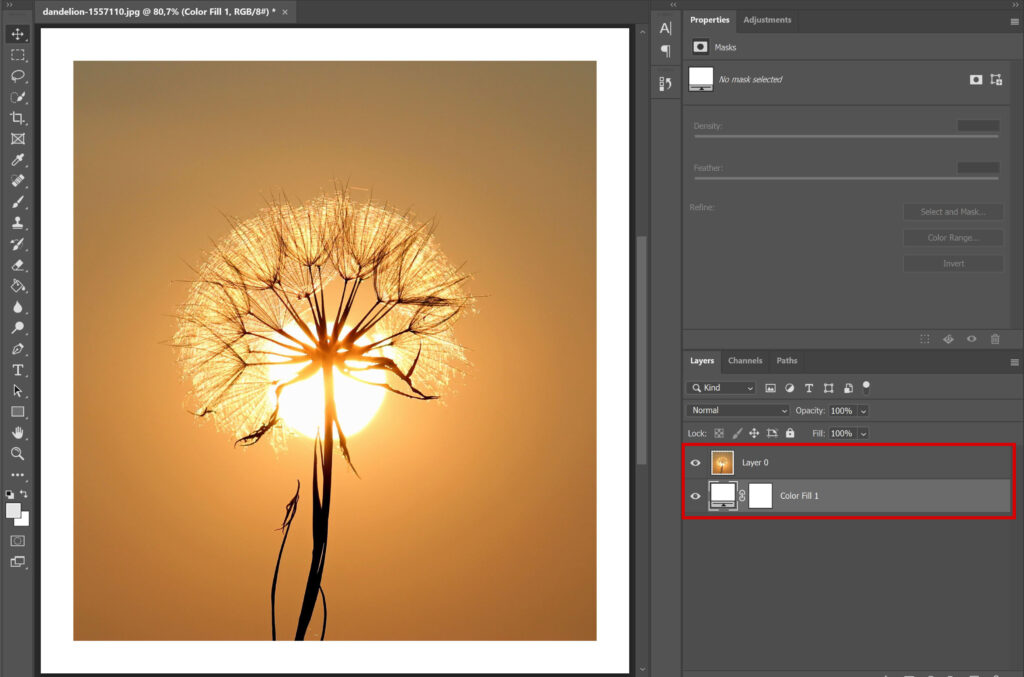
The borders are now transparent. To colorize the borders, add a ‘solid color‘ fill layer.
I want my borders to be white. Drag your color fill layer below your image layer. Your borders are now colored. To change the color of the borders, double click on the color fill layer thumbnail.
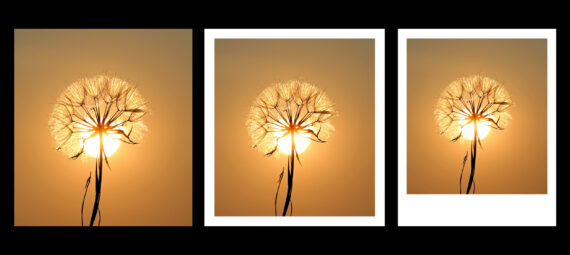
Polaroid effect
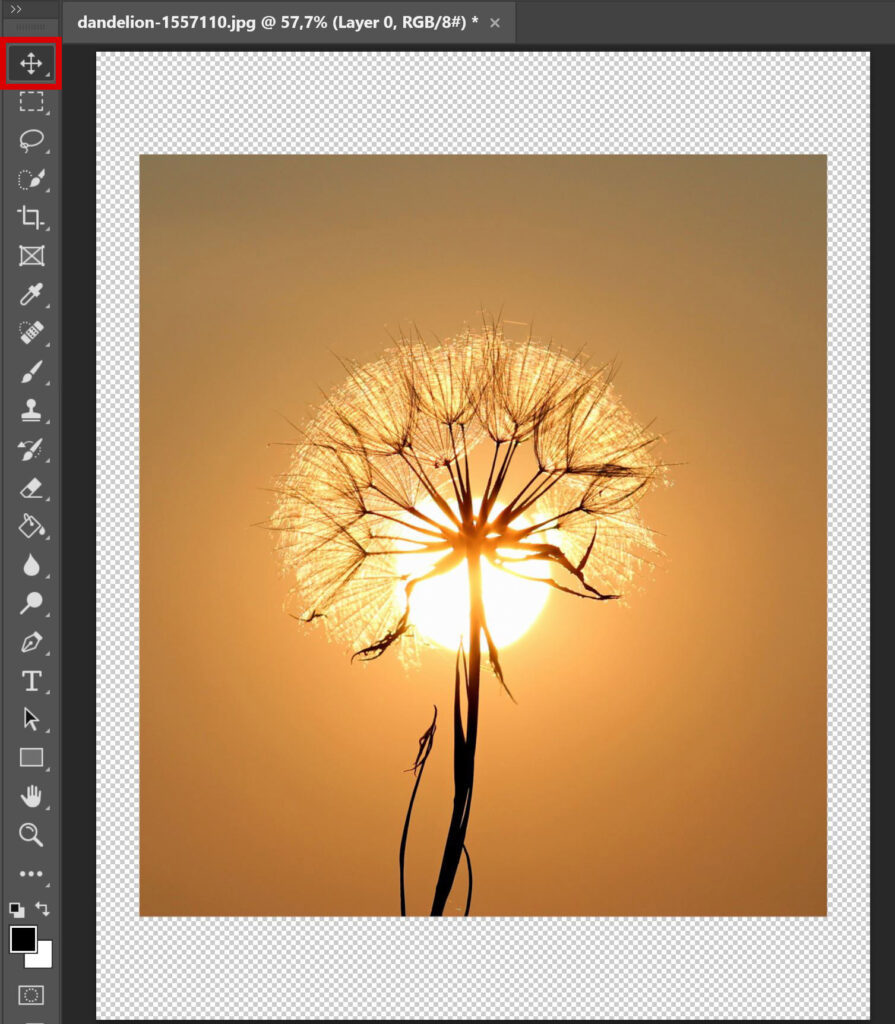
You can also create a polaroid effect. Repeat the first steps (‘Layer > New > Layer from background’ and then navigate to ‘image > canvas size’). Instead of adding the same amount of pixels to the width and height, I now add more pixels to the height. You can see the settings I used in the image below.

Your image is now in the middle. To create the polaroid effect, you need a large border at the bottom and a small border at the top. Use the move tool to move your image up.
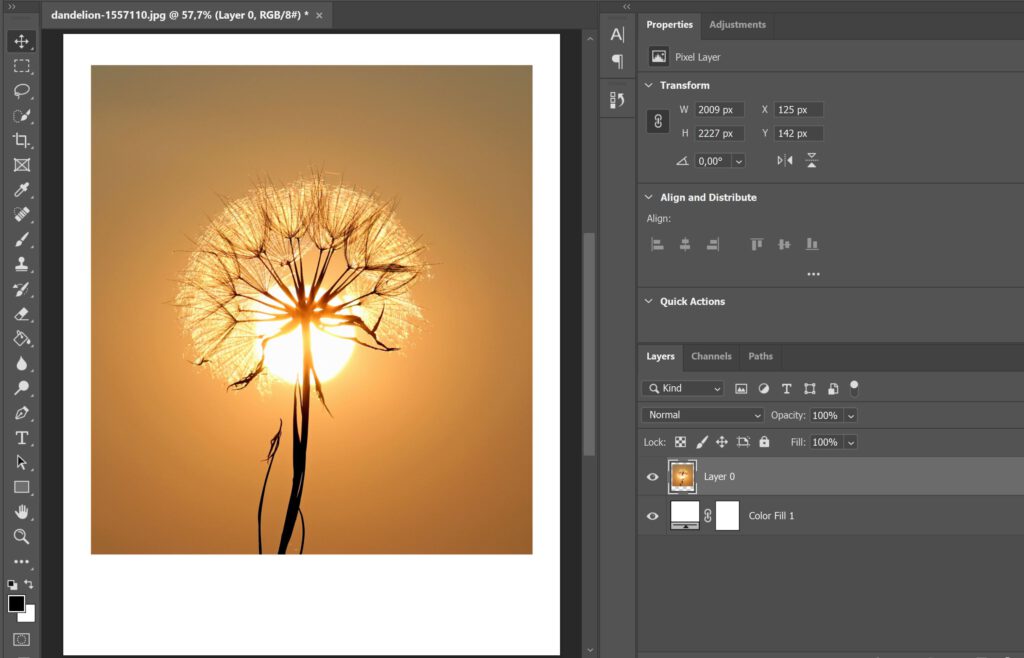
Repeat step 2 to colorize the borders. You can see the end result in the image below!
And that’s how you add borders to your photo in Adobe Photoshop! We now used the canvas size to add borders, but you can also use the crop tool. Read this blog if you want to learn this method too!
Want to learn more about Photoshop? Check out my other blogs or take a look at my YouTube channel. You can find the video tutorial below!
Photoshop
Basics
Photo editing
Creative editing
Camera Raw
Neural filters
Text effects