
Published on November 21, 2021
Create borders for your instagram post
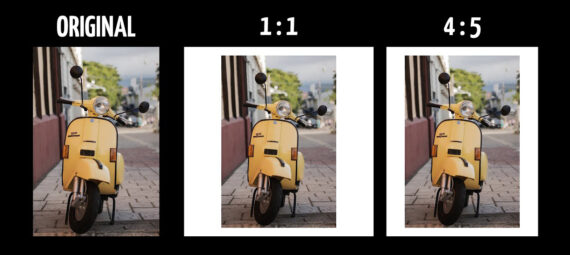
When you want to post a vertical photo on Instagram, there’s a big chance that you have to crop it. The most common ratios for an Instagram post are 1:1 and 4:5. In this blog I’ll show you how to create borders in Adobe Photoshop, so you get the correct ratio without cropping your original photo!
If you’d rather watch the video tutorial, click here or scroll down to the end of this page. Want to download the image I’m using, click here.
Step 1: Create borders
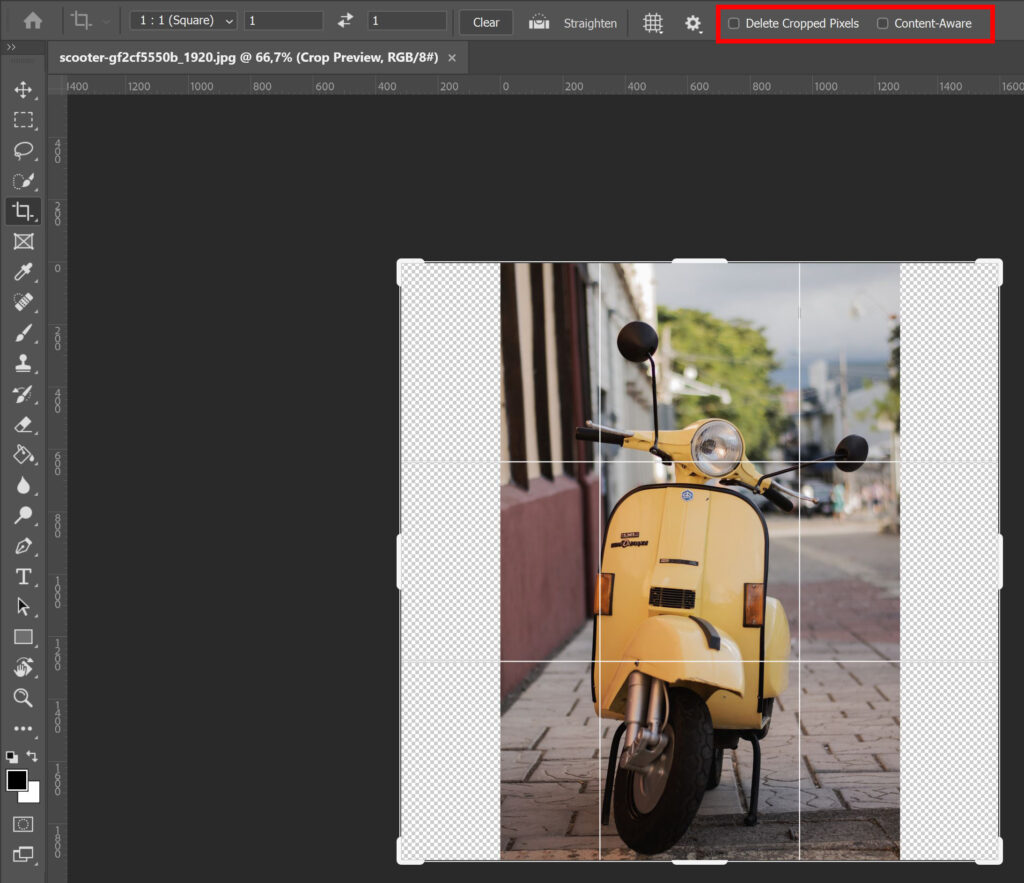
Select the crop tool and change the ratio first. I’ll start with the 1:1 (square) ratio. As you can see, a large part of the photo will be lost if you crop it like this.

To fix that, make the frame larger so the entire image fits inside of it (see the image below for an example of how this should look). Uncheck ‘delete cropped pixels’ and ‘content-aware’. This way the border will be transparent, so you can pick your own color. Press enter or click the ✓ icon to apply the adjustments.
Step 2: Pick a color
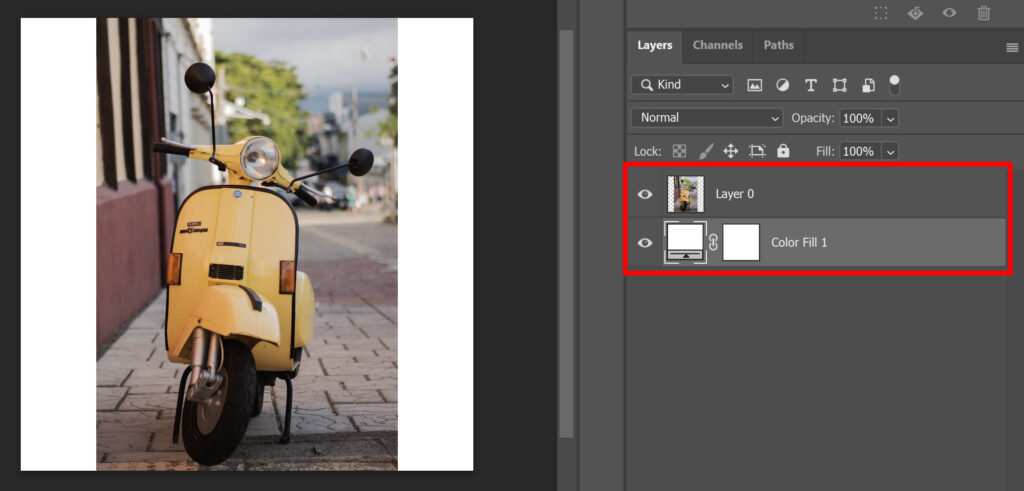
To color the border, add a solid color fill layer.
Then pick a color for the border. I want mine to be white. Drag the Color Fill layer below the image layer. As you can see, we now have a square image with white borders. You can adjust the border color by double clicking the thumbnail of the Color Fill layer.
If you also want a small border on the top and bottom, select the crop tool again. Make the frame a bit larger, so there’s also extra room on the top/bottom.
Press enter or click the ✓ icon to apply the adjustments. The transparent areas will get the same color as the rest of the border. You can use the move tool to adjust the placement of the image (to place it in the middle).
Adjust the ratio
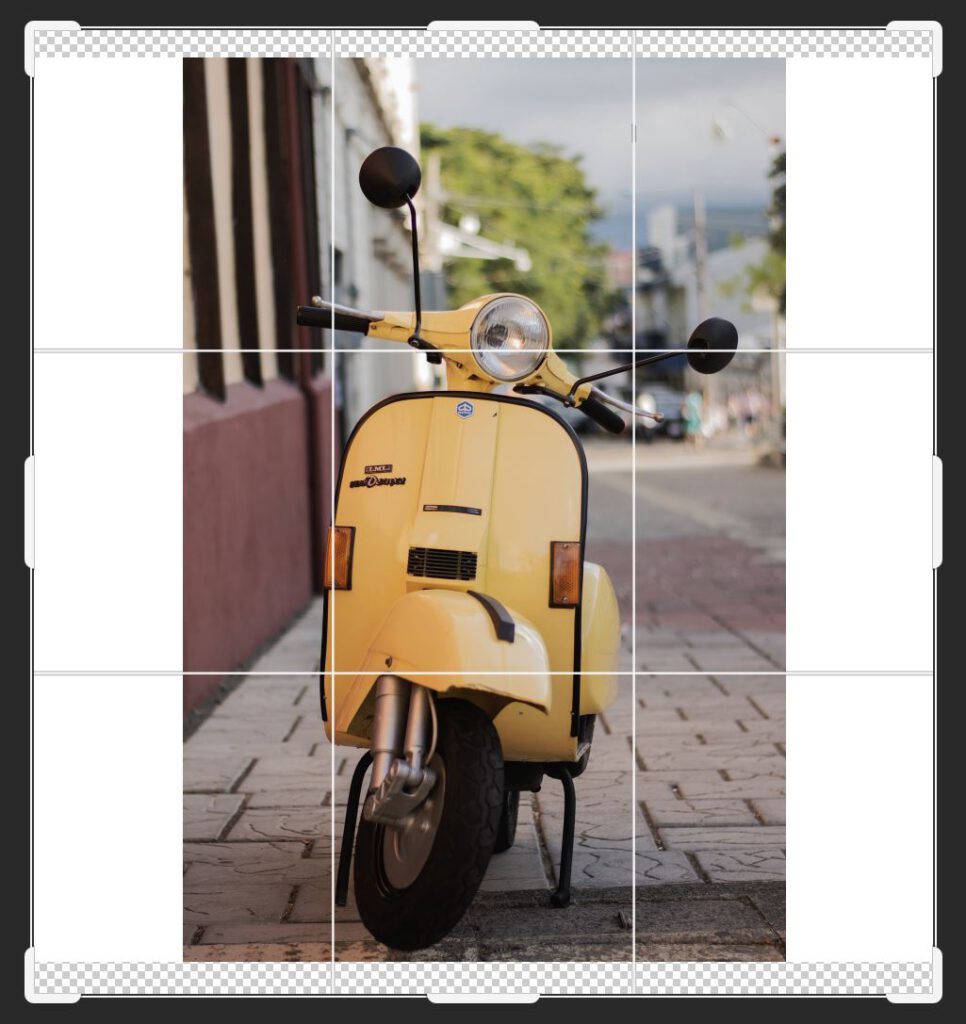
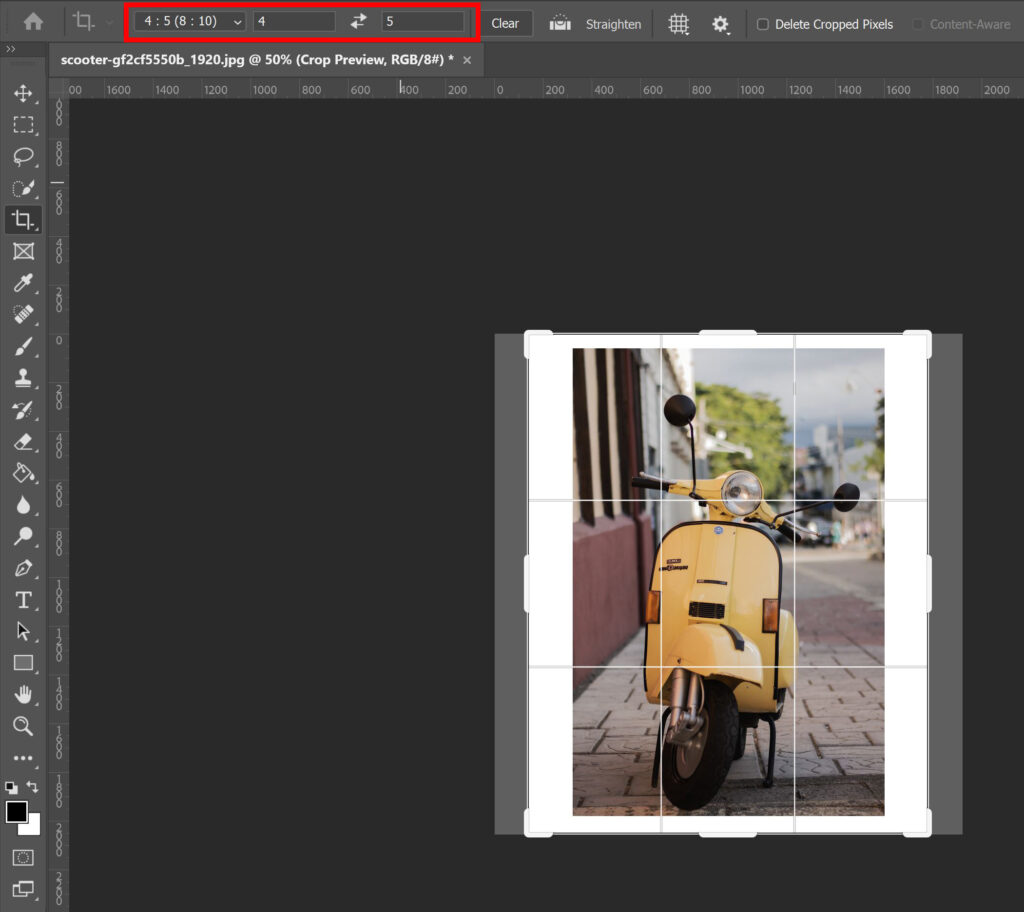
If you want a 4:5 ratio instead of the 1:1 ratio, select the crop tool and pick the 4:5 ratio.
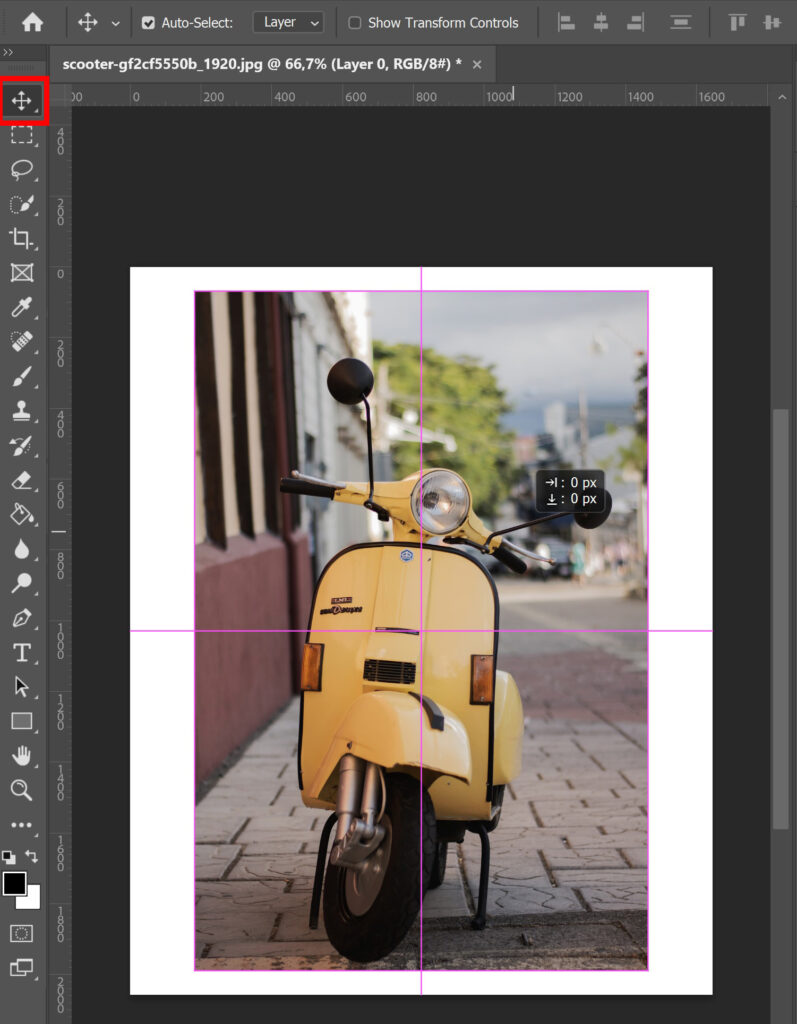
Again you can use the move tool to place your image in the middle. Use the guidelines to determine the center.
And that’s how you add borders to your photo in Adobe Photoshop! We now used the crop tool, but you can also add borders by changing the canvas size. If you want to learn more about that method, click here.
Want to learn more about Photoshop? Check out my other blogs or take a look at my YouTube channel. You can find the video tutorial below!
Photoshop
Basics
Photo editing
Creative editing
Camera Raw
Neural filters
Text effects