
Published on October 23, 2022
Mask people in Camera Raw
In this blog I’ll show you how to quickly mask and edit people in Camera Raw (version 15.0) using Adobe Photoshop.
Rather watch the video with instructions? Then click here or scroll down to the end of this page.
Click here to download the photo I used.
Step 1: Camera Raw Filter
Open the photo you want to edit. Press CTRL+J to duplicate the background layer. Right click on this copy and convert it to a smart object. By doing this, you’ll be able to adjust the Camera Raw settings at any point.
Then navigate to ‘Filter > Camera Raw Filter‘ to open Camera Raw.
Step 2: Mask people
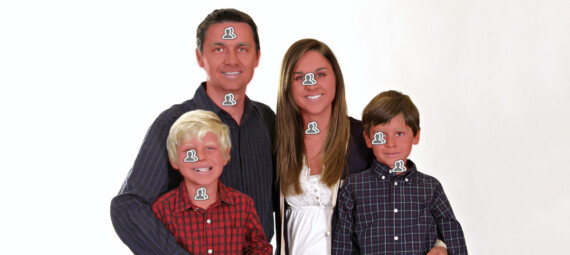
Select ‘masking‘. Camera Raw will now select all the people in your photo. If you hover over the persons, you can see what area will be masked (in this case you’ll see that the boy is red, because my overlay is shown in red).
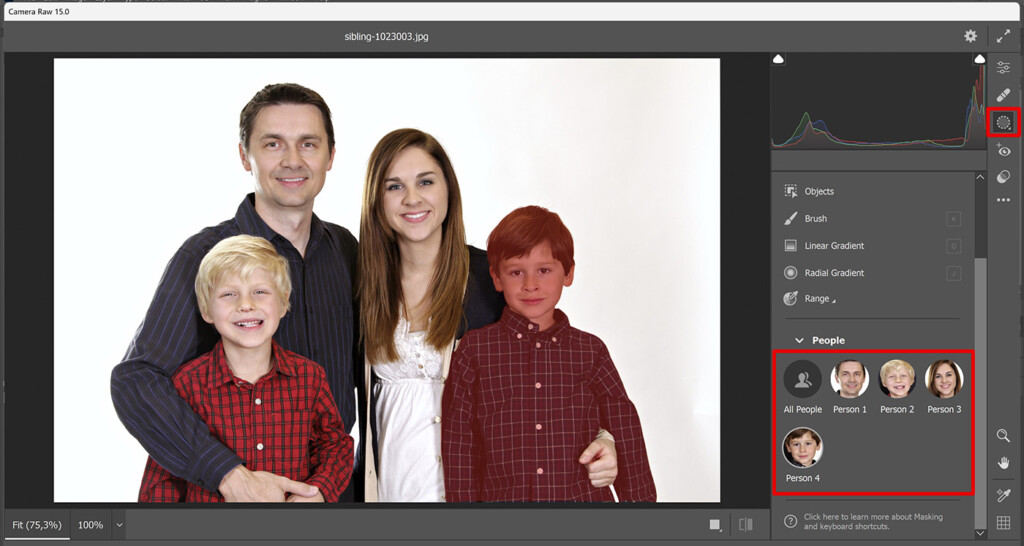
Click on the person you want to mask. You can mask the entire person, or you can mask some specific areas of that person.
Click on the icon below ‘person mask options’ if you want to mask more than one person.
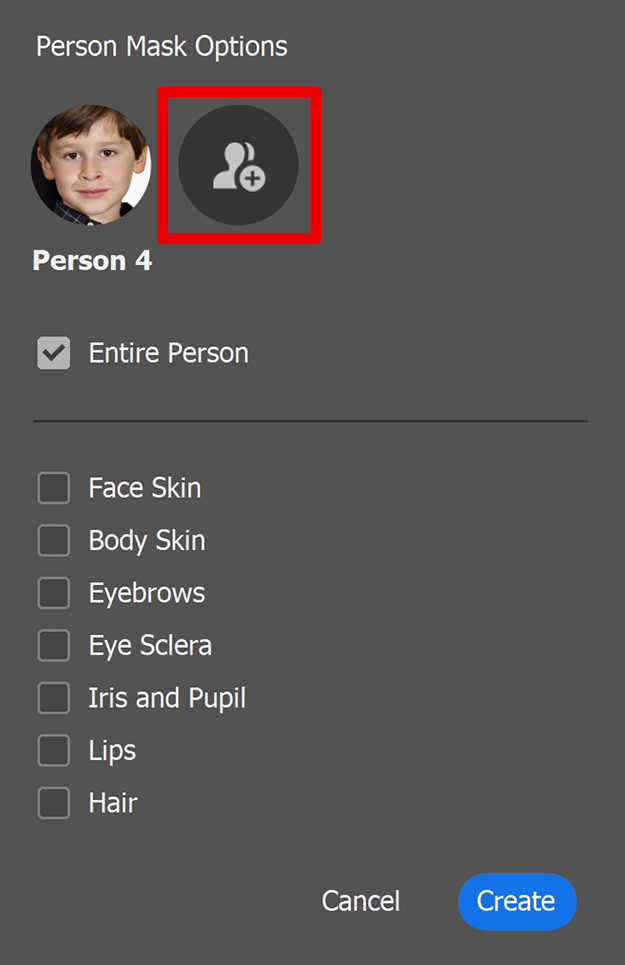
Select the persons that you want to mask. Then select whether you want to mask the entire person, or just some parts. After you did that, click ‘create‘ to make the mask.

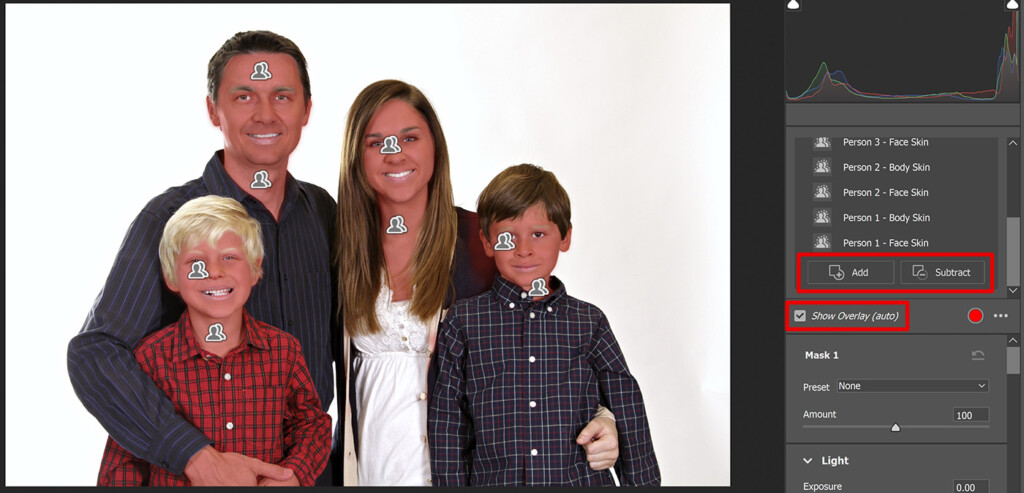
Step 3: Adjust mask
If you select ‘show overlay‘, you’ll see the areas that are masked now. As you can see in the image below, one hand is not masked. To fix that, select ‘add‘ and pick a tool. I use the brush tool and I brush over the hand to add that to the mask. The area next to the boy’s face is masked, but this area shouldn’t be masked. To remove that, select ‘subtract‘ and again pick a tool you want to use.
Once your mask is correct, you can start to edit the masked area!
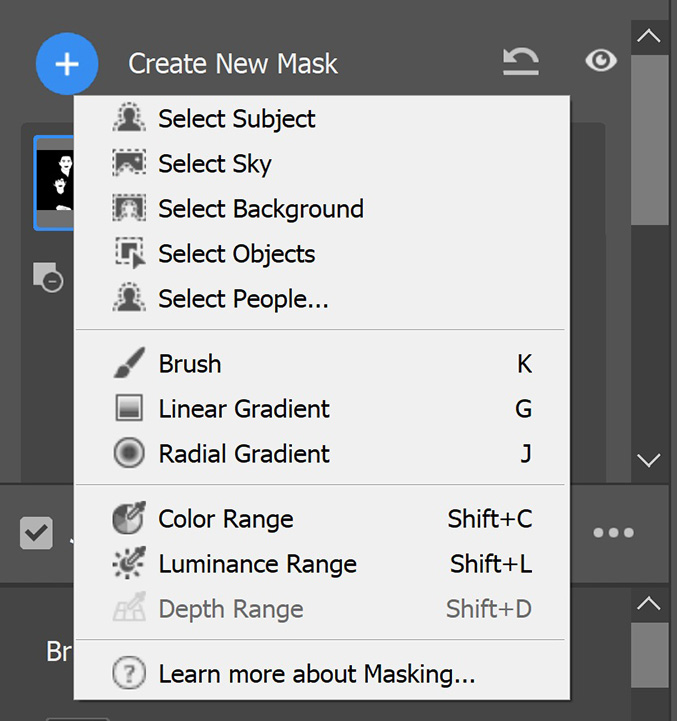
Step 4: Create new mask
To create a new mask, select ‘create new mask‘. Pick one of the options. To select other parts of the people, use the ‘select people‘ option again.
When you’re done, click OK. The adjustments are now applied to layer 1 (the layer that you converted to a smart object). Because you converted this layer to a smart object, you can still adjust the settings. To do that, double click on the ‘Camera Raw Filter’ layer. Camera Raw will then open again and you can adjust the masks and settings!
And that’s how you automatically mask people in Camera Raw! Camera Raw also has a new method to select and mask objects. Click here to read the blog I wrote about that.
Want to learn more about editing in Adobe Photoshop? Check out my other blogs or take a look at my YouTube channel.
Follow me on Facebook to stay updated! You can find the video with instructions below.
Photoshop
Basics
Photo editing
Creative editing
Camera Raw
Neural filters
Text effects