
Published on March 4, 2023
Blurred photo border (photo on photo)
In this blog I’ll show you how to create a blurry photo border (frame) in Adobe Photoshop. Then I’ll also show you how to create a drop shadow.
If you want to watch the video with instructions, you can scroll down to the end of this page or click here.
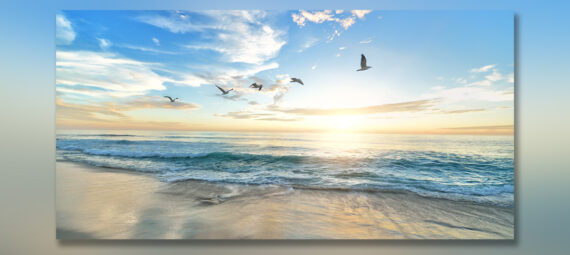
You can download the photo I used here.
Step 1: Resize or crop layer
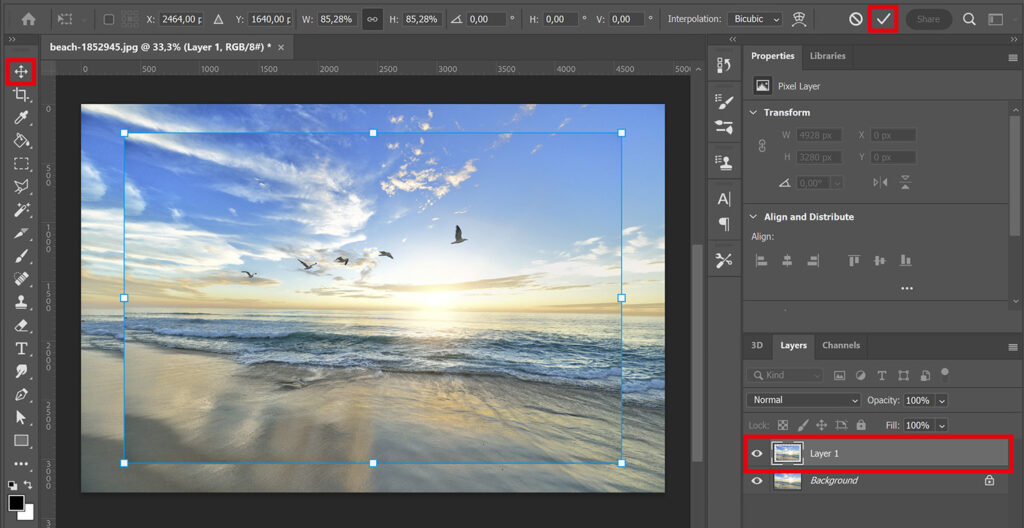
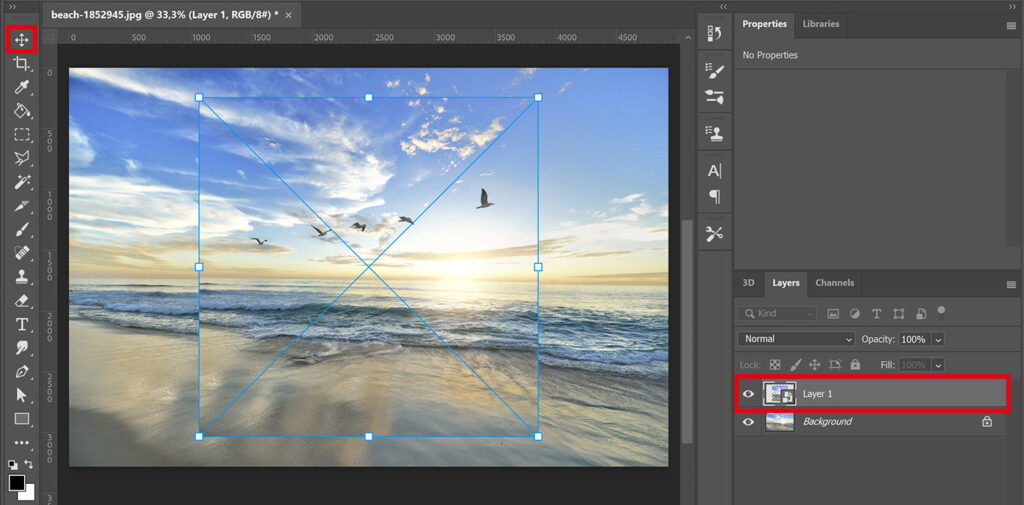
Open the photo you want to edit. Then press CTRL+J to duplicate the background layer.
Select the move tool. Press CTRL+T to activate free transform. Make this layer smaller and place it in the middle. When you’re done, click on the ✓ icon (or press ENTER).
Instead of making the layer smaller, you can also crop this layer. I’ll now show you how to do that. If you don’t want to crop the layer, you can just make it smaller and continue with step 2.
Crop layer
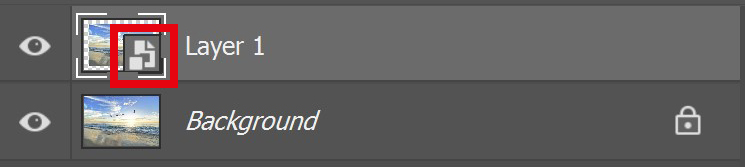
Right click on Layer 1 (the top layer) and select ‘convert to smart object‘. Then double click on the smart object icon inside of the thumbnail (see image below). This layer will then open in a new tab.
Select the crop tool. You can now select the ratio you want to use and crop the photo.
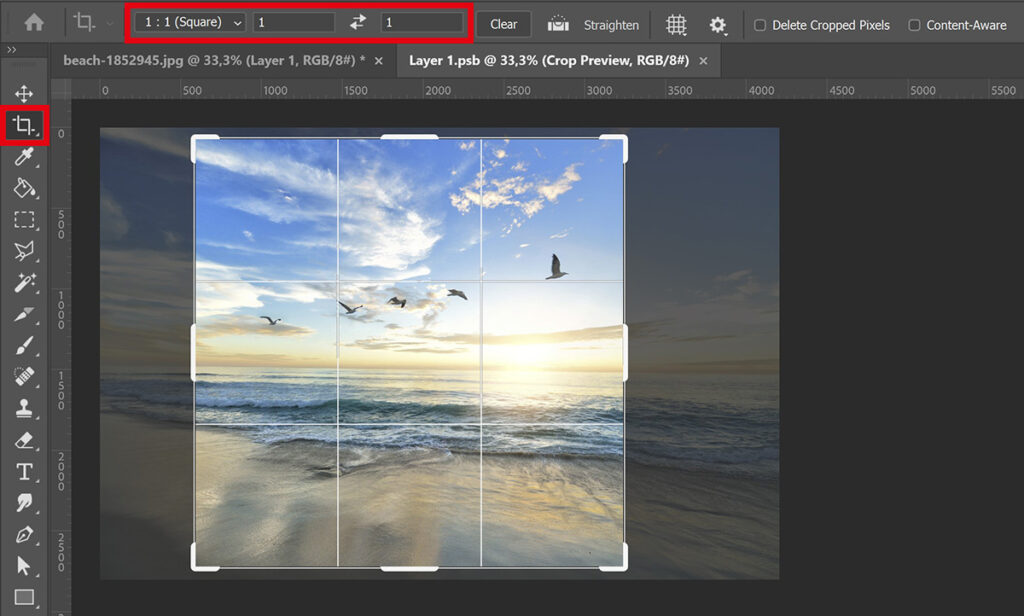
Click on the ✓ icon when you’re done cropping. Then navigate to ‘File > Save‘ (or press CTRL+S) to save the changes.
You can then close this tab to go back to the file you were working on. You’ll see that the layer is cropped now.
Select the move tool and press CTRL+T again to resize and/or move the cropped layer.
Step 2: Blurry border
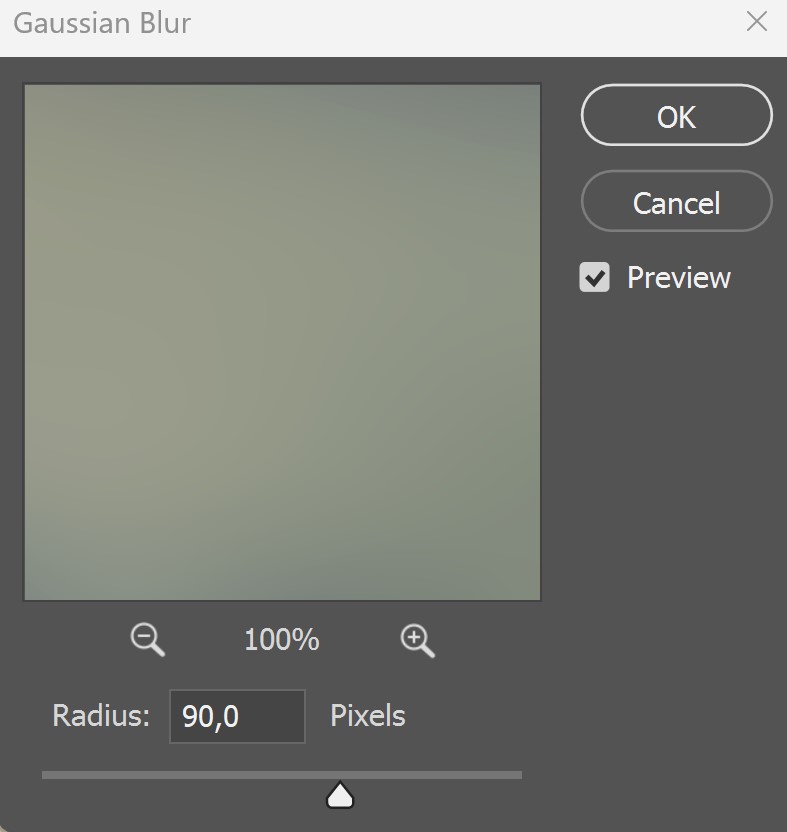
Select the background layer. Right click on this layer and select ‘convert to smart object‘.
Then navigate to ‘Filter > Blur > Gaussian blur‘. I use a radius of 90 pixels, but you can also use a different amount (depending on how blurry you want the border to be).
Step 3: Drop shadow
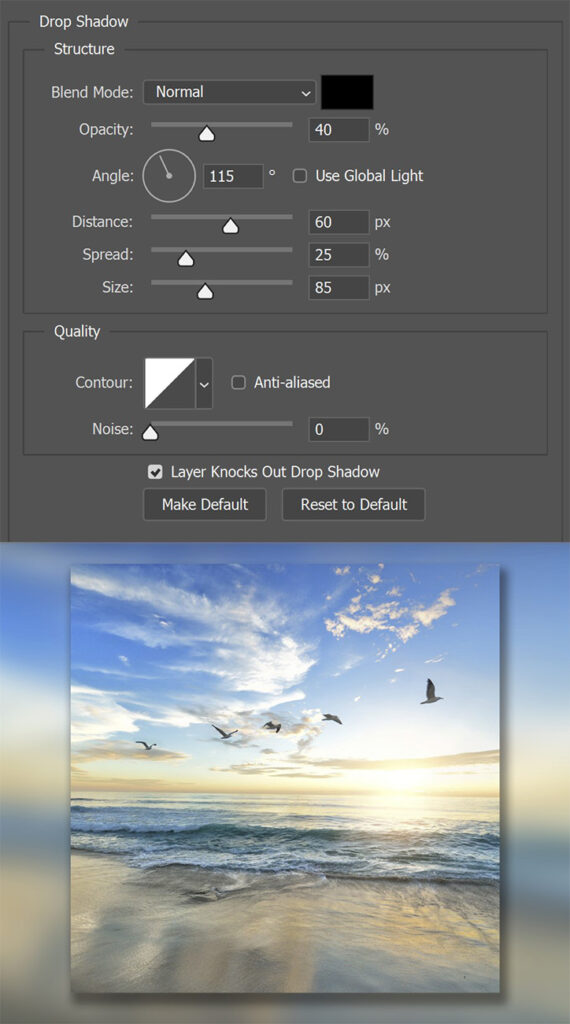
Select Layer 1 (the top layer). Click on the fx icon below your layers and select ‘drop shadow‘.
The setting you need to use depend on the size of your file. My file is 4928 x 3280 pixels (resolution 72). If your file is larger or smaller, using the same settings as me will result in a different looking drop shadow.
You can find the settings I used in the image below. Try out some different settings to see what looks good on your photo.
If you want to adjust the amount of blur for the border, double click on the ‘gaussian blur’ layer. You can then change the radius.
To adjust the drop shadow, double click on the ‘drop shadow’ layer. The window shown in the image above then opens again so you can change the settings.
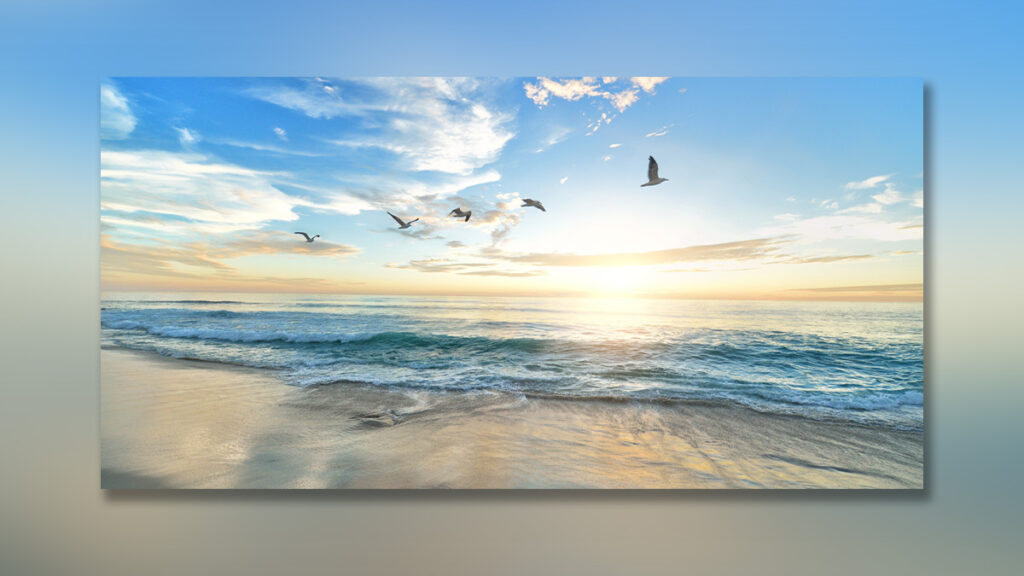
And that’s how you create a blurry border (photo on photo) with a drop shadow in Adobe Photoshop!
Learn more about Photoshop
Want to learn more about editing in Adobe Photoshop? Check out my other blogs or take a look at my YouTube channel.
Follow me on Facebook to stay updated about new blogs and tutorials! You can find the video with instructions below.
Photoshop
Basics
Photo editing
Creative editing
Camera Raw
Neural filters
Text effects