Published on November 28, 2021
Change colors of just one object
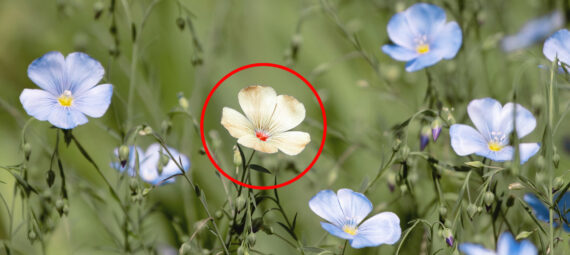
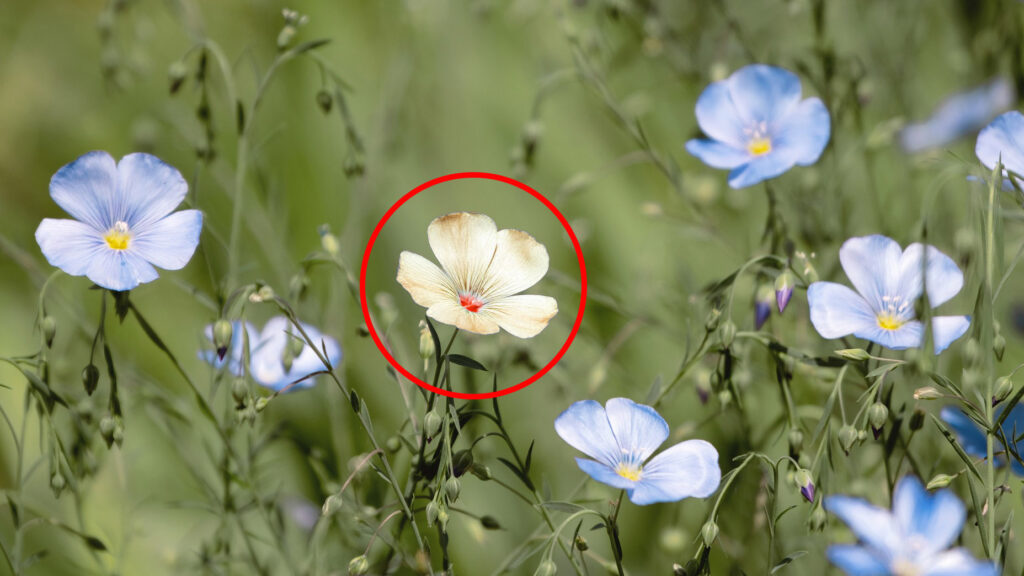
In this blog I’ll show you how to change the color of just one object in Adobe Photoshop. For example, if you have a field of similar colored flowers and you want to change the color of just one flower, you can use this method!
If you’d rather watch the video tutorial of this process, click here or scroll down to the end of this page. If you want to download the image I’m using, click here.
Step 1: Select object
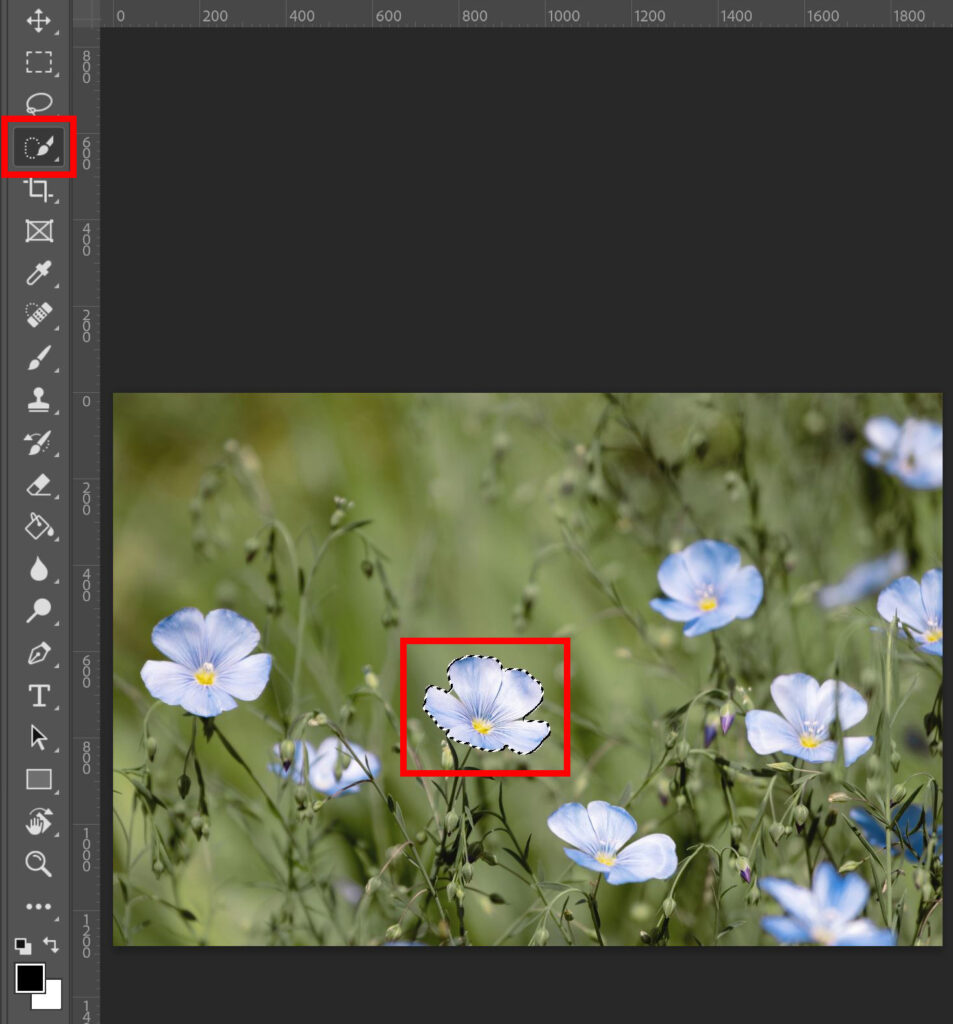
The first thing you need to do, is select the object you want to change the color of. You can use several selection tools, but I’m using the quick selection tool.
Step 2: Change colors
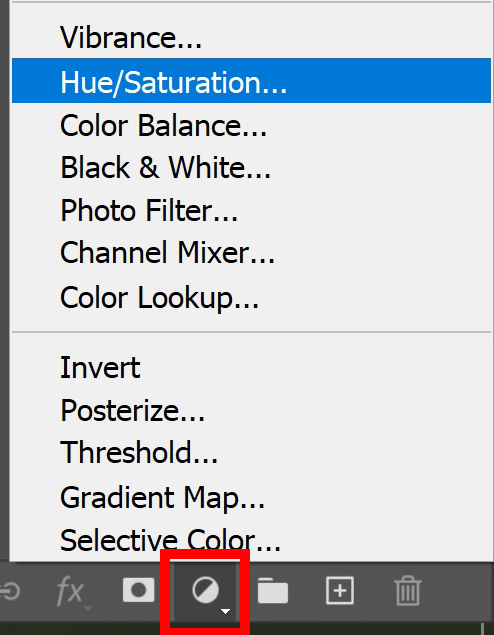
Add a hue/saturation adjustment layer.
Photoshop added a layer mask to your selected area. This means that the changes you make will only apply to this masked area. If you change the hue, you’ll see that only the selected object changes in color.
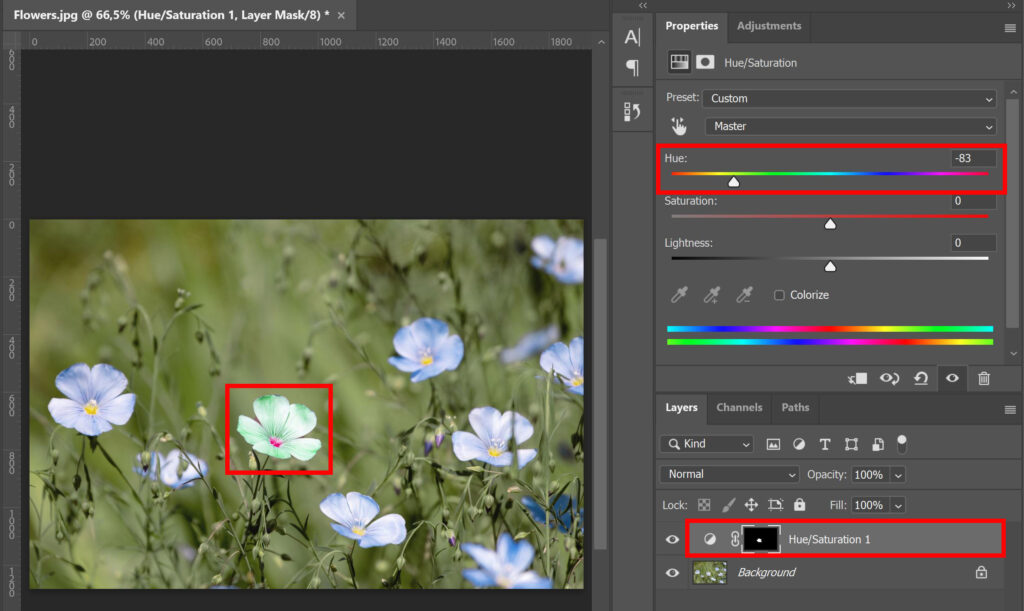
This flower consists of several colors. If you just change the hue, all colors will change. But you can also change the colors separately. Select the hand icon and click on the area you want to change. I clicked on the yellow part of the selected flower.
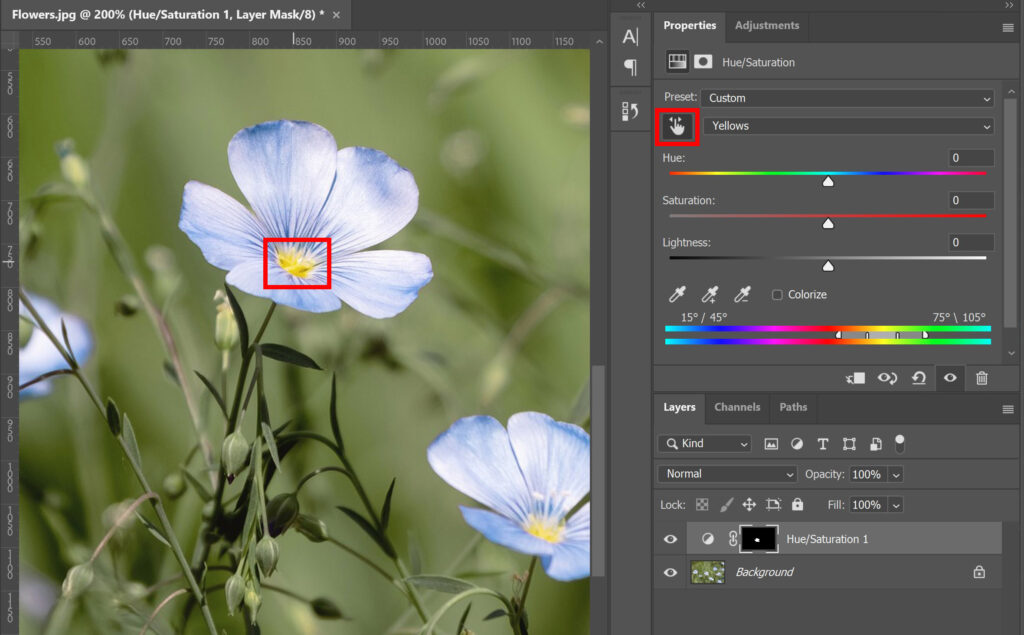
As you can see, it says ‘yellows‘ next to the hand icon. This means that only the areas in the yellow color range will change. So if you adjust the hue now, it will only change the yellow colors (I made the yellow areas red).
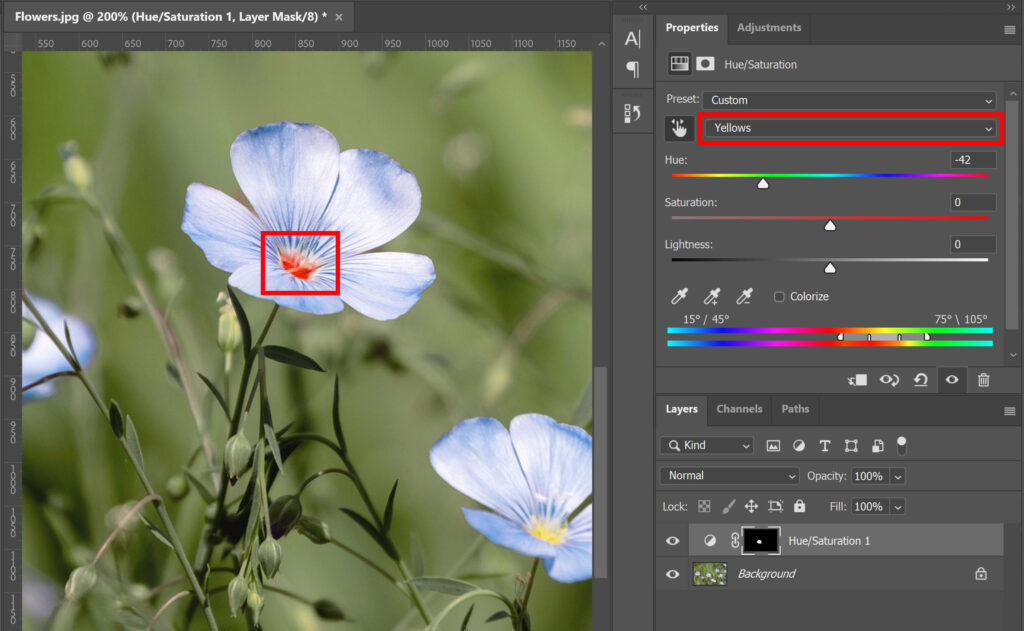
You can do this for the other colors too. Select the hand icon again and click somewhere in your image. If I’d click on the blue petals, instead of ‘yellows’ it will select ‘blues’. This means that only the blue colors will change if you adjust the hue.
You can also adjust the saturation and lightness if you want.
Step 3: Refine selection
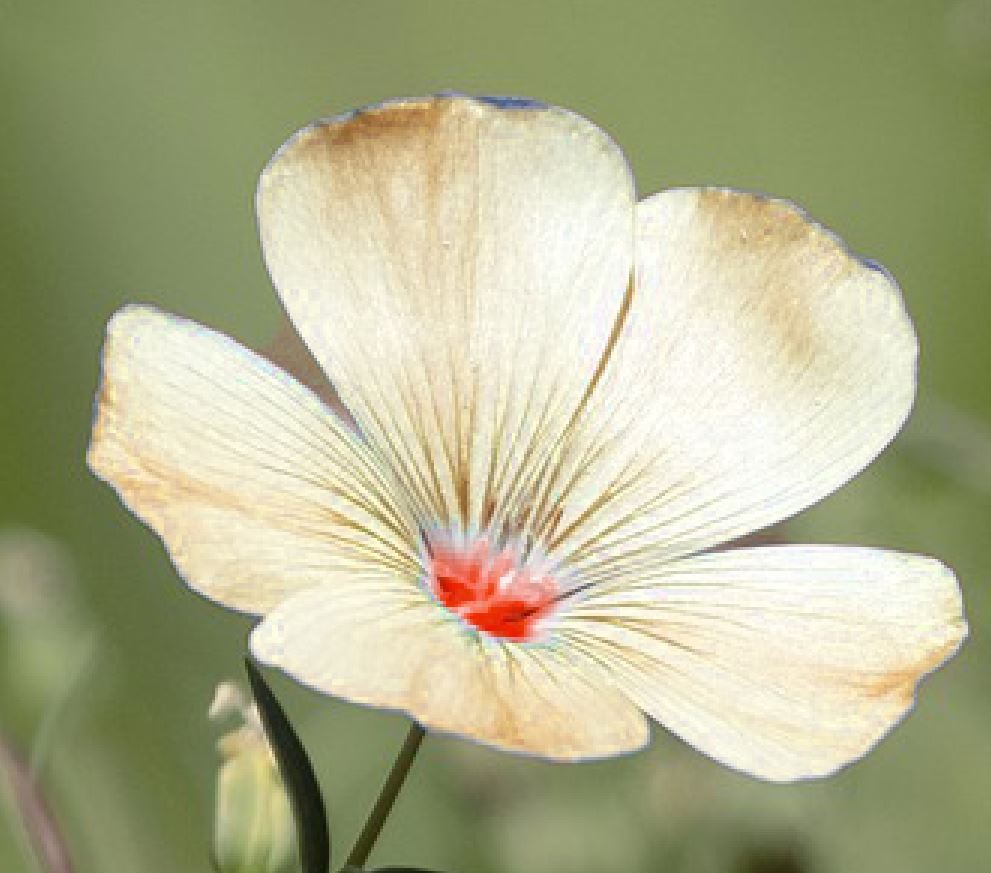
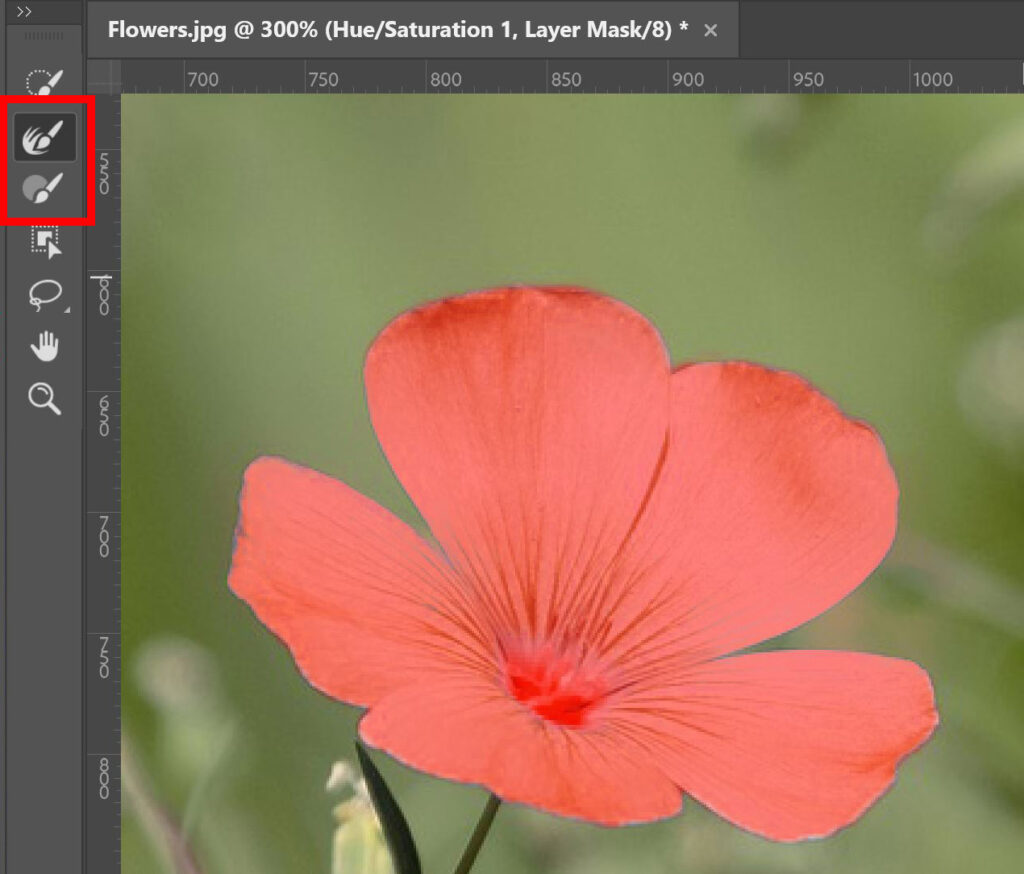
If I zoom in on my flower, you’ll see that a part of the green background changed in color too. You can also see that a little part of the petals is still blue. This is because the selection I made in step 1 wasn’t perfect, so I’m going to refine the selection.
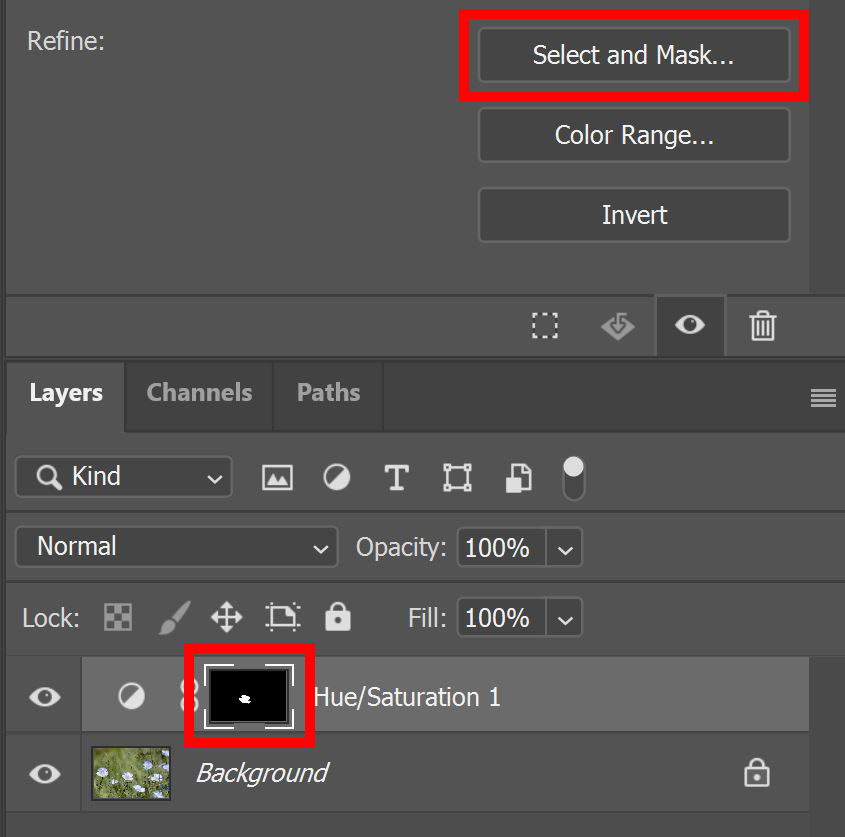
Select your layer mask and select ‘select and mask‘.
Select the refine edge brush tool and brush over the areas that aren’t selected properly. Use the [ and ] keys to adjust the brush size. If this doesn’t work and your selection still isn’t correct, you can also use the brush tool. Brush over the areas that you want to add to your selection, or hold the ALT key to remove parts of the selection.
Click OK if you’re done.
And that’s how you adjust the color of just one object!
Learn more about Photoshop
Want to learn more about Adobe Photoshop? Check out my other blogs or take a look at my YouTube channel. You can find the video tutorial of this process below!
Photoshop
Basics
Photo editing
Creative editing
Camera Raw
Neural filters
Text effects

