

Published on November 14, 2022
Create a polaroid collage
In this blog I’ll show you how to place a photo inside polaroid frames to create a polaroid collage in Adobe Photoshop.
Rather watch the video with instructions? Click here or scroll down to the end of this page.
You can download the files I used here:
Portrait
Polaroids
Step 1: Polaroid collage
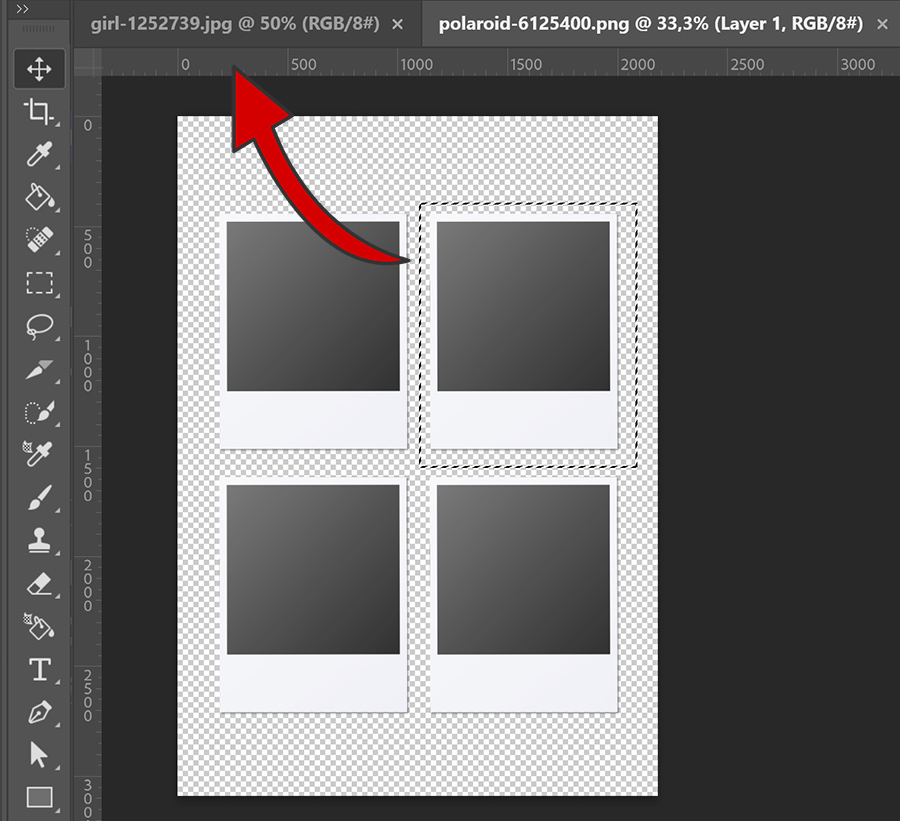
Open a file with polaroid frames and the photo you want to place inside of these frames.
First open the file with the polaroids. This file needs to have a transparent background. The file I’m using, has four polaroid frames. We only need one frame for this though. Select the rectangular marquee tool and make a selection around one of the frames.
Then select the move tool. Drag the selected polaroid frame towards the file with the photo and place the frame over the photo.
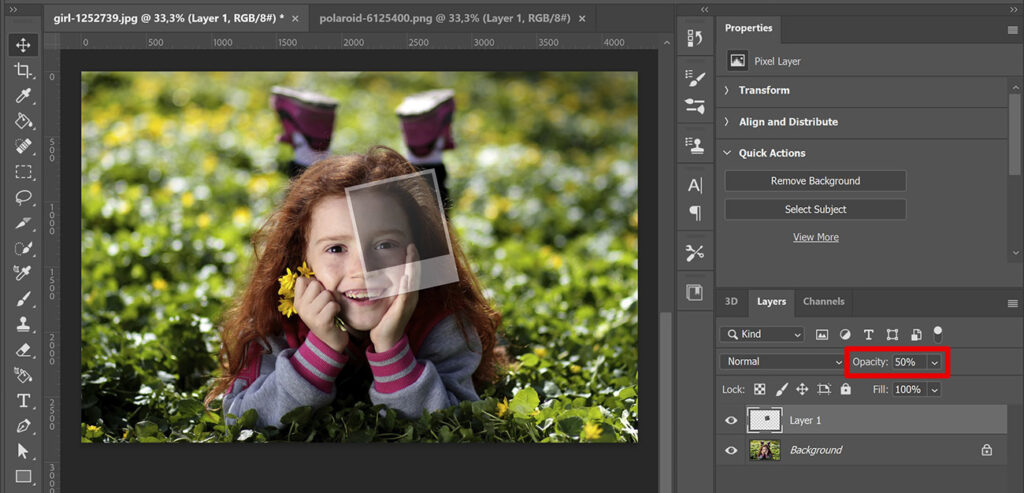
Lower the opacity of the polaroid layer to 50%, so you can see your photo through it. This makes it easier to pick the correct placement for the polaroid frames.
Then press CTRL+T to activate free transform. You can now resize, move and rotate the frame.
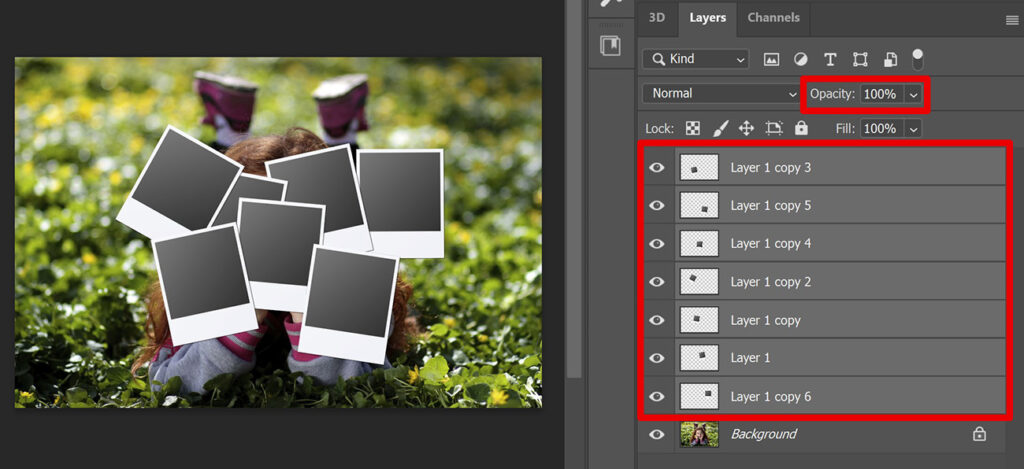
Then press CTRL+J to duplicate the polaroid layer. Press CTRL+T again, move and rotate this new frame.
Continue this until you have all the polaroid frames (press CTRL+J to duplicate and CTRL+T to move and rotate).
The order of the layers determines which polaroid frame is on top and which one is below it. If you want to place a frame over another frame, you should place the layer with that frame above the layer with the other frame.
When you have all the polaroid frames, select all the layers with a frame. Increase the opacity to 100%.
With all these layers still selected, press CTRL+E to merge them. You can’t adjust the position of the frames after this, so make sure the polaroid frames are in the right position before merging the layers.
Step 2: Photo inside polaroid frames
Now that you have all the polaroid frames, you can place the photo inside of these frames.
Use the quick selection tool to select the inside of all the frames.

Create a new group. Then add a layer mask. The group is now masked, if you look at the mask you’ll see that the inside of the frames is white and the rest is black.
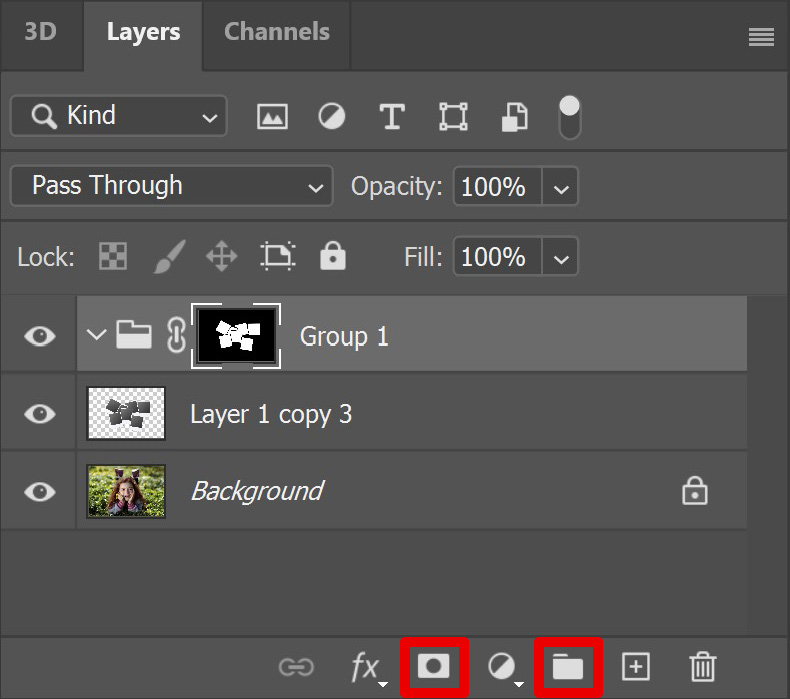
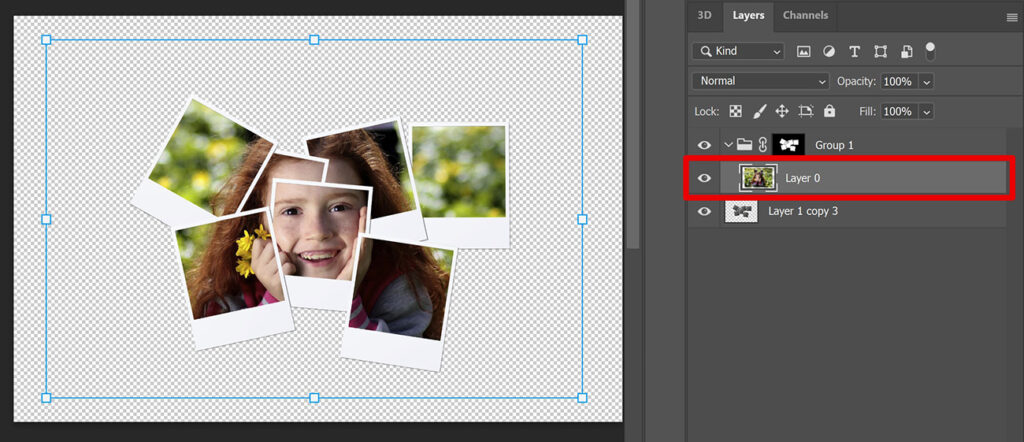
Unlock the background layer (click on the lock icon). Place this layer in the group. The photo is now inside of the polaroid frames.
To adjust the size and the position of the photo inside of the frames, select the layer with the photo and press CTRL+T.
Step 3: Add background
To add a background, create a solid color layer. Pick a background color and click OK. Then place the color fill layer below all the other layers.
To adjust the size and/or position of the polaroid frames, select all the layers except the color fill layer. Then press CTRL+T. You can now resize and move the entire collage.
And that’s how you create a polaroid collage in Adobe Photoshop!

Want to learn more about editing in Adobe Photoshop? Check out my other blogs or take a look at my YouTube channel.
Follow me on Facebook to stay updated! You can find the video with instructions below.
Photoshop
Basics
Photo editing
Creative editing
Camera Raw
Neural filters
Text effects