

Published on February 25, 2023
Place photo in shape with (rotated) outline
In this blog I’ll show you how to place a photo inside a shape in Adobe Photoshop. Then I also show you how to create an outline, which you can rotate for a creative effect!
Rather watch the video with instructions? Then click here or scroll down to the end of this page.
You can download the photos I used here:
Flower
Model
Step 1: Create shape
First create a new file. It doesn’t matter what size your file is (mine is 1080×1080 pixels). Also pick a background color while creating the file. I make the background black.
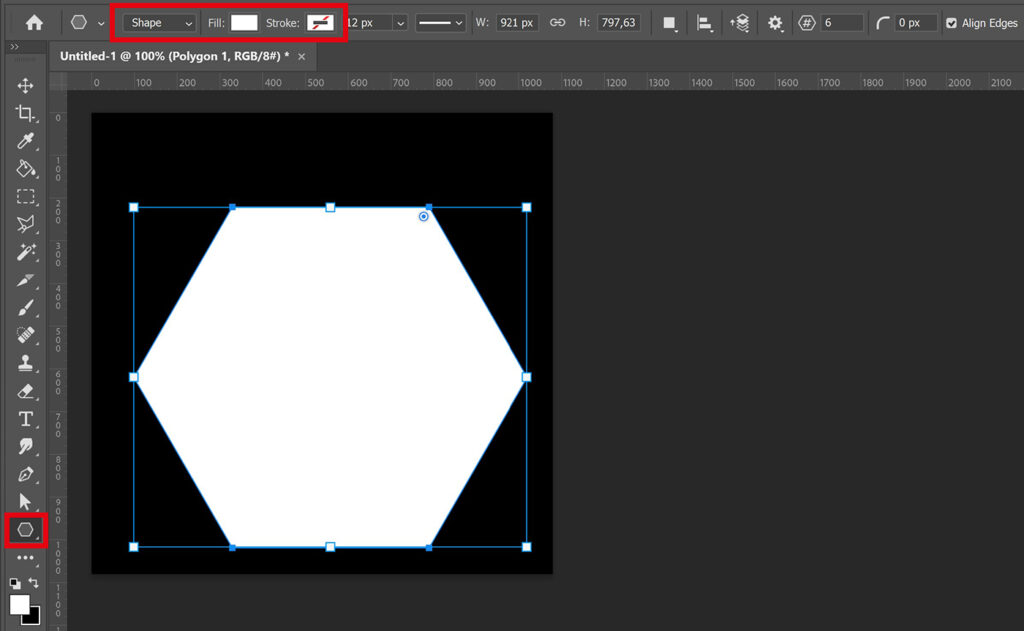
Select one of the shape tools. I use the polygon tool. Then use these settings:
- Select ‘shape’
- Fill: Pick a (random) color. You won’t see the color in the end anyway, because the shape will be filled with the photo.
- Stroke: No color
Then create your shape. Press and hold SHIFT while creating the shape to make it symmetrical.
Then select the move tool. Press CTRL+T to activate free transform. You can now move and resize the shape. Click on the ✓ icon (or press ENTER) when you’re done.
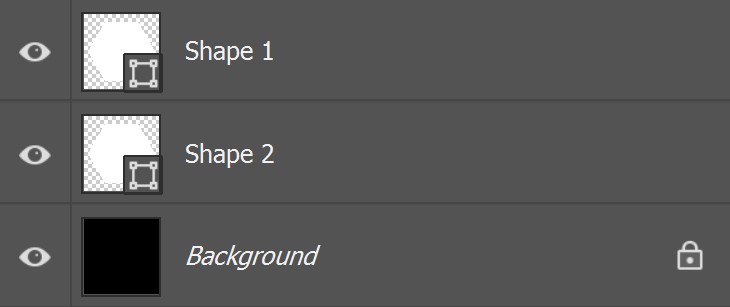
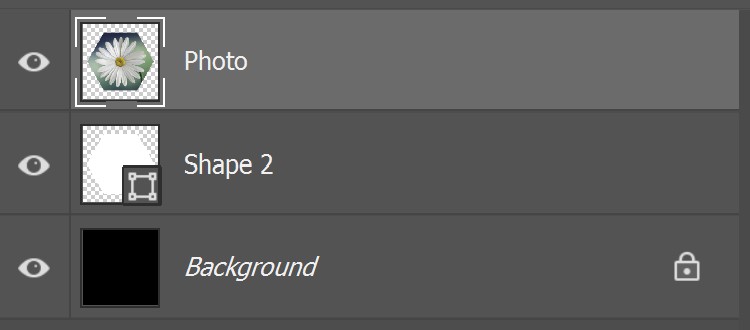
Press CTRL+J to duplicate the shape layer. You have 2 shape layers now. I name the first layer ‘Shape 1’ and the second layer ‘Shape 2’.
Step 2: Photo in shape
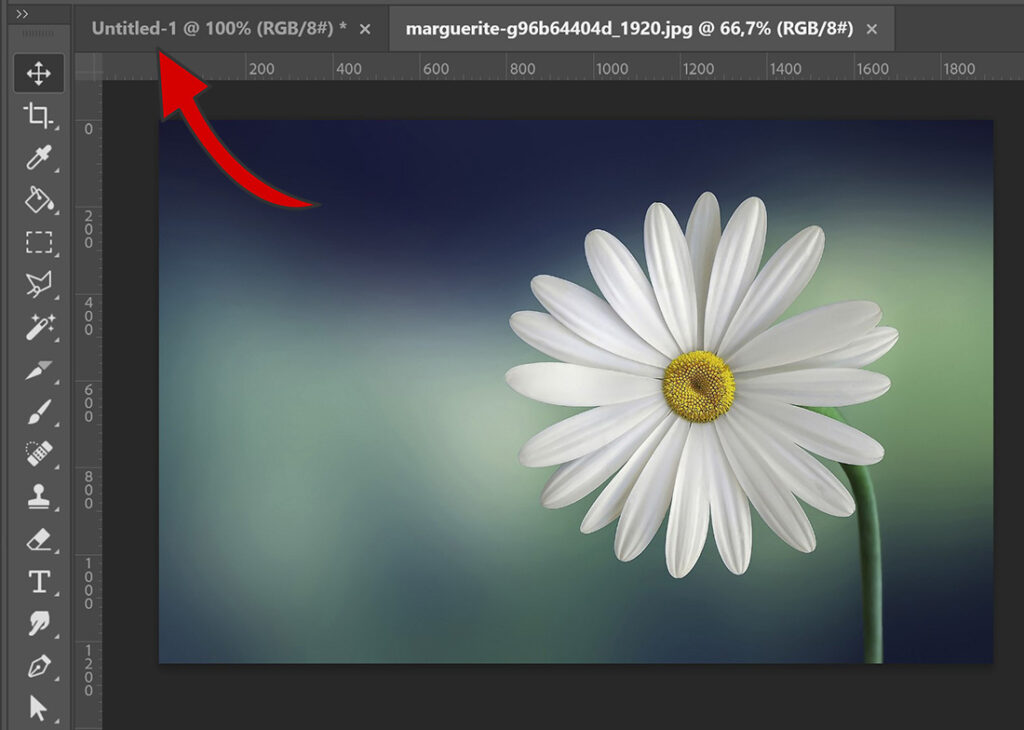
Open the photo you want to place inside of the shape. Select the move tool and drag this photo towards the file with the shapes. Place the photo on top of the shape.
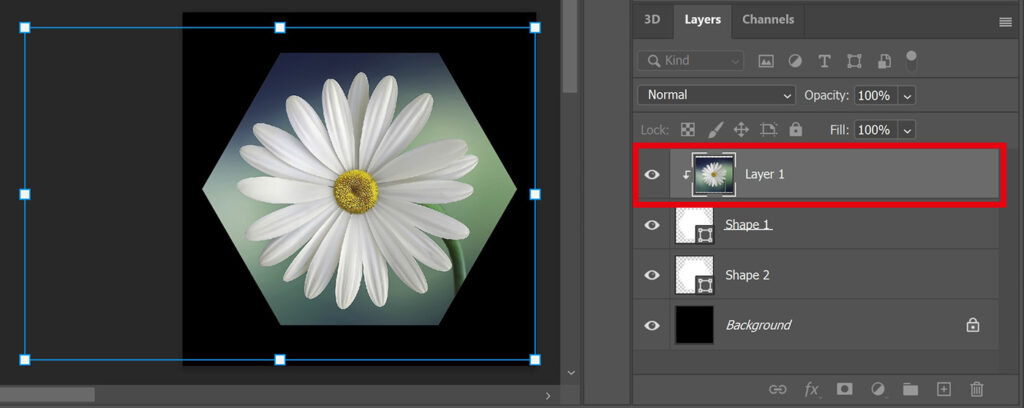
Place the layer with the photo directly above the ‘Shape 1’ layer.
Make sure you’ve selected the layer with the photo. Then navigate to ‘Layer > Create clipping mask‘ (or press ALT+CTRL+G). The photo is now inside of the shape.
Press CTRL+T to activate free transform. You can now adjust the size and position of the photo inside of the shape.
When you’re happy with the photo inside of the shape, you can merge the photo and shape layer.
Select both the layer with the photo (Layer 1) and the shape layer that’s directly below it (Shape 1). Then navigate to ‘Layer > Merge layers‘ (or press CTRL+E). You won’t be able to adjust the photo inside of the shape after merging them. So make sure it’s all good before you do this.
I name this merged layer ‘Photo’.
Step 3: Create outline
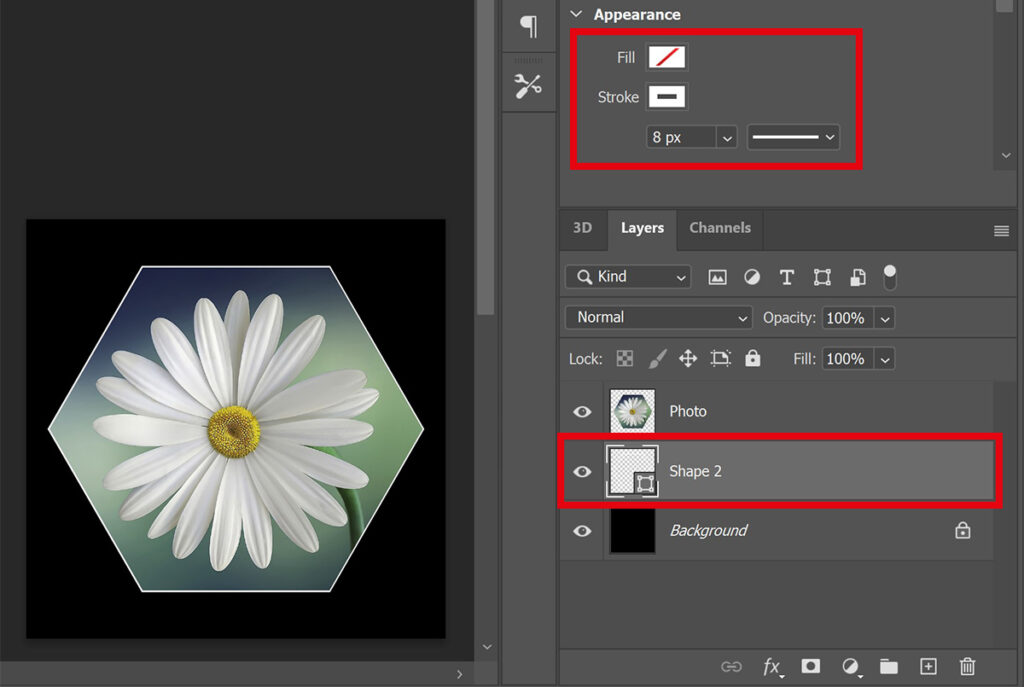
Select the ‘Shape 2’ layer. Change the fill to ‘no color‘. Pick a color for the outline (stroke) and adjust the stroke width. The higher the amount of pixels, the thicker the outline will be.
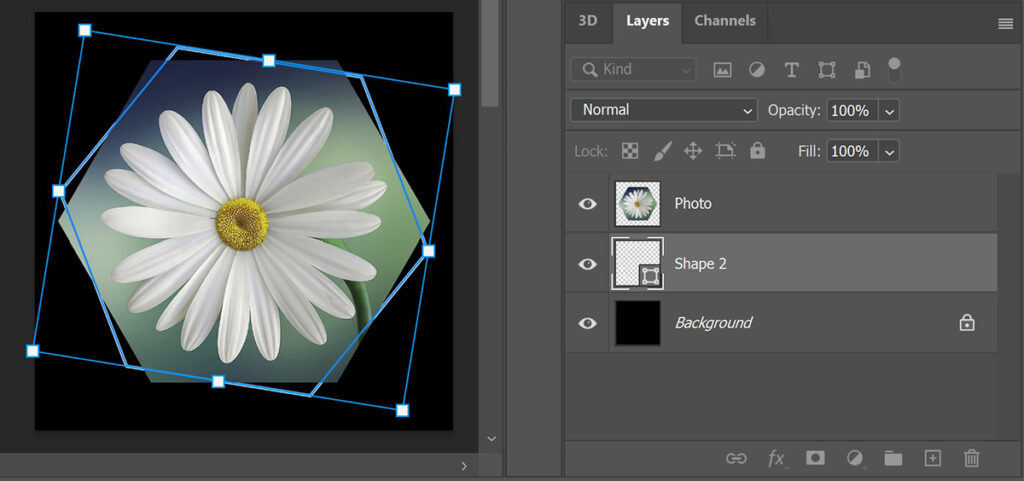
With the ‘Shape 2’ layer still selected, press CTRL+T. You can now rotate your outline. You can also rotate the photo layer. To do that, select the photo layer and again press CTRL+T. You can now rotate this layer too.
The outline is now behind your photo. If you want to place the outline in front of the photo, drag the ‘Shape 2’ layer above the ‘Photo’ layer.
Step 4: Masking
The outline is now completely in front of the photo. I will show you how to place part of the outline behind the photo.
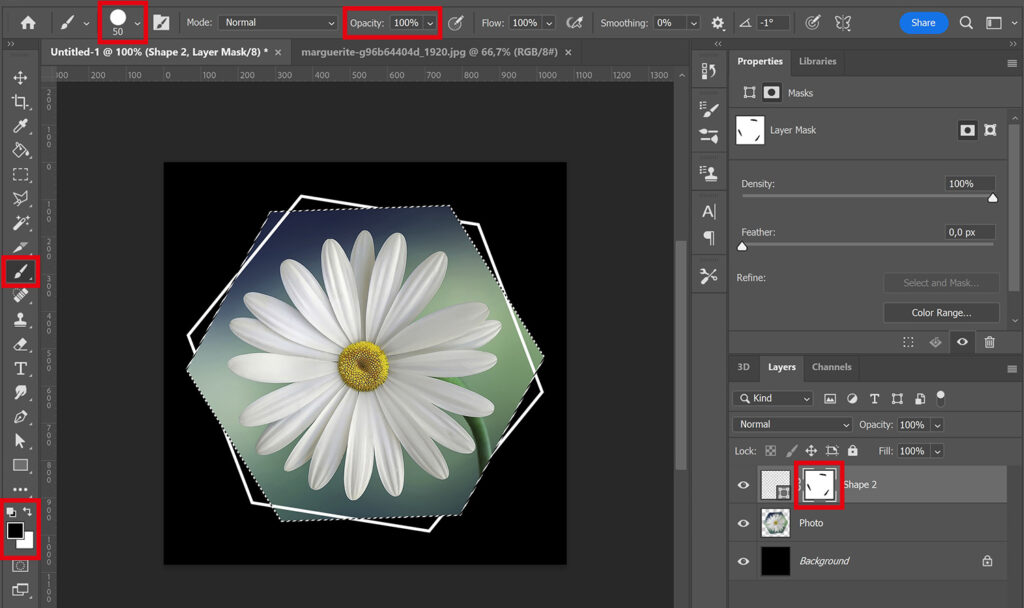
First select the ‘Shape 2‘ layer and add a layer mask to it.
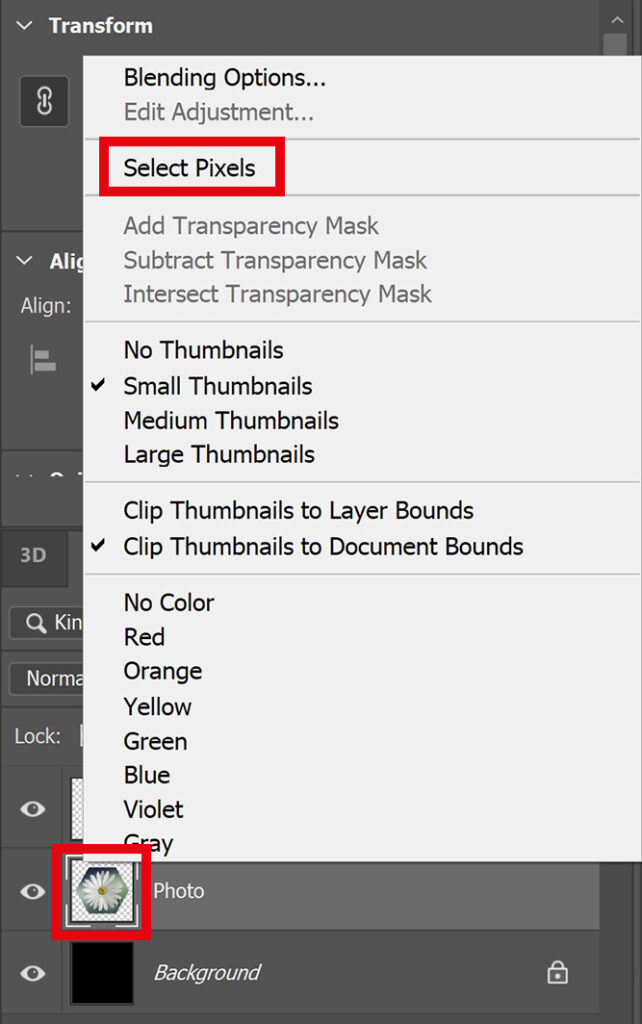
After adding the mask, right click on the thumbnail of the photo layer and select ‘select pixels‘. Make sure you click on the thumbnail and not on the layer itself!
Then select the layer mask you’ve just created by clicking on it. Select the brush tool. I use a hard round brush, opacity 100%. Make the foreground color black.
Now brush over the parts of the outline that you want to place behind your photo.
When you’re done, press CTRL+D to deselect.
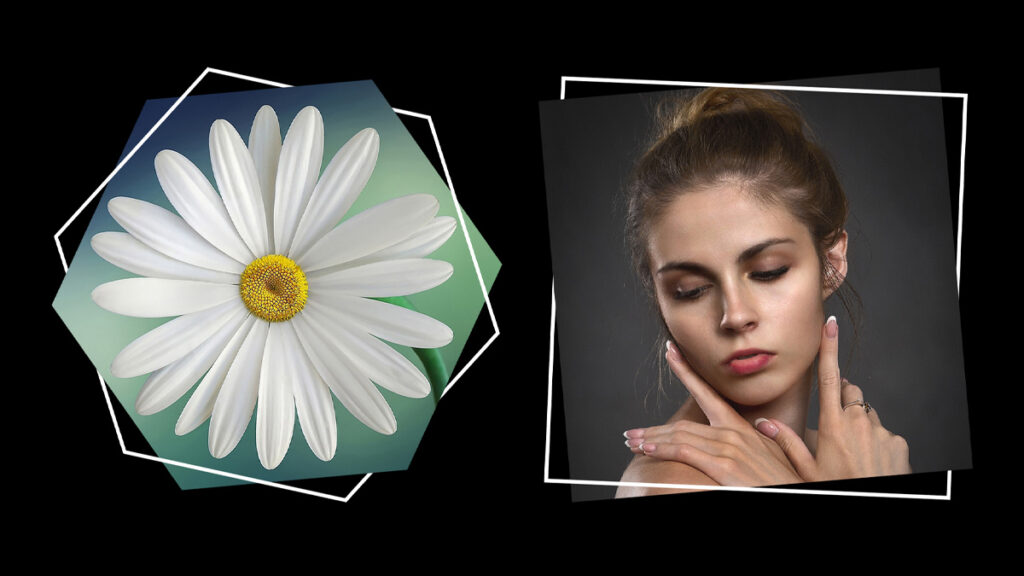
And that’s how you place a photo inside of a shape with a (rotated) outline in Adobe Photoshop! I now used the polygon tool, but you can also do this with other shapes. In the image below you see an example created with the rectangle tool.
Want to learn more about editing in Adobe Photoshop? Check out my other blogs or take a look at my YouTube channel.
Follow me on Facebook to stay updated about new blogs and tutorials! You can find the video with instructions below.
Photoshop
Basics
Photo editing
Creative editing
Camera Raw
Neural filters
Text effects