
Published on February 19, 2023
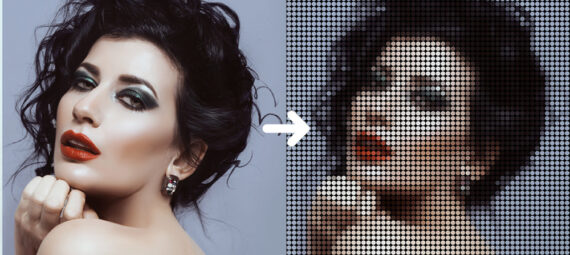
Create a dotted portrait
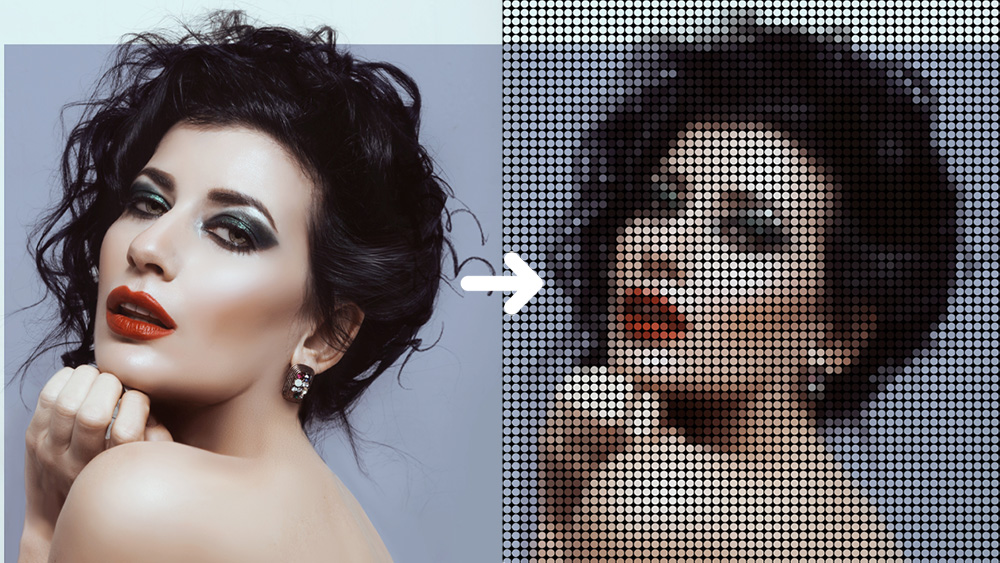
In this blog I will show you how to create a dotted portrait in Adobe Photoshop!
If you’d rather watch the video with instructions, you can click here or scroll down to the end of this page.
You can download the photo I used here.
Step 1: Adjust image size
Open the photo you want to edit. Then navigate to ‘Image > Image size‘ (or press ALT+CTRL+I).
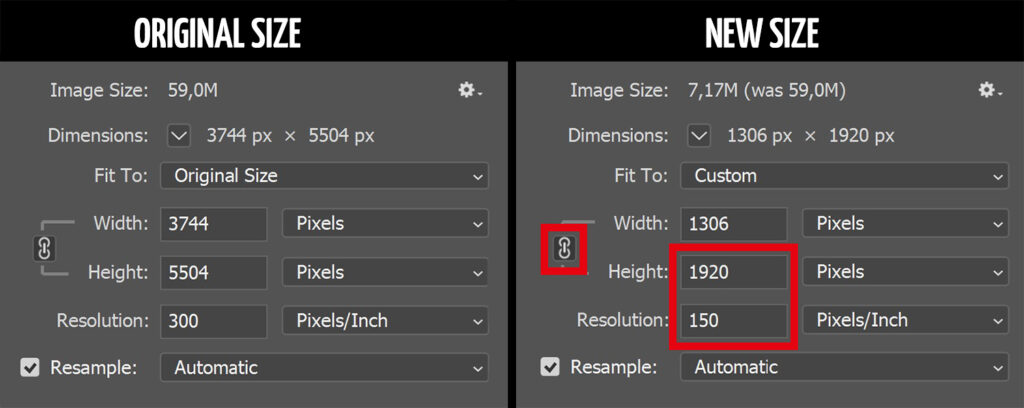
Make sure the width and height are connected (click on the chain icon). Make the resolution 150 pixels/inch. Then make the longest side of the file 1920 pixels. In this case that’s the height, but it can also be the width if you’re using a different photo.
The image below shows the original size on the left and the new size on the right.
Note: You can still create a dotted portrait if you don’t adjust the image size. The dots then just won’t have the same size as mine. But feel free to try it out if you don’t want to adjust the size.
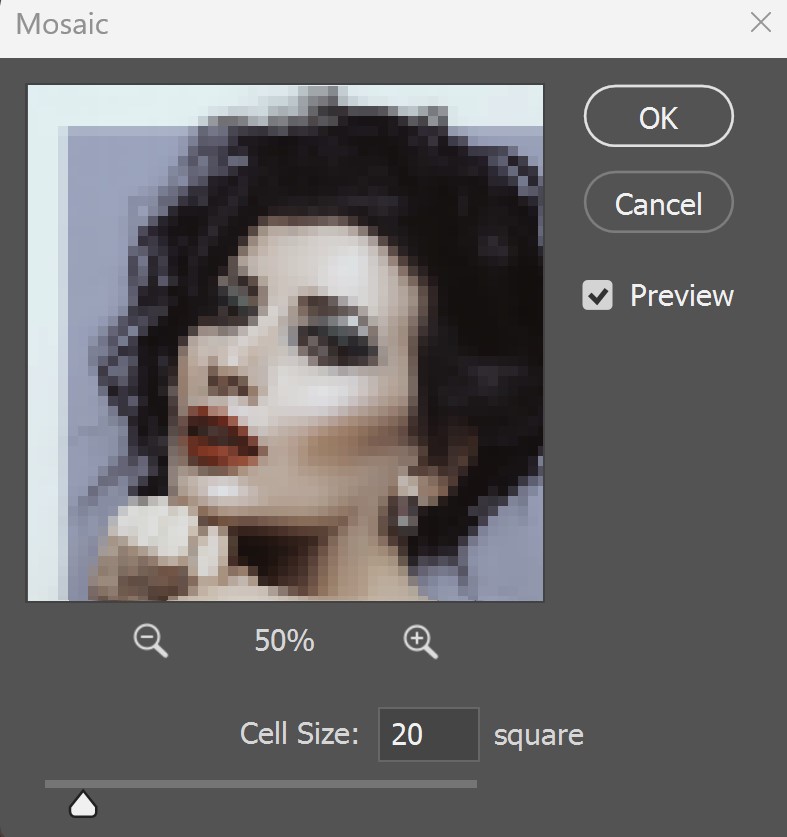
Step 2: Mosaic effect
Now navigate to ‘Filter > Pixelate > Mosaic‘. Use a cell size of 20 square.
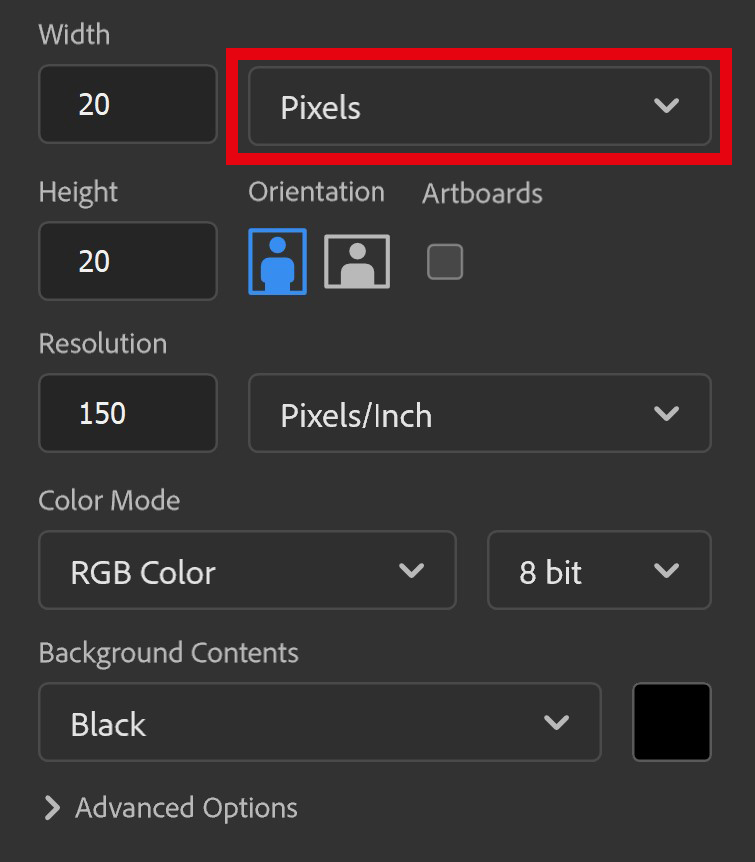
Step 3: Create dot for pattern
Navigate to ‘File > New‘ (or press CTRL+N) to create a new file.
Select ‘pixels‘. Make the width and height 20 pixels. Use a resolution of 150 pixels/inch and make the background color black.
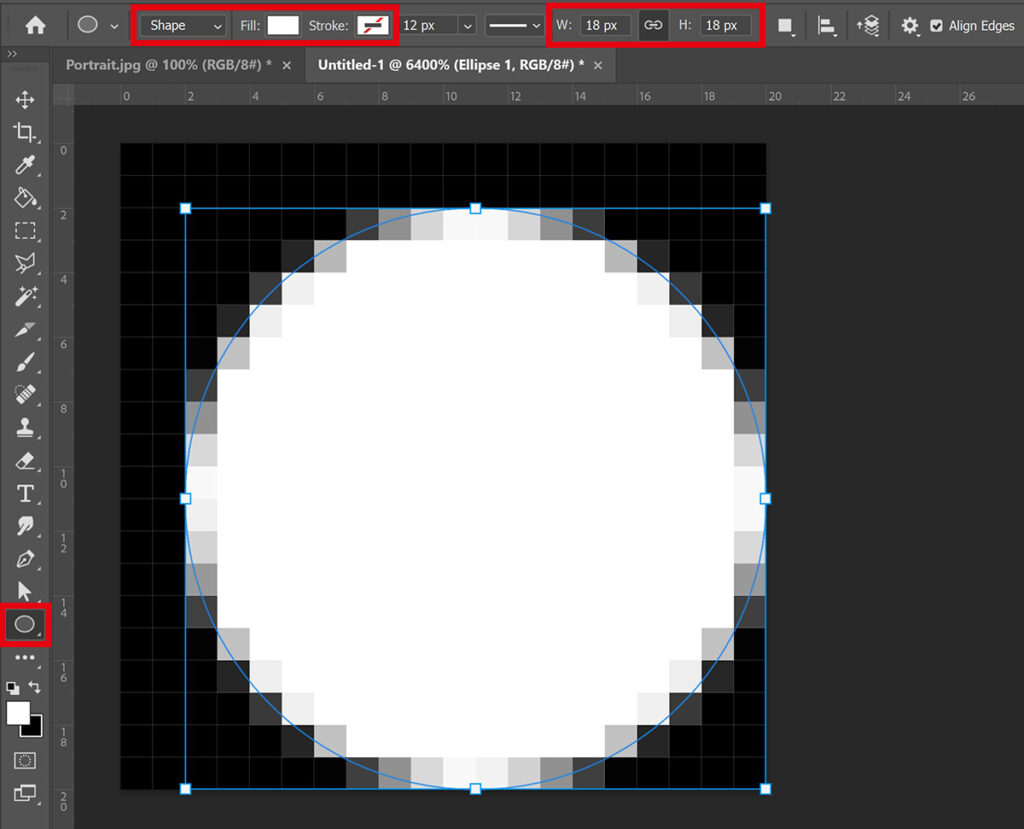
Select the ellipse tool. Use the following settings:
- Select ‘shape’
- Fill: White
- Stroke: No color
Create a circle. Press and hold SHIFT while creating the circle to make it symmetrical. Make the size of the circle 18 x 18 pixels (adjust the width and height). This circle (or dot) will form the dot pattern.
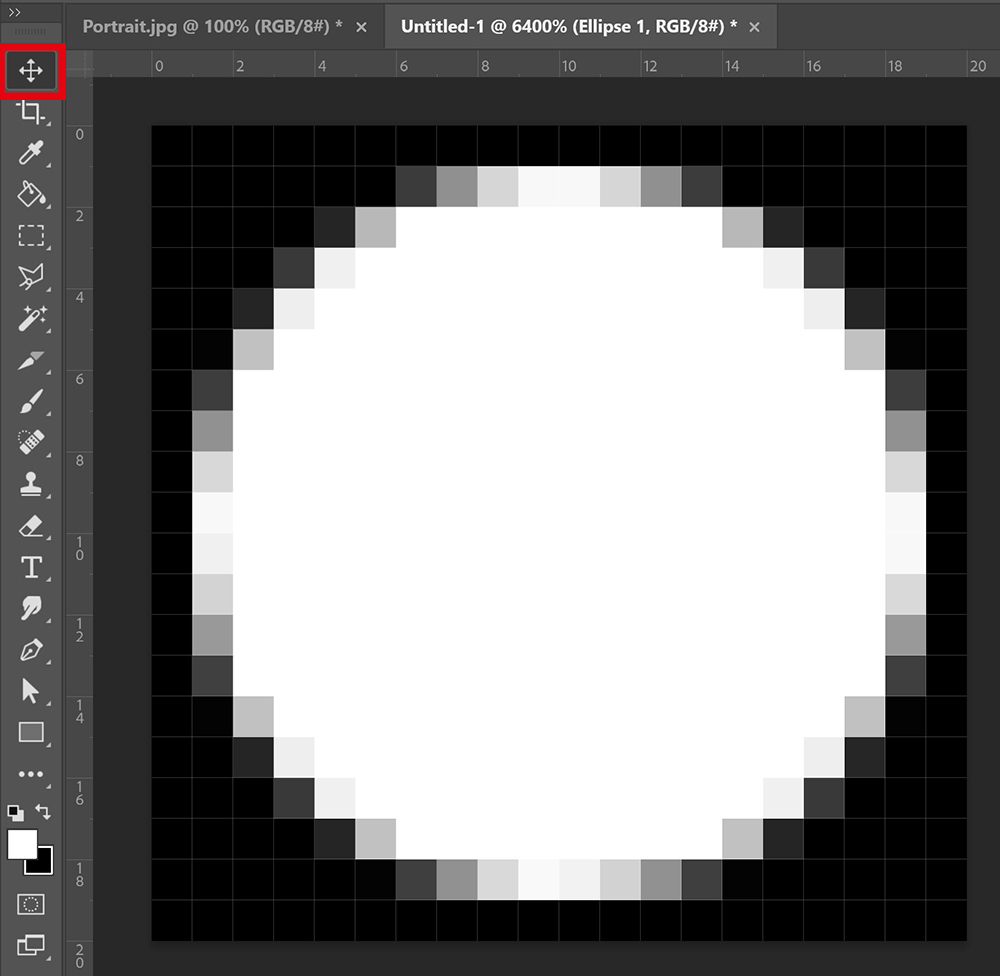
Select the move tool and place the circle (the dot) in the middle (center it).
Then navigate to ‘Edit > Define pattern‘. Name the pattern and click OK.
You can now close the tab with this dot, you don’t have to save it (because you already saved it as a pattern).
Step 4: Dotted portrait
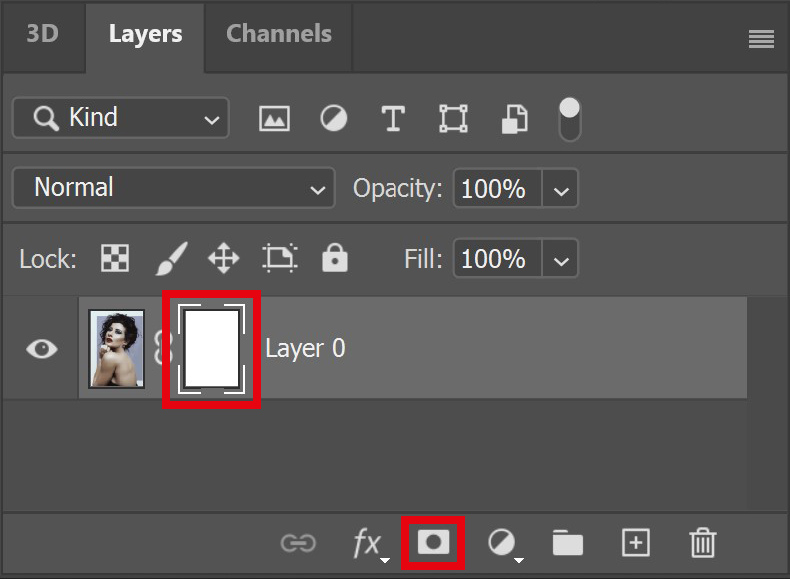
The file with the mosaic portrait is now opened again. Add a mask to the background layer.
Select the layer mask by clicking on it.
Now navigate to ‘Edit > Fill‘. Select ‘pattern‘ and then select the dot you just created.
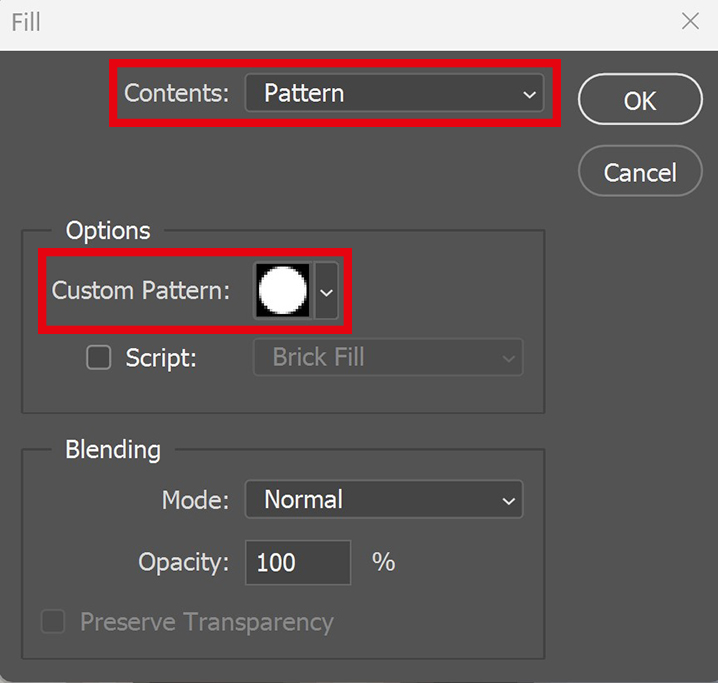
Click OK. You now have a dotted portrait!
The dotted portrait now has a transparent background. To adjust that, create a solid color layer. Pick a background color (I make the background black) and click OK. Then place the color fill layer below the other layer. The area between the dots is now colored!
And that’s how you create a dotted portrait in Adobe Photoshop!
I now showed you how to create this mosaic dotted portrait, but you can also create a (black & white) halftone dotted portrait. Want to know how? Read this blog I wrote about it!
Learn more about Photoshop
Want to learn more about editing in Adobe Photoshop? Check out my other blogs or take a look at my YouTube channel.
Follow me on Facebook to stay updated about new blogs and tutorials! You can find the YouTube video with instructions below.
Photoshop
Basics
Photo editing
Creative editing
Camera Raw
Neural filters
Text effects