

Published on January 29, 2023
Photo inside shape with soft blurry edges
In this blog I will show you how to place a photo inside of a shape with soft blurry edges in Adobe Photoshop!
Rather watch the video with instructions? Then scroll down to the end of this page or click here to watch the video.
If you want, you can download the photo I used here.
Step 1: Photo inside shape
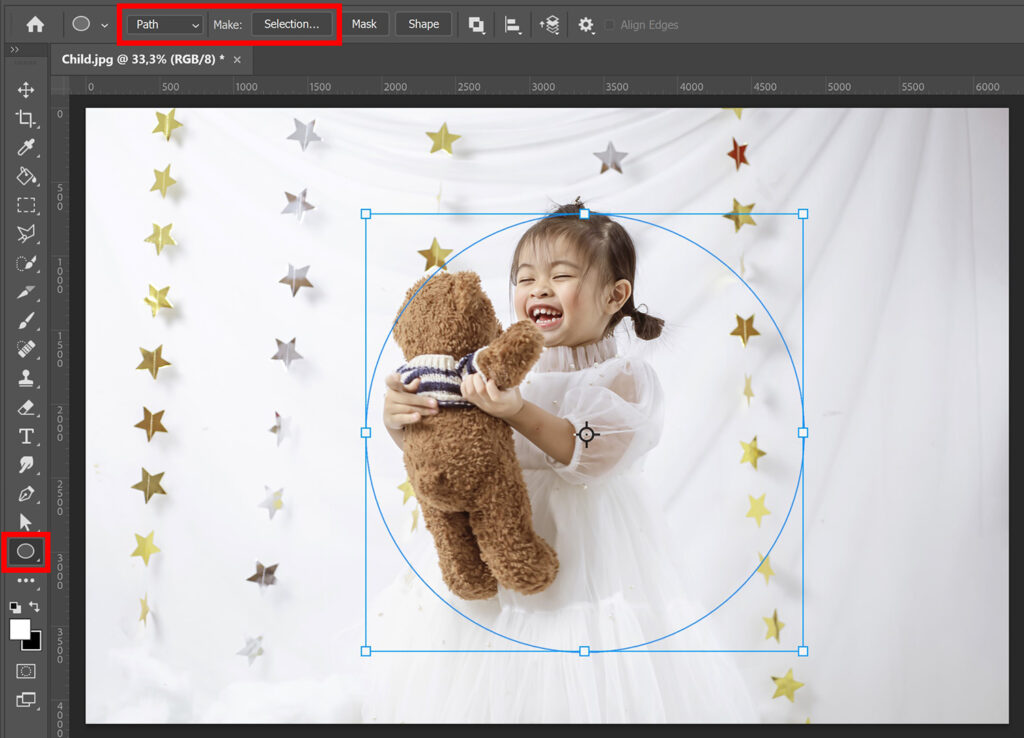
Open the photo you want to place inside of the shape. Then select one of the shape tools. I use the ellipse tool to create a circle, but you can use any shape you want.
Select ‘path‘ and create your shape. Hold SHIFT while creating your shape to make it symmetrical. The size and position of the shape do not have to be correct right now, we’ll adjust that later.
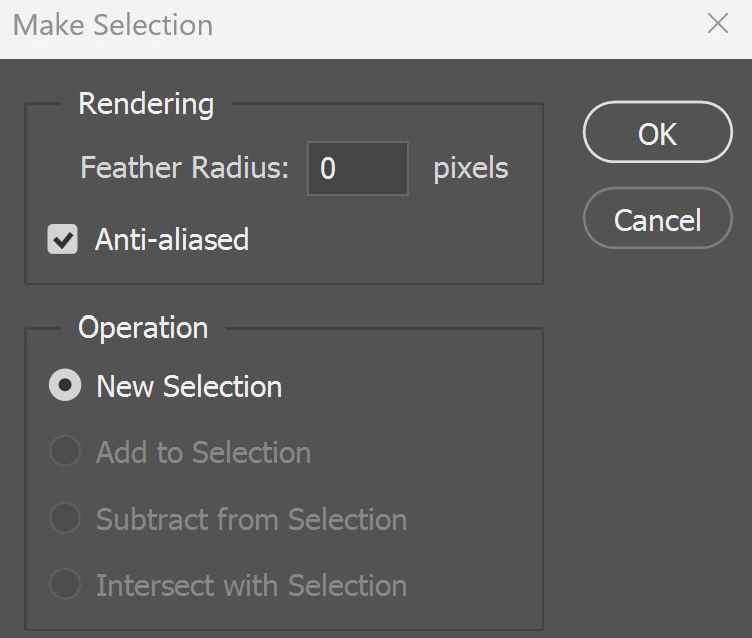
Then select ‘Make: Selection‘ to convert the path into a selection.
You can keep the settings the way they are (see image below).
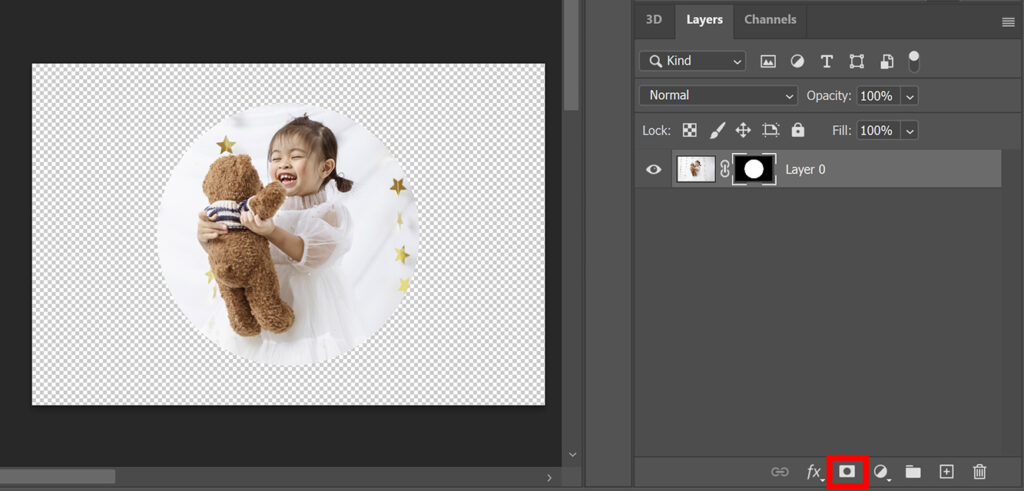
You have now created a selection. Navigate to ‘Select > Transform selection‘. You can adjust the size and position of the selection now. The area of the photo that you place inside of the selection will be inside of the shape.
When you’re done, add a layer mask. The photo is now inside of the shape!
Step 2: Soft edges
Select the layer mask. Increase the feather to soften the edges of the shape. The more you increase the feather, the blurrier the edges are. If you’re using the same photo as me, you might not see the softness of the edges clearly (because it’s white on white). You will after you add a background though.

Step 3: Add background
To add a background, you have to create a solid color layer.
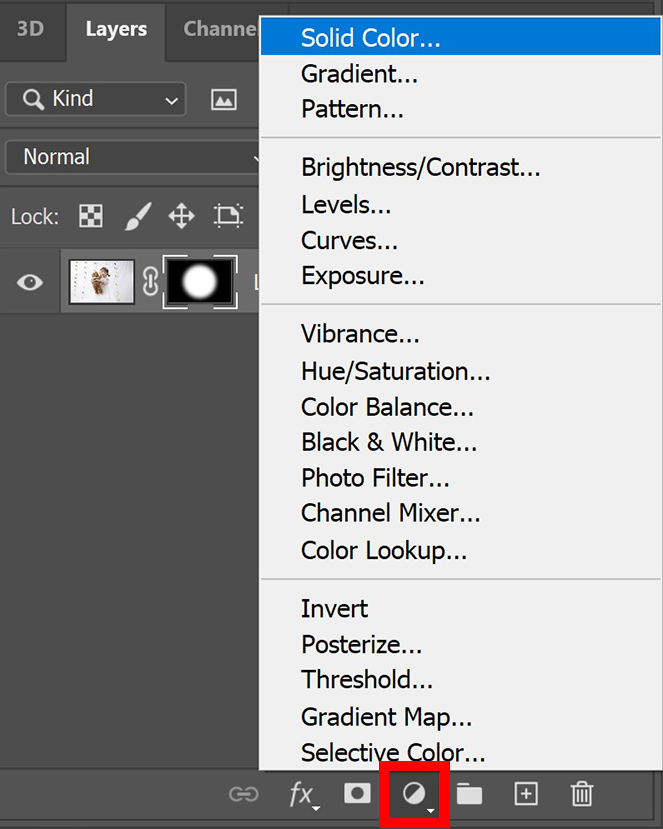
Pick a color and click OK. Then place the color fill layer below the layer with your shape (and the layer mask).
If you want to adjust the softness of the edges, you have to select the layer mask again. You can then adjust the feather.
To adjust the size and position of the shape, select the layer with the layer mask. Then press CTRL+T to activate free transform. You can then move and resize the shape with the photo in it.
And that’s how you place a photo inside a shape with soft blurry edges in Adobe Photoshop!

If you want to learn more about editing in Adobe Photoshop, check out my other blogs or take a look at my YouTube channel.
Follow me on Facebook to stay updated about new blogs and tutorials! You can find the video with instructions below.
Photoshop
Basics
Photo editing
Creative editing
Camera Raw
Neural filters
Text effects