
Published on February 5, 2022
Create a radial blur zoom effect
In this blog I’ll show you how to create a radial blur zoom effect in Adobe Photoshop.
If you’d rather watch the video tutorial of this process, click here or scroll down to the end of this page.
Click here to download the image I used.
Step 1: Radial blur
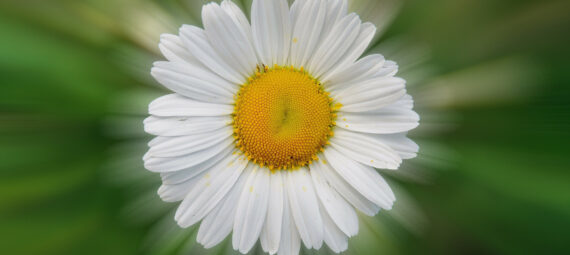
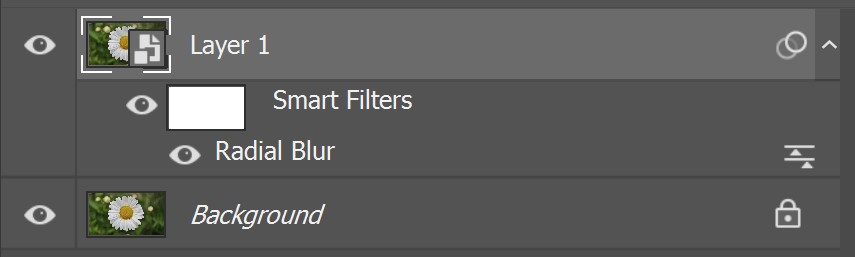
Open the image you want to edit. Press CTRL+J to duplicate the background layer. Right click on the layer copy and convert to smart object.
Then navigate to ‘Filter > Blur > Radial blur‘. You can see the settings I used in the image below, copy these. This effect looks best when the blur center is in the middle of your subject (the middle of the flower, in this case). Try to pick the middle. This is a bit of a guess, but you can adjust it later.
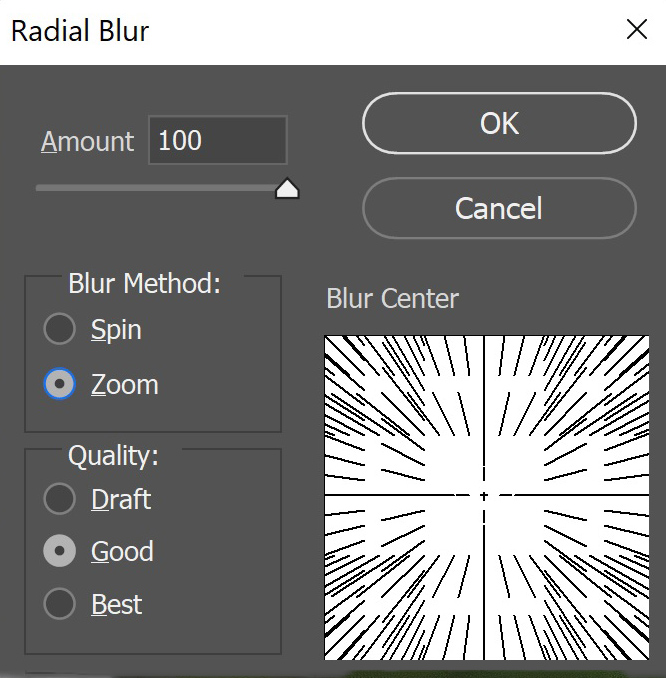
If the center isn’t right, double click ‘Radial Blur‘ in your layer panel. You can keep adjusting the blur center until you’re happy with the placement.
Step 2: Sharpen subject
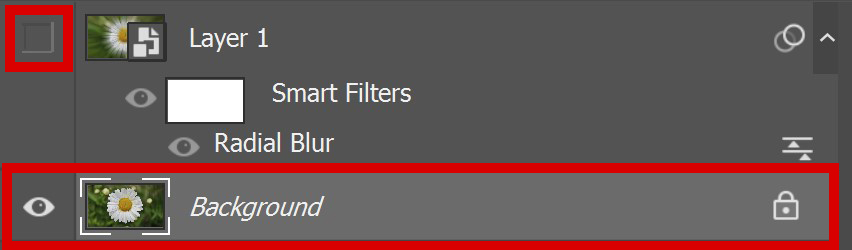
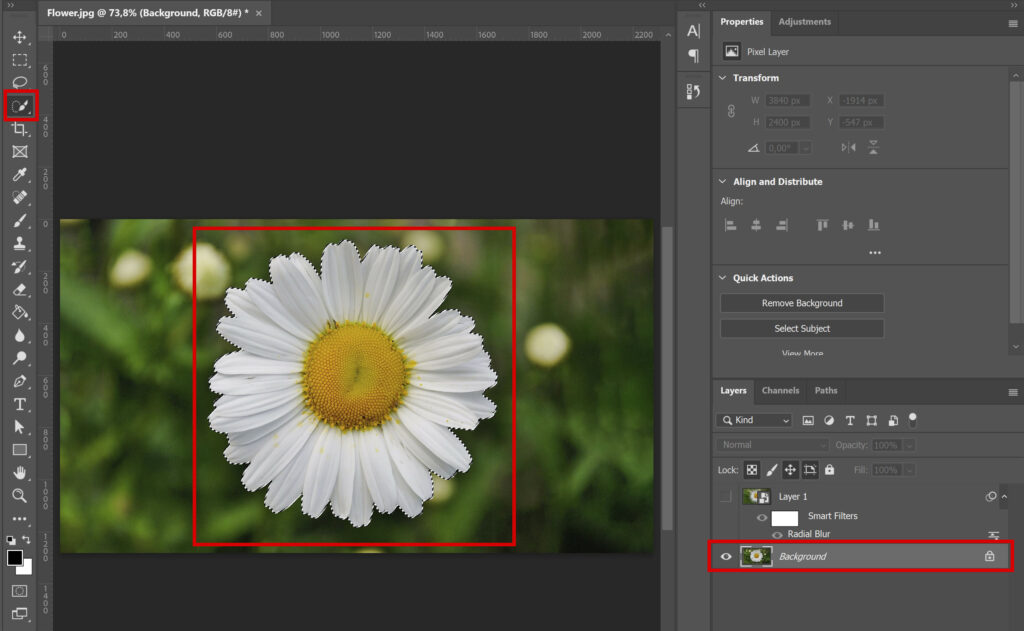
You have now blurred the entire image, but you want the subject to be sharp. Make the blurred layer invisible (click on the eye icon) and select the background layer.
Select your subject. I use the quick selection tool to do that.
Now make the blurred layer visible again (click on the eye icon) and select that layer. The selection you just made should still be visible.
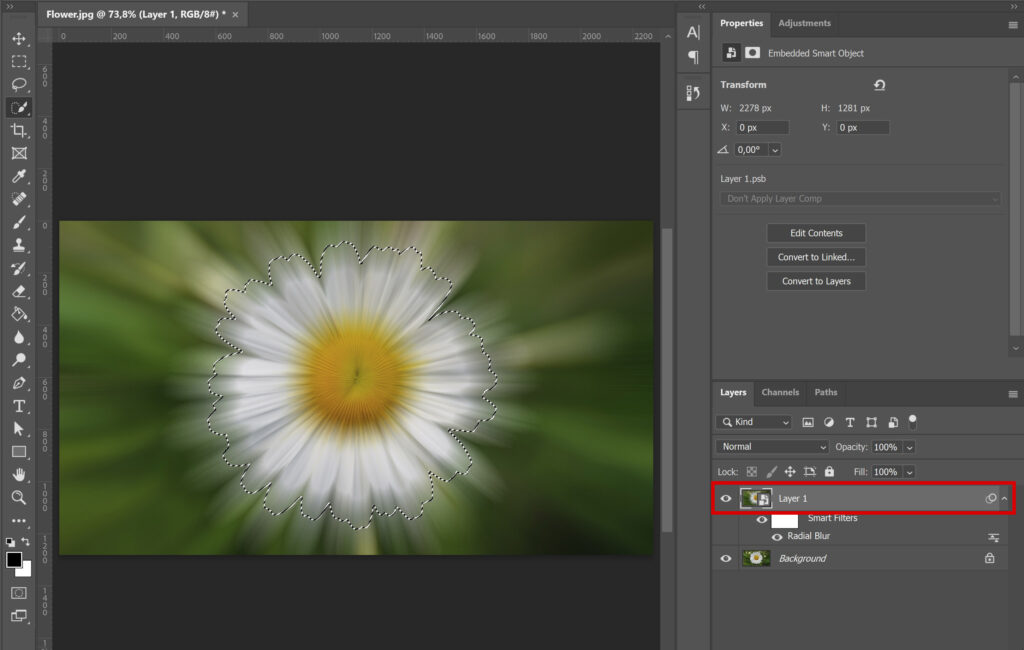
Add a layer mask. Then navigate to ‘Image > Adjustments > Invert‘ or press CTRL+I to invert. The subject should now be sharp and the rest is blurred.
Step 3: Refine mask
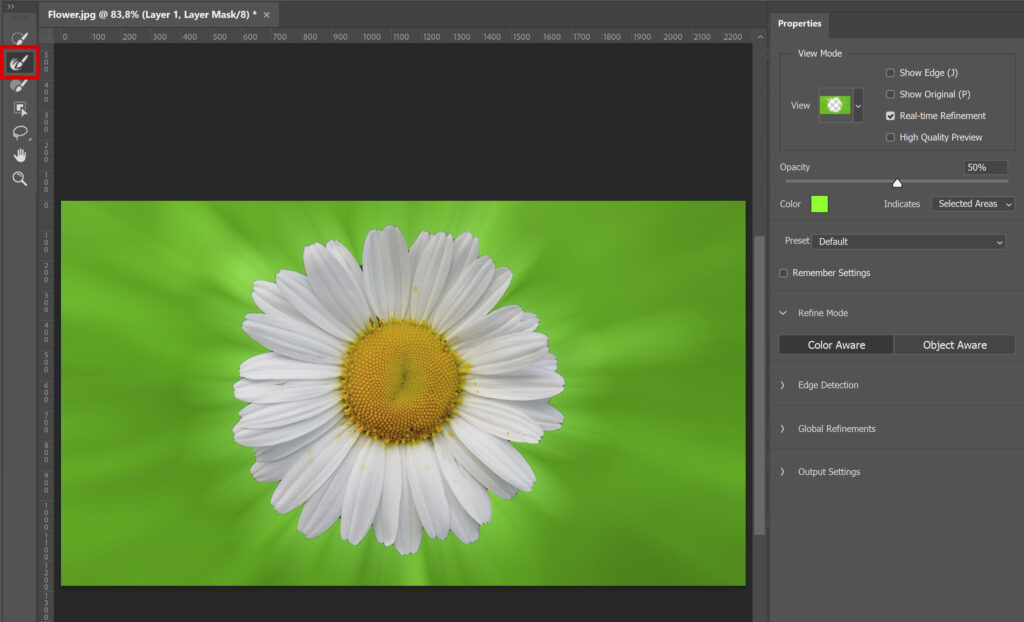
If you want to refine your mask, select the layer mask and then select ‘Select and Mask‘.
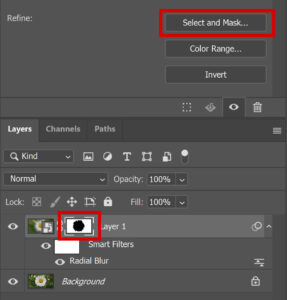
As you can see in the image below, some of the little notches between the petals are not selected. Use the refine edge brush tool to go over these areas.
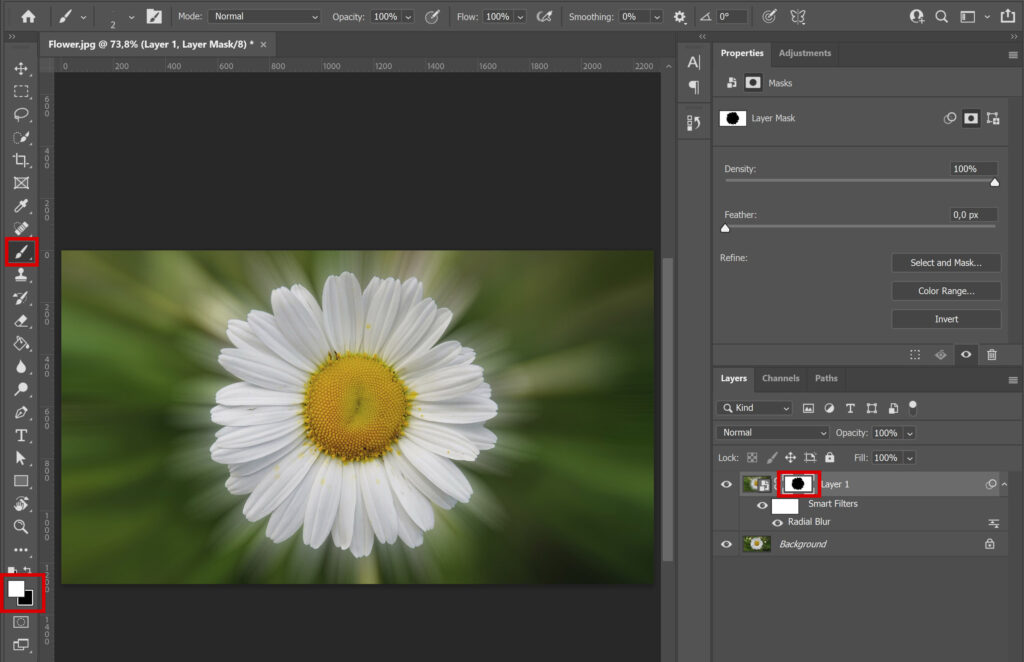
If this doesn’t work, click ‘cancel’ to undo these changes. Instead select your layer mask and then select the brush tool.
If you want to add areas to your selection, use white as the foreground color. So to blur the little notches I just talked about, I zoom in and brush over those areas with white.
To erase parts of your selection, use black as the foreground color. You use this if you want to remove the blur in certain areas.
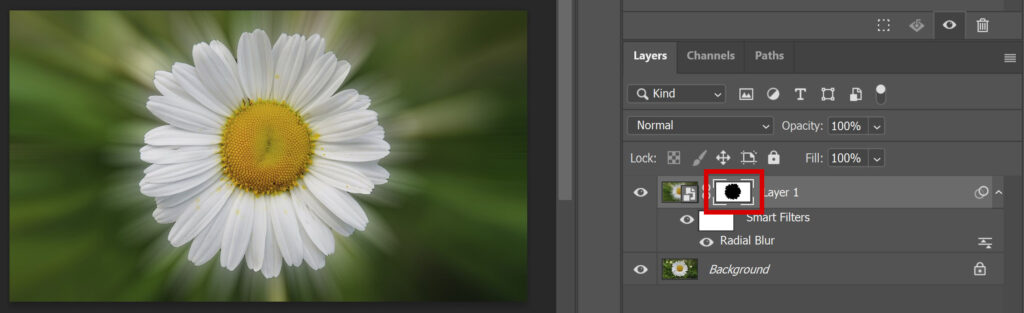
You can also see this if you look at your layer mask. The white area is the blurry background and the black area is the sharp subject.
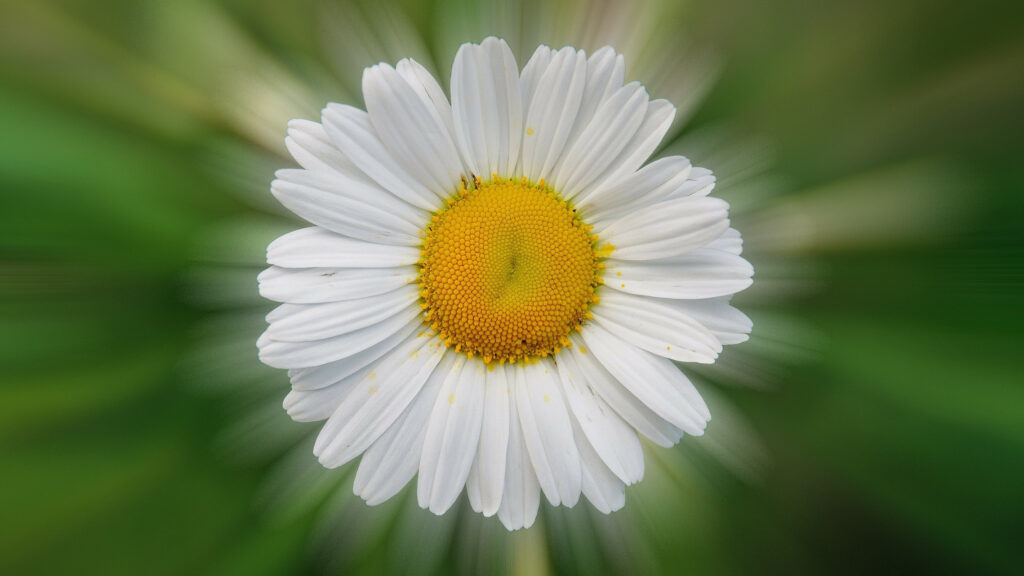
And that’s how you create a radial blur zoom effect in Adobe Photoshop. You can see the result below!
Want to learn more about Adobe Photoshop? Check out my other blogs or take a look at my YouTube channel.
Follow me on Facebook to stay updated! You can find the video tutorial below.
Photoshop
Basics
Photo editing
Creative editing
Camera Raw
Neural filters
Text effects