
Published on February 3, 2022
How to place text in perspective in Photoshop?
In this blog I’ll show you how to place your text in perspective using Adobe Photoshop.
If you’d rathed watch the video tutorial of this process, click here or scroll down to the end of this page.
Click here if you want to download the image I used.
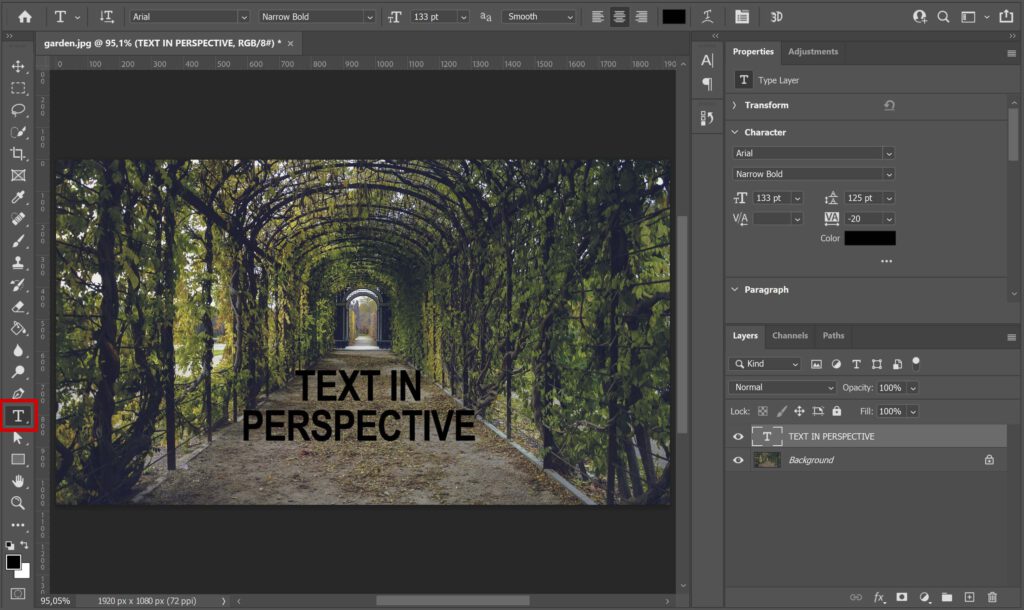
Step 1: Create text
Select the horizontal type tool. Pick a font you like and type your text.
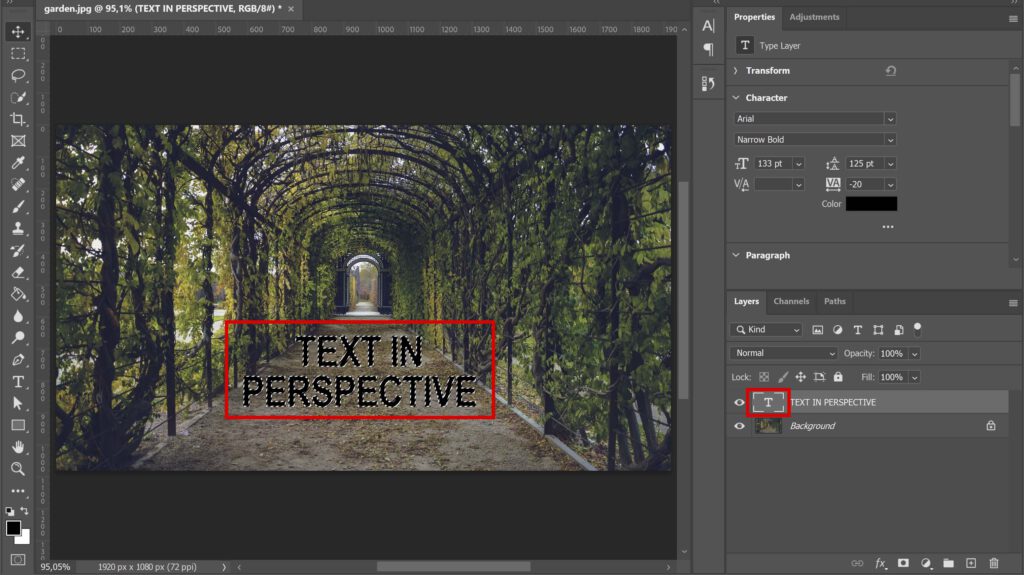
Step 2: Select text
Hold your CTRL key and click on the text layer thumbnail (the T-icon). You now have a dotted line around your text, this means the text is now selected.
Press CTRL+C to copy the selection.
You can now delete your text layer and press CTRL+D to deselect. You’re now left with only the background layer. We’ll use the copy we just made to place the text in perspective, so it’s really important that you copy the text before you delete it!
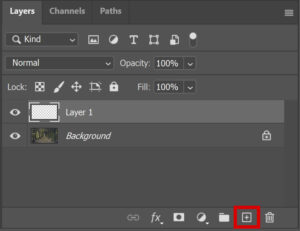
Step 3: Text in perspective
First create a new layer.
Then navigate to ‘Filter > Vanishing point‘. Now create a selection following the lines of your image. The text will be placed inside this selection.
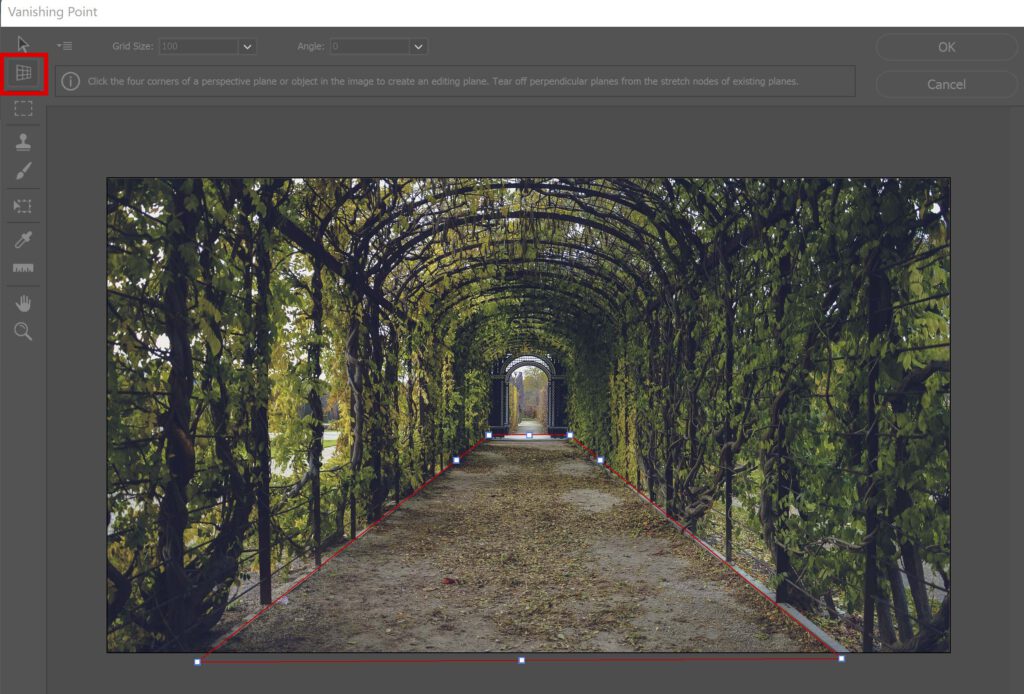
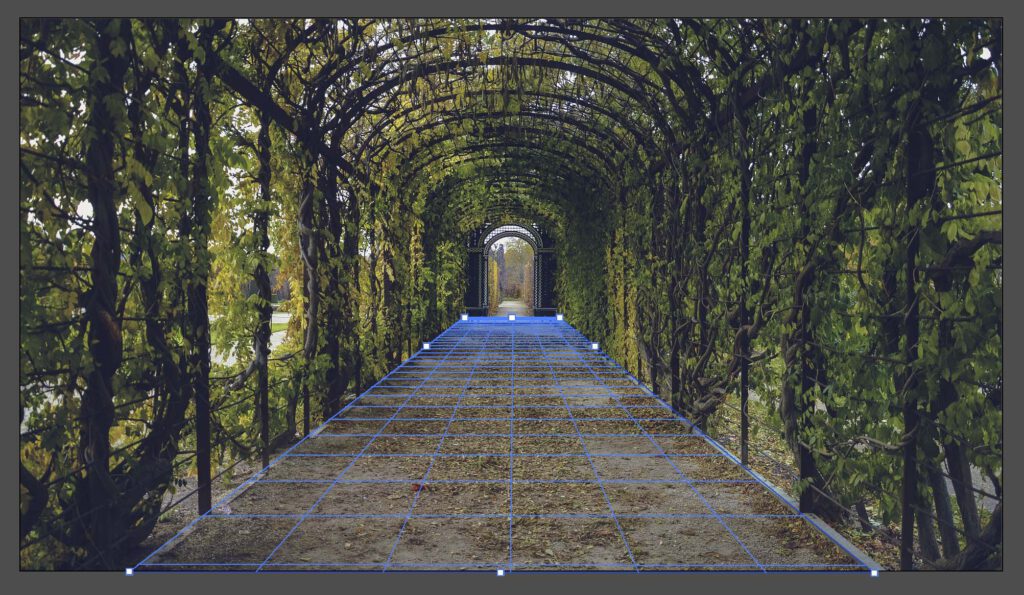
If the selection is red, like the one above, move the anchor points until you see a blue raster (see image below).
Now press CTRL+V to paste your text. The text will now appear in the corner.
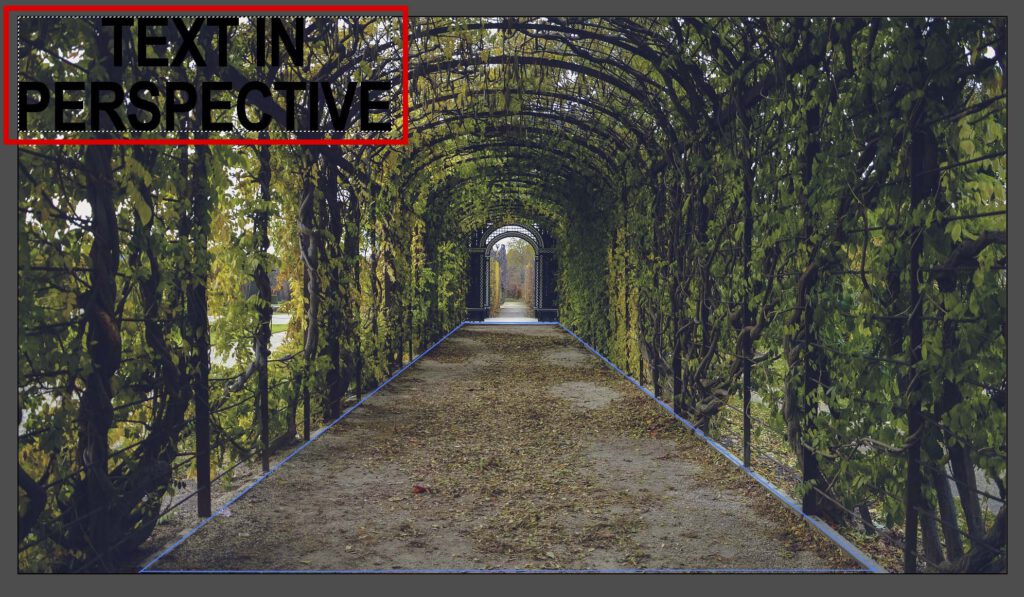
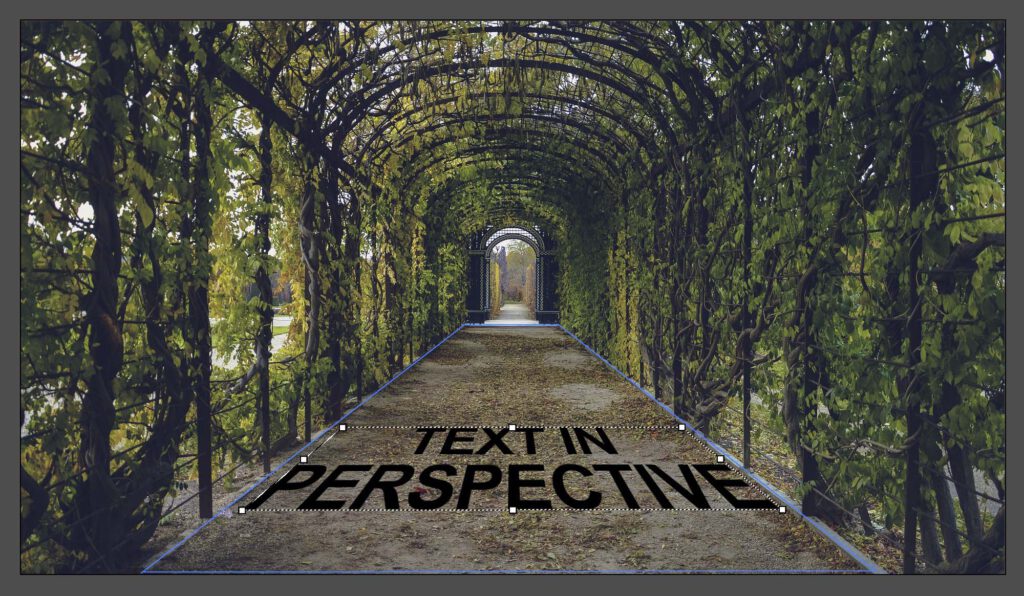
Move the text inside of the selection you created. It’s now placed into perspective. The text may be too large to fit. If that’s the case, press the T key to transform the text.
You can now move the anchor points in the corners of your text block to make the text smaller. If you can’t see the anchor points in the corner (because the text is too big), move the text to the left or right until the corners are visible.
Step 4: Blend text
You have now placed your text in perspective. If you want the text to blend with the background, you can change the blend mode to overlay or soft light.
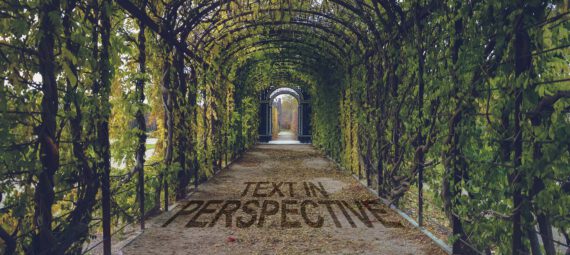
I used soft light, you can see the result below!
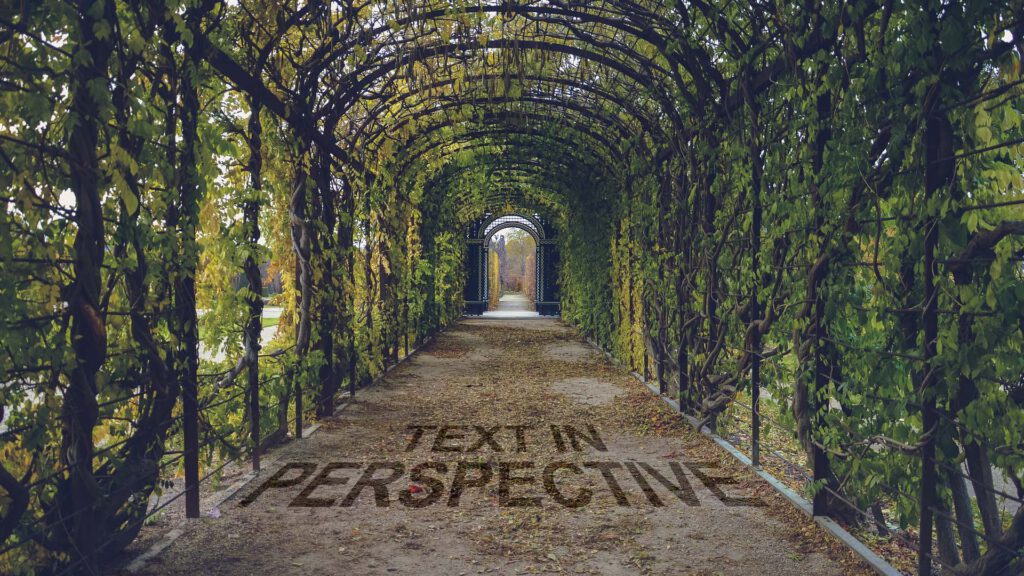
And that’s how you place text in perspective! Want to learn more about Adobe Photoshop? Check out my other blogs or take a look at my YouTube channel.
Follow me on Facebook to stay updated! You can find the video tutorial below.
Photoshop
Basics
Photo editing
Creative editing
Camera Raw
Neural filters
Text effects