
Published on December 9, 2022
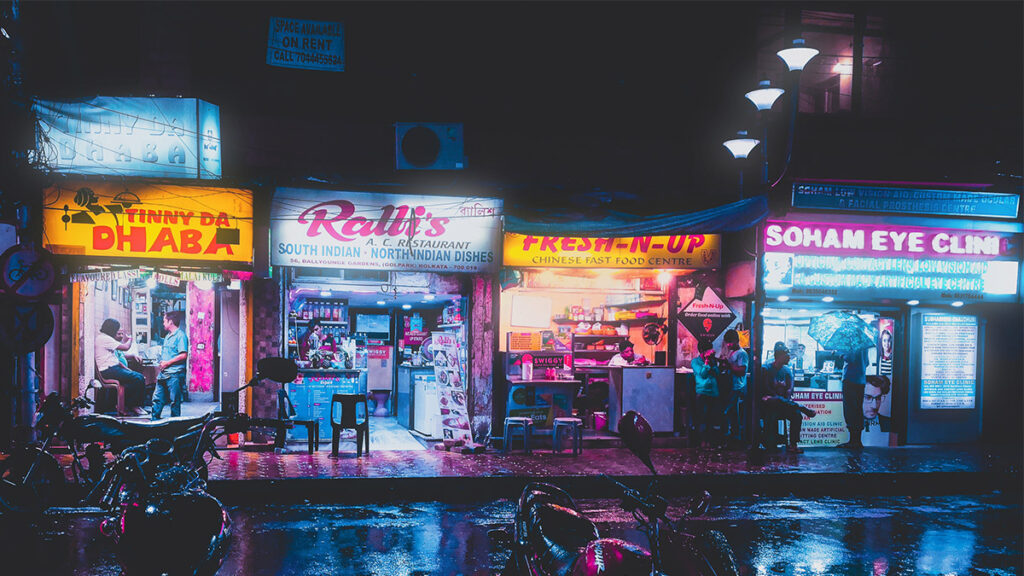
Soft aesthetic glow effect
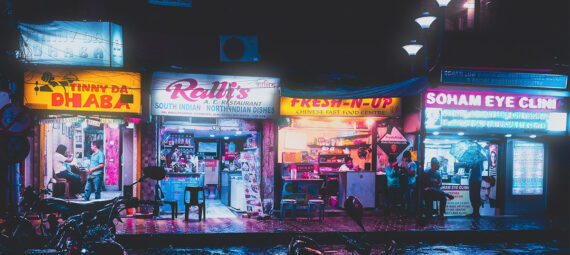
In this blog I’ll show you how to make highlights glow to create a soft aesthetic glow effect in Adobe Photoshop.
Rather watch the video with instructions? Click here or scroll down to the end of this page.
Click here if you want to download the photo I’m using.
Step 1: Select highlights
Open the photo you want to edit. Then navigate to ‘Select > Color range‘.
Select ‘highlights‘ and click on a bright area in your photo to select it. Adjust the fuzziness and range until only the highlights you want to add the glow effect to are white in the preview.
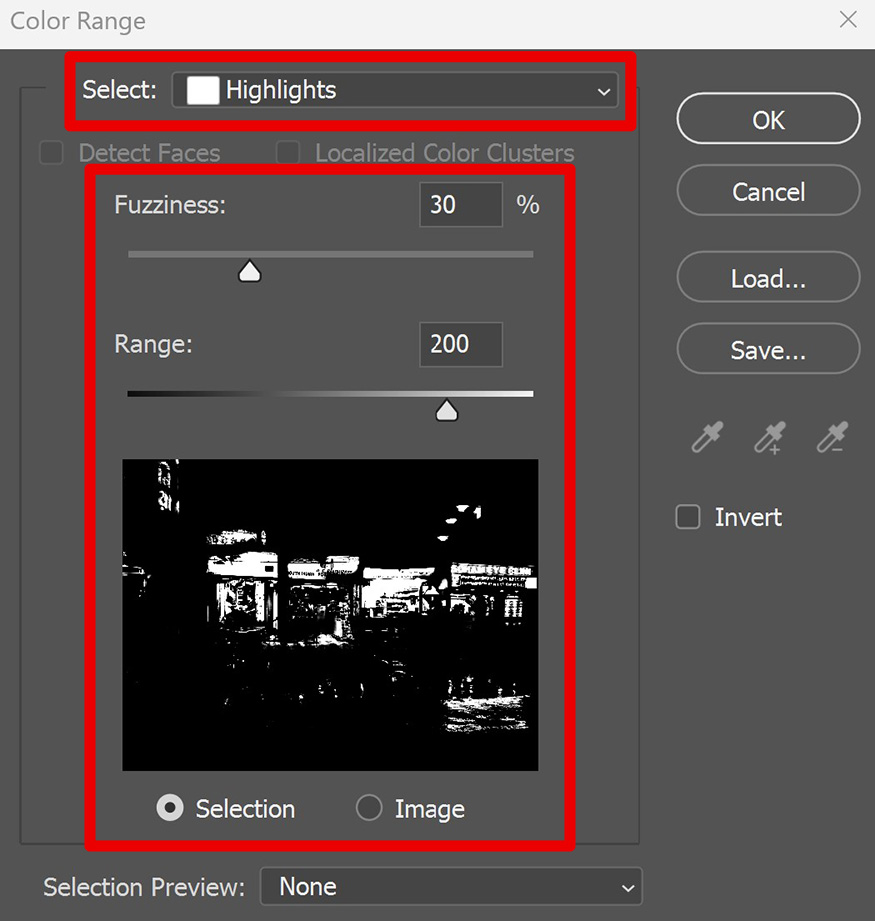
Click OK. The highlights are now selected.
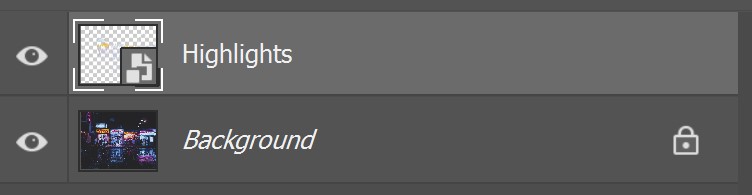
Press CTRL+J to duplicate the selected area. You now have a new layer with only the highlights and a transparent background. I name this layer ‘highlights’.
Right click on the highlights layer and select ‘convert to smart object‘.
Step 2: Create glow effect
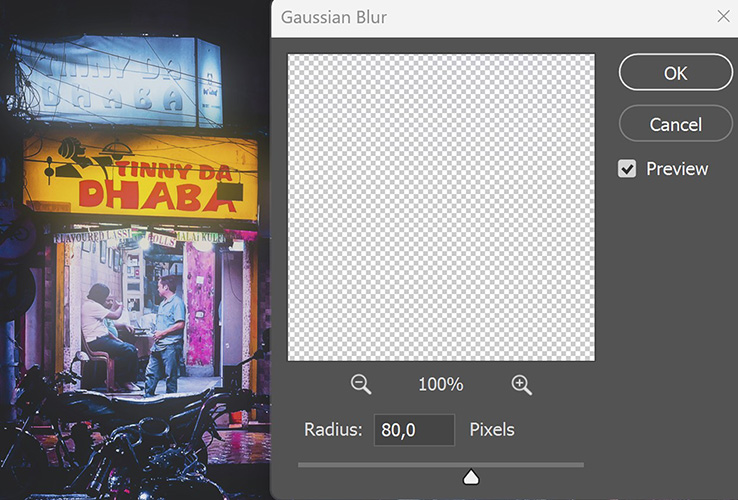
To create the glow effect, we’re going to make the highlights glow. To do that, select the layer with the highlights. Then navigate to ‘Filter > Blur > Gaussian blur‘.
Adjust the radius. The higher the amount of pixels, the bigger the glow. If you select ‘preview’, you’ll see the effect right away. Try out some different settings to see what suits your photo.
When you’re done, click OK. All the highlights are glowing now. If you like that, you’re done now. But in the next step I’ll show you how to remove or reduce the glow in certain areas.
Step 3: Adjust glow
If you look at your layer panel, you’ll see that the smart filter layer has a layer mask. Select that layer mask.
Then select the brush tool. I use a soft round brush, opacity 100%. Make the foreground color black. If you brush over an area now, this will remove the glow from that specific area.
To reduce the glow instead of removing it, lower the brush opacity to 50% (or less). Then brush over the areas where you want to reduce the glow.
To bring the glow back, change the foreground color to white and brush over that area again.
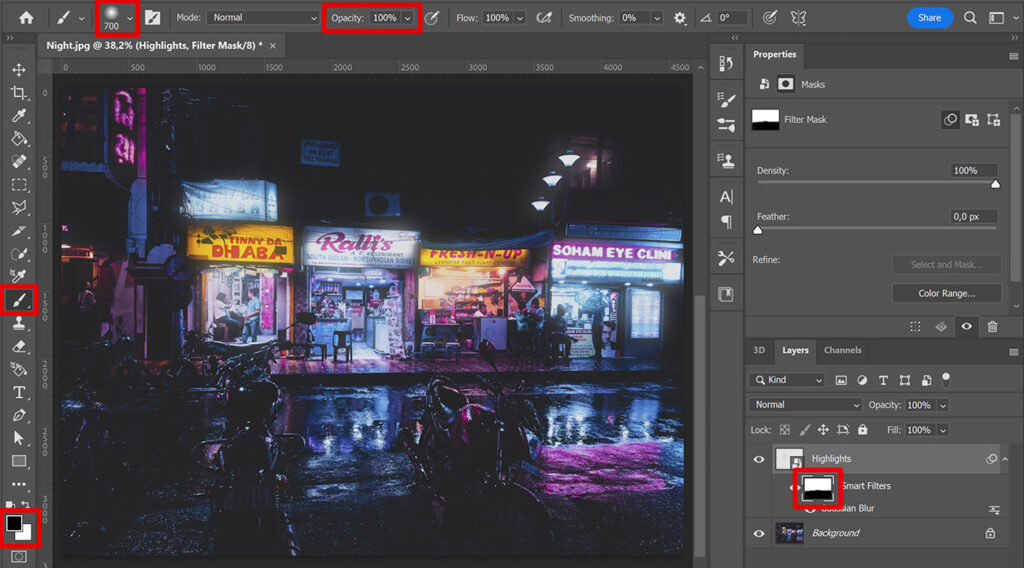
To adjust the amount of glow, double click on the ‘gaussian blur’ layer. Then adjust the radius.
And that’s how you create this soft aesthetic glow effect in Adobe Photoshop!
Want to learn more about editing in Adobe Photoshop? Check out my other blogs or take a look at my YouTube channel.
Follow me on Facebook to stay updated! You can find the video with instructions below.
Photoshop
Basics
Photo editing
Creative editing
Camera Raw
Neural filters
Text effects