

Published on December 8, 2022
Text behind subject with shadow
In this blog I’ll show you how to place a text behind an object or subject with a shadow behind the subject in Adobe Photoshop.
Rather watch the video with instructions? Then click here or scroll down to the end of this page.
Click here if you want to download the photo I used.
Step 1: Select subject
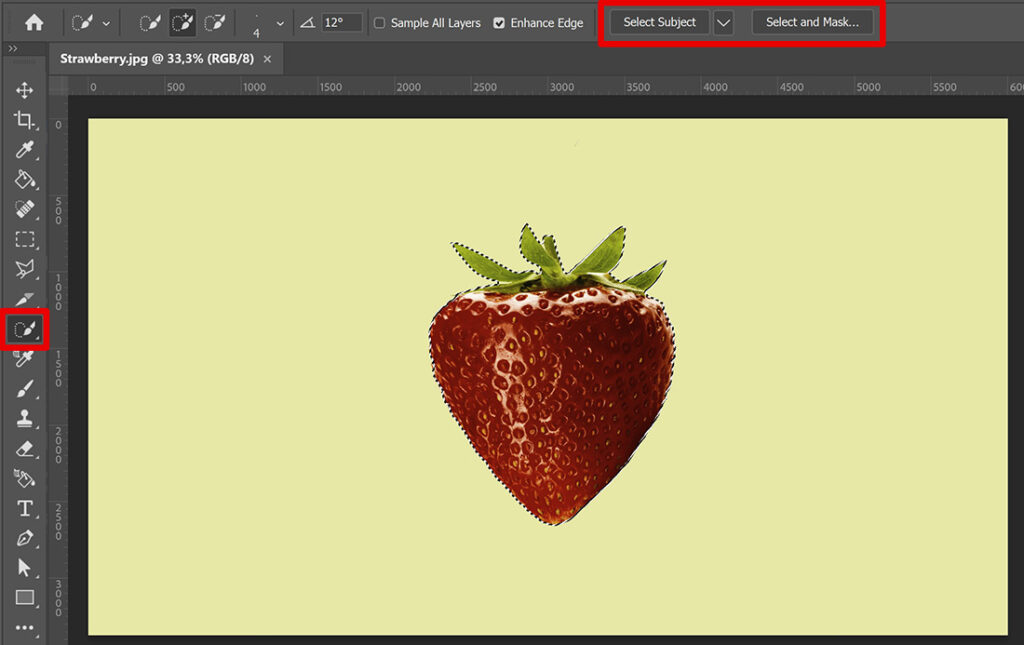
Open the file you want to edit. Select the object or subject you want to place in front of the text. I use the quick selection tool to do that, but you can also use a different method. To quickly select the subject, click on the ‘select subject‘ button.
If you want to refine the selection, click ‘select and mask‘. Then select the refine edge brush tool and brush over the areas that aren’t selected properly.
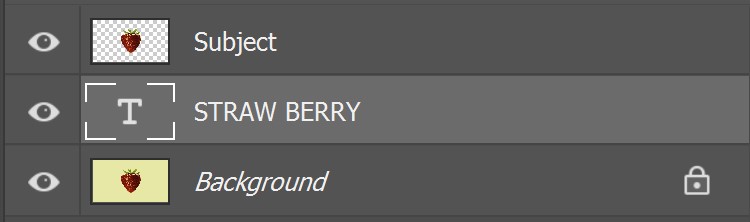
Once your subject is selected, press CTRL+J to duplicate the selected area. You now have a new layer with the subject and a transparent background. I name this layer ‘subject’.

Step 2: Text behind subject
Select the horizontal type tool. Pick a font and text color (anything but black, you won’t see the shadow with a black text). Type your text.
To resize the text, click on the ✓ icon. Then press CTRL+T to activate free transform. You can now resize the text and pick the correct position.
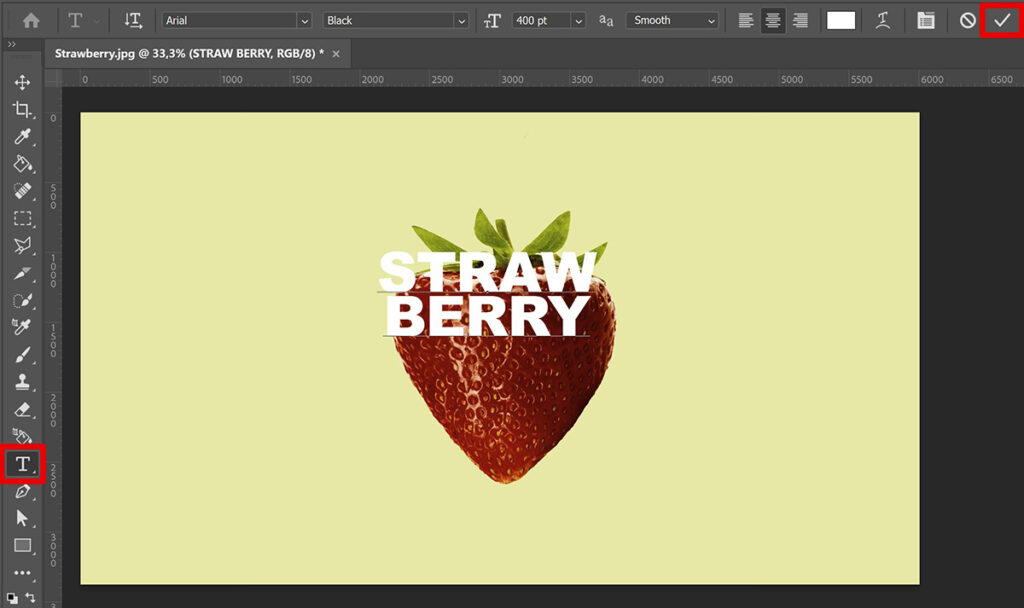
The text is now in front of your subject. To place it behind the subject, drag the text layer below the subject layer.
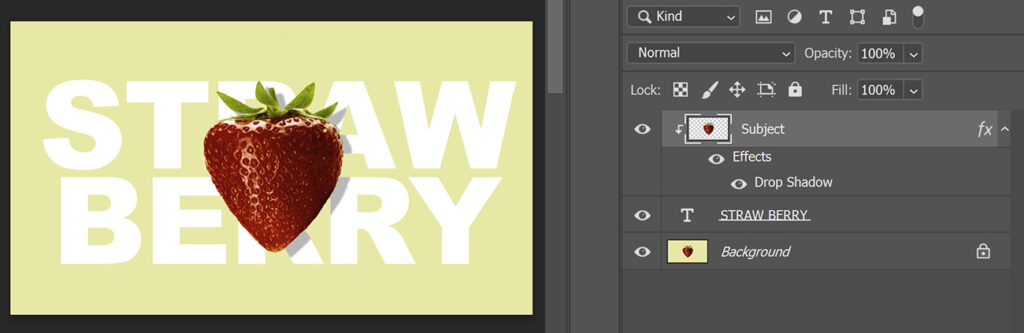
Step 3: Add shadow
Now that you have placed your text behind the subject, it’s time to add the shadow.
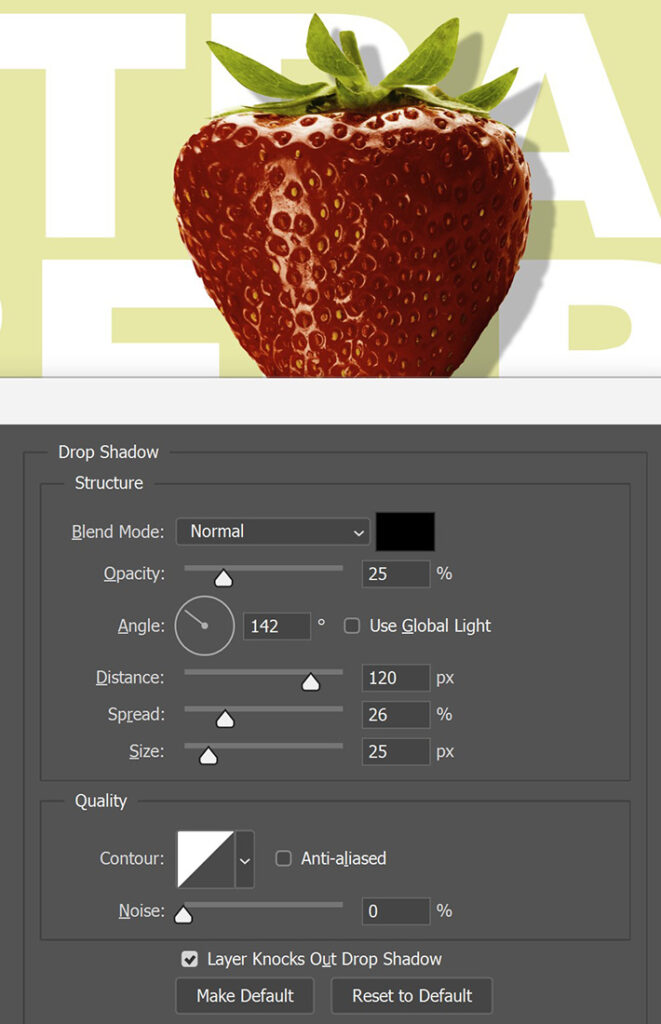
To do that, select the subject layer. Then click on the fx icon below your layers and select ‘drop shadow‘. The window shown in the image below will open.
Make the shadow black and lower the opacity to around 25-30%. Adjust the angle to determine where the shadow will be. Look at the light source in your photo to pick the correct place for the shadow.
Then adjust the distance, spread and size. The settings you need to use depend on your photo and file size. So try out some different settings to see what looks good.
When you’re done, click OK. The shadow is now on both the text and the background, but I only want the shadow on the text.
To do that, select the subject layer and navigate to ‘Layer > Create clipping mask‘ (or press ALT+CTRL+G). The layer is now clipped to the layer below it (the text layer). You’ll see that the shadow is now only on the text.
To adjust the shadow, double click on the ‘drop shadow’ layer.
If you want to adjust the position of the text, select the text layer and the move tool. You can now move the text behind your subject. To resize the text, press CTRL+T.
And that’s how you place a text behind an object with a shadow using Adobe Photoshop.

Want to learn more about editing in Adobe Photoshop? Check out my other blogs or take a look at my YouTube channel.
Follow me on Facebook to stay updated! You can find the video with instructions below.
Photoshop
Basics
Photo editing
Creative editing
Camera Raw
Neural filters
Text effects