
Published on October 4, 2022
Speed effect (radial blur)
In this blog I will show you how to add movement to your photo by creating this speed effect in Adobe Photoshop!
Want to watch the video with instructions? Click here or scroll down to the end of this page.
You can download the photo I used here.
Step 1: Speed effect
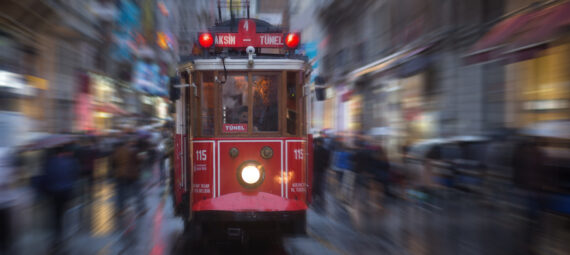
Open the photo you want to use. This effect looks best if your subject is coming straight towards you.
Press CTRL+J to duplicate the background layer. Right click on this new layer and convert it to a smart object.
Navigate to ‘Filter > Blur > Radial blur‘. You can find the settings I used in the image below. Copy these settings. The blur center should be in the middle of your subject, so move this to make it match your photo.
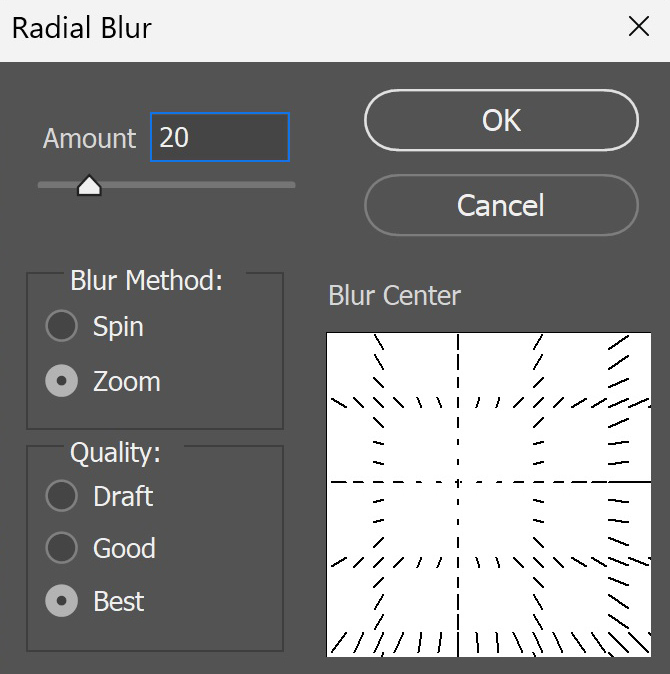
Click OK. If it turns out that the blur center isn’t in the middle of your subject, double click on the radial blur layer to fix it.
Step 2: Remove blur from subject
Right now the entire photo is blurred. I’ll now show you how to remove the blur from the subject.
Your smart filter already has a layer mask. Select that mask. Then select the brush tool, I use a hard round brush. Make the brush opacity 100% and the foreground color black. Brush over your subject to remove the blur.
Tip: Use the [ and ] keys to adjust the brush size.

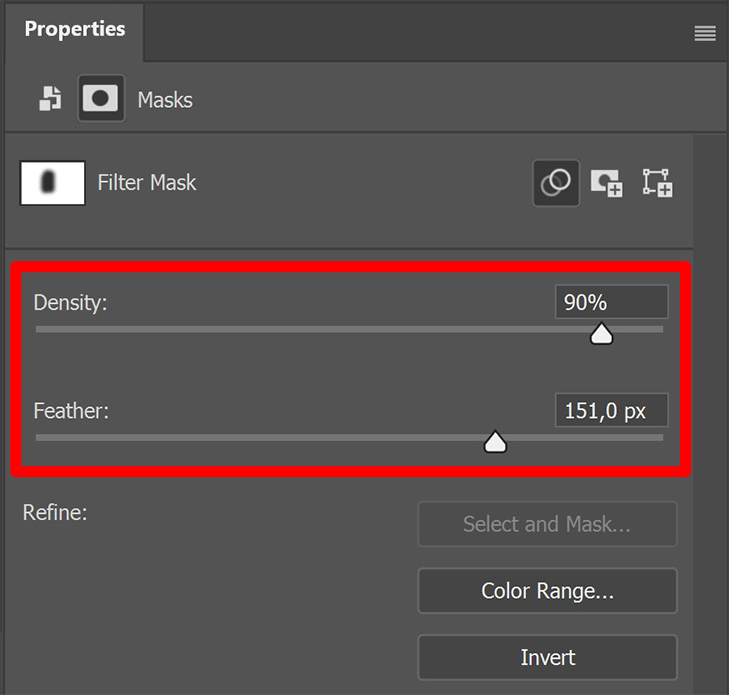
Then increase the feather. You can also lower the density a little. Try out some different settings to see what looks good.
If you want to adjust the amount of blur, double click on the radial blur layer. Then increase or decrease the amount.
To make the subject less blurry, select the layer mask of the smart filter again. Select the brush tool and lower the brush opacity to 50%. Make sure the foreground color is still black. Then brush over the edges of the subject to make it less blurry.
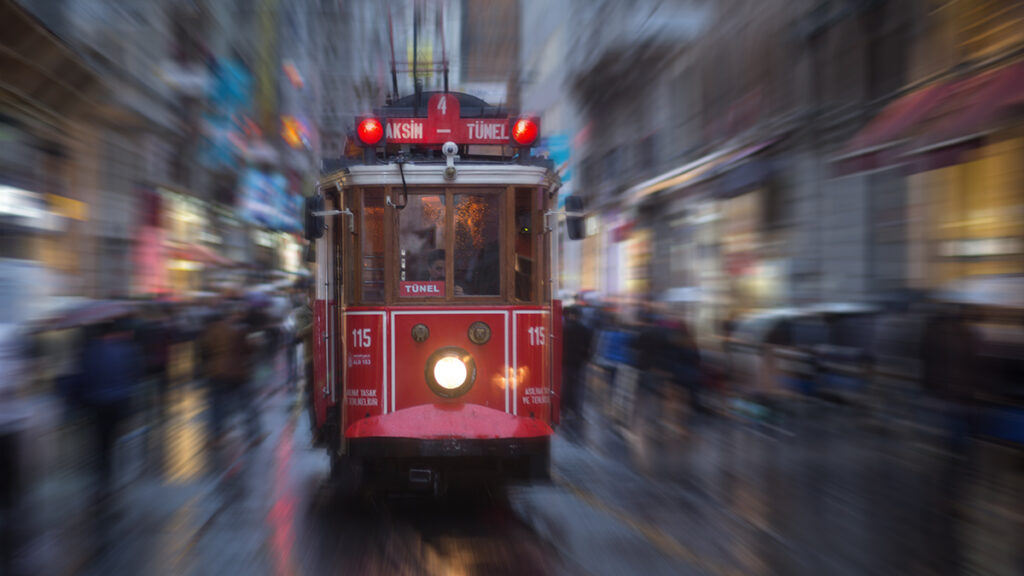
And that’s how you add movement to your photo with this speed effect in Adobe Photoshop!
Want to learn more about editing in Adobe Photoshop? Check out my other blogs or take a look at my YouTube channel.
Follow me on Facebook to stay updated! You can find the video with instructions below.
Photoshop
Basics
Photo editing
Creative editing
Camera Raw
Neural filters
Text effects