

Published on May 28, 2022
Create a split color text effect
I’ll show you how to quickly create a split color text effect in Adobe Photoshop.
You can also watch this short video to see the process.
Step 1: Create text
Create a new file. It doesn’t matter what size your file is. Also pick the background color you want to use.
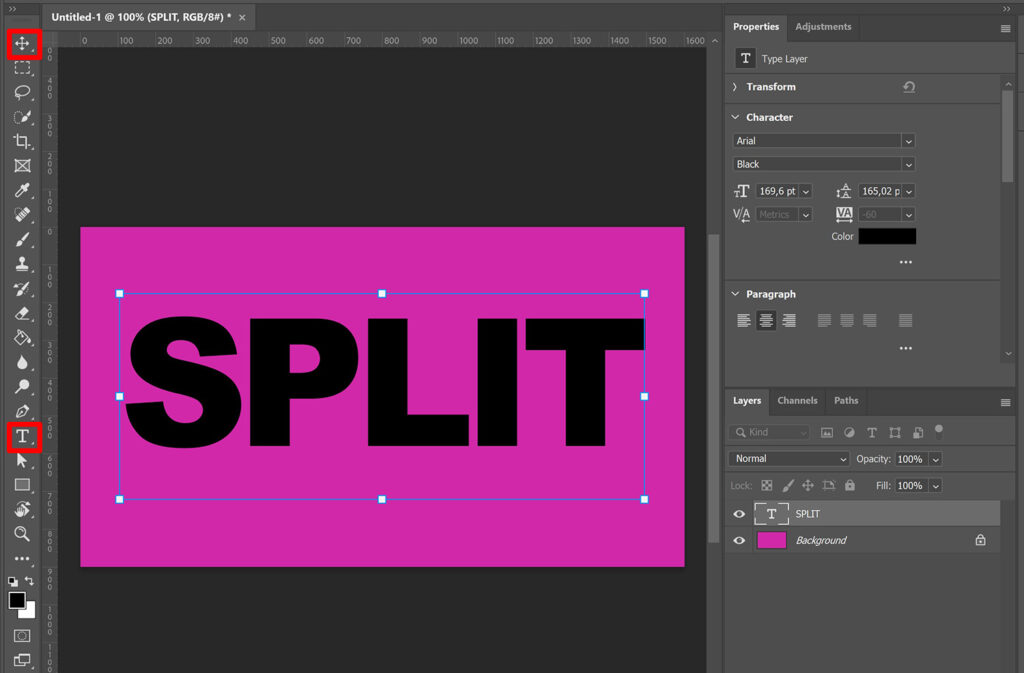
Select the horizontal type tool and pick a font you like. Also pick a color for your text, half of your text will be in this color.
Then type your text. Now select the move tool and press CTRL+T to activate free transform. You can now resize your text and pick the correct placement.
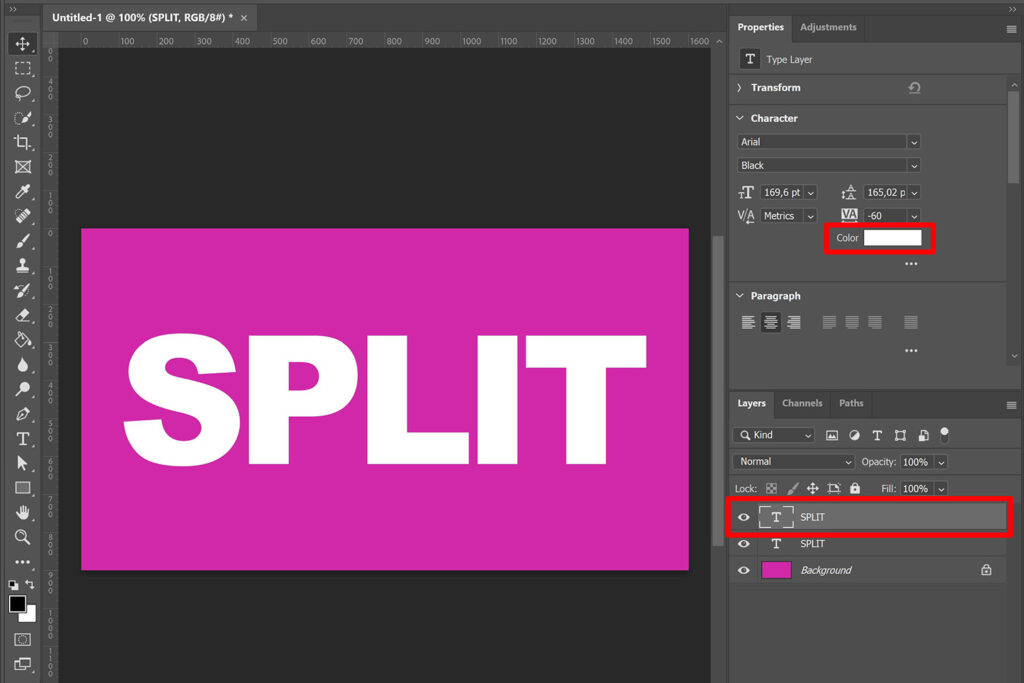
Select the text layer and press CTRL+J to duplicate it. Click on the color box to change the color of the text. This will be the second color of your text. I want to make it black and white, so I make this second text white.
Step 2: Split color text effect
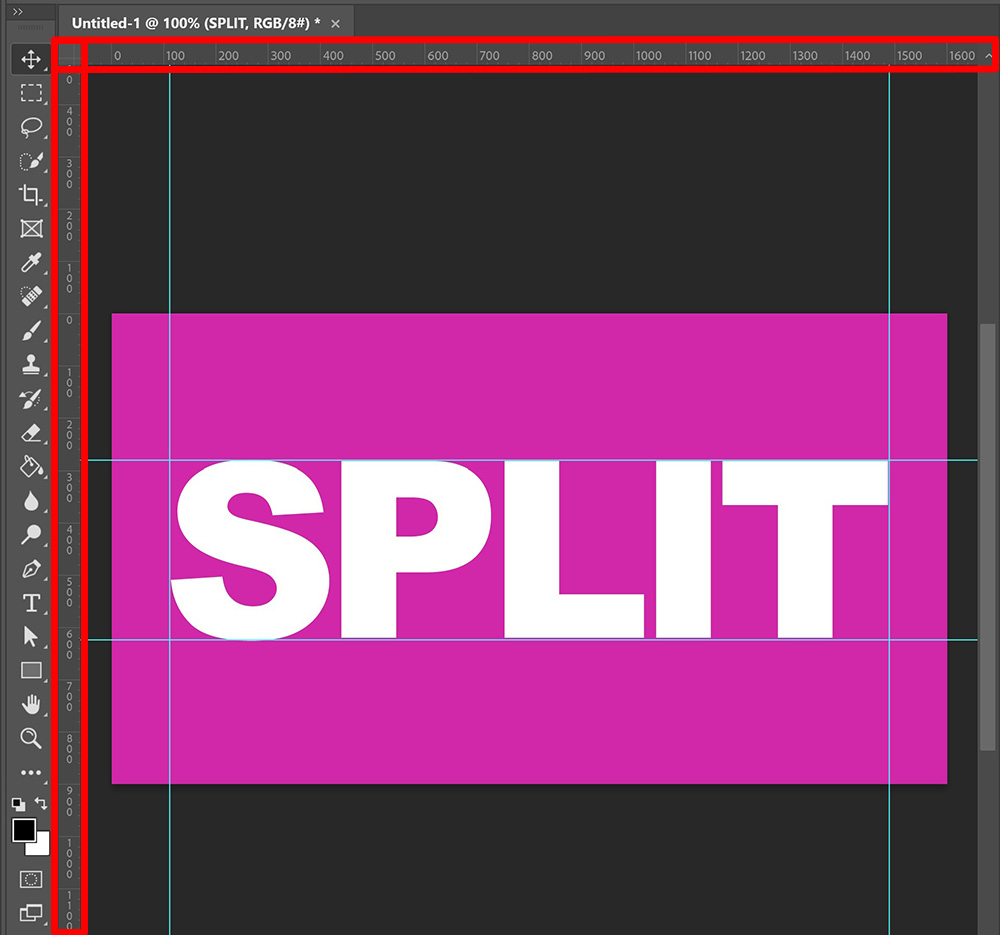
You now have 2 text layers in different colors. To make it easier to split the text, we’ll create guidelines first. Click on the ruler, hold it and then drag towards your text to create a guideline. If you can’t find the rulers, press CTRL+R.
Your guidelines should look similar to the ones in the image below. Make sure the guidelines connect with the text.
Then select the polygonal lasso tool and make a selection that goes from one corner of the guidelines to the other (see image below).
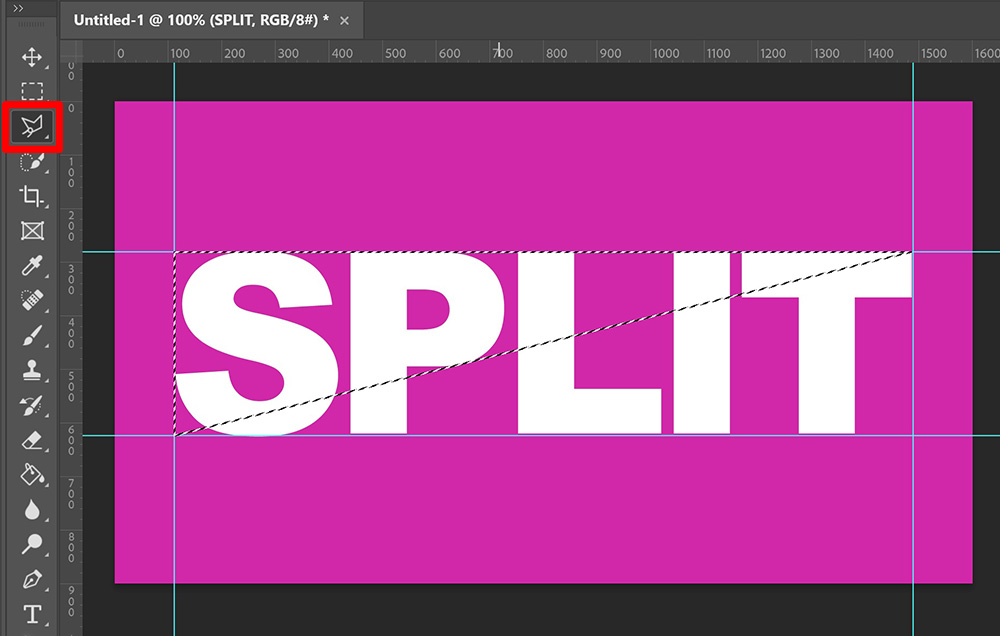
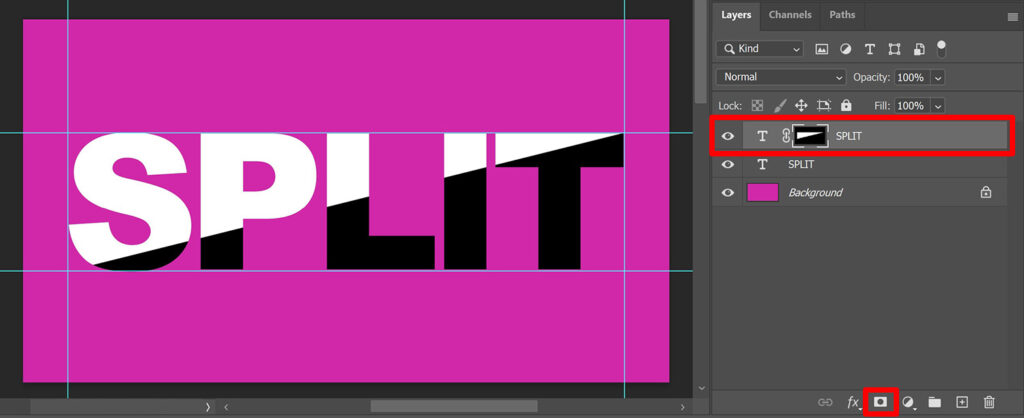
When your selection is done, select the top text layer and add a layer mask. Half of the text is now a different color.
To invert the colors, select the layer mask and click invert.
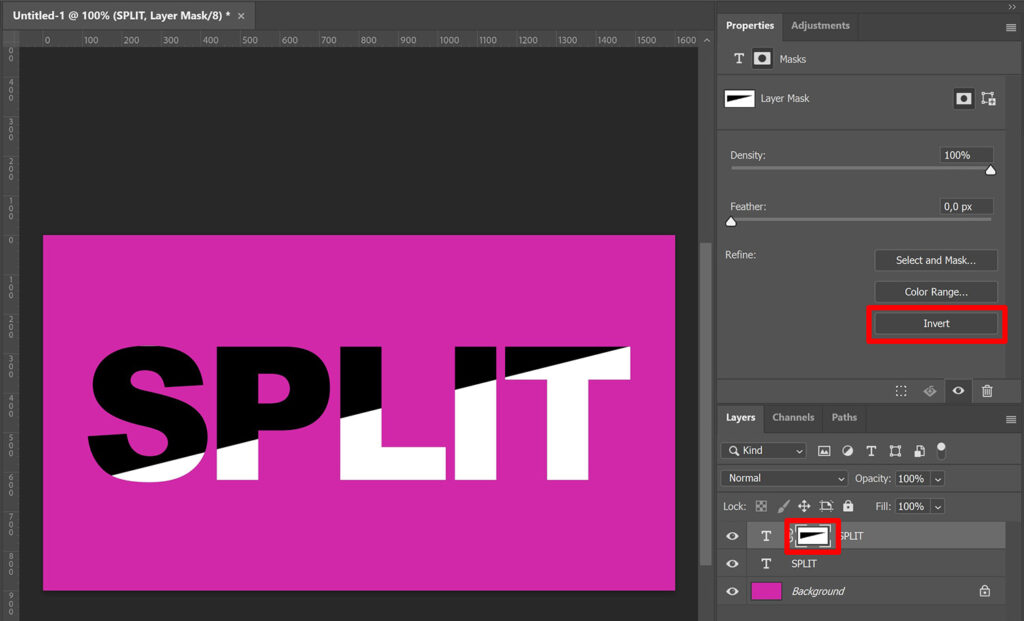
If you look closely, you might see in the image above that the top of the S has a different color (it’s still white). This can happen when one of the letters is a bit larger than the rest of the text. If it happens to you, select your layer mask and the brush tool. Now take a good look at your mask and check what color the ‘triangle’ in your mask is. In this case it is black, so you make the foreground color black. The triangle can also be white, in that case you make the foreground color white.
Now brush over the area with the wrong color (with your mask still selected). This part will now have the same color as the rest of your text.
And that’s how you create a split color text effect in Adobe Photoshop! You can see the result in the image below.

Learn more about Photoshop
Want to learn more about editing in Adobe Photoshop? Check out my other blogs or take a look at my YouTube channel.
Also follow me on Facebook to stay updated about new blogs and tutorials!
Photoshop
Basics
Photo editing
Creative editing
Camera Raw
Neural filters
Text effects