
Published on November 13, 2021
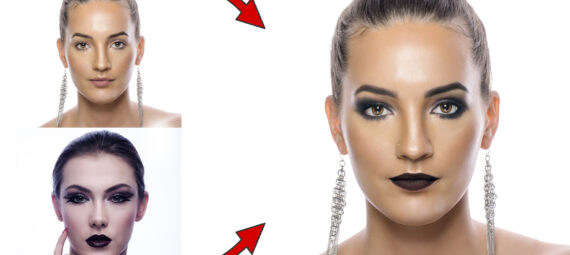
I’ll show you how to use the Makeup Transfer Neural Filter in Adobe Photoshop. This Neural filter transfers the makeup from one photo to another.
If you’d rather watch the video tutorial of this process, click here or scroll down to the end of this page!
I’m using portrait pictures of models looking straight into the camera, so the makeup is clearly visible (which makes it easier for Photoshop to transfer it correctly).
If you want to download the photos I used:
Photo 1
Photo 2
Photo 3
Transfer Makeup
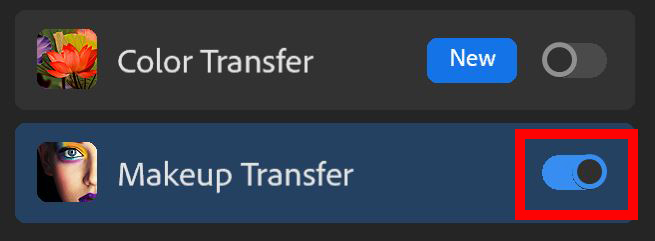
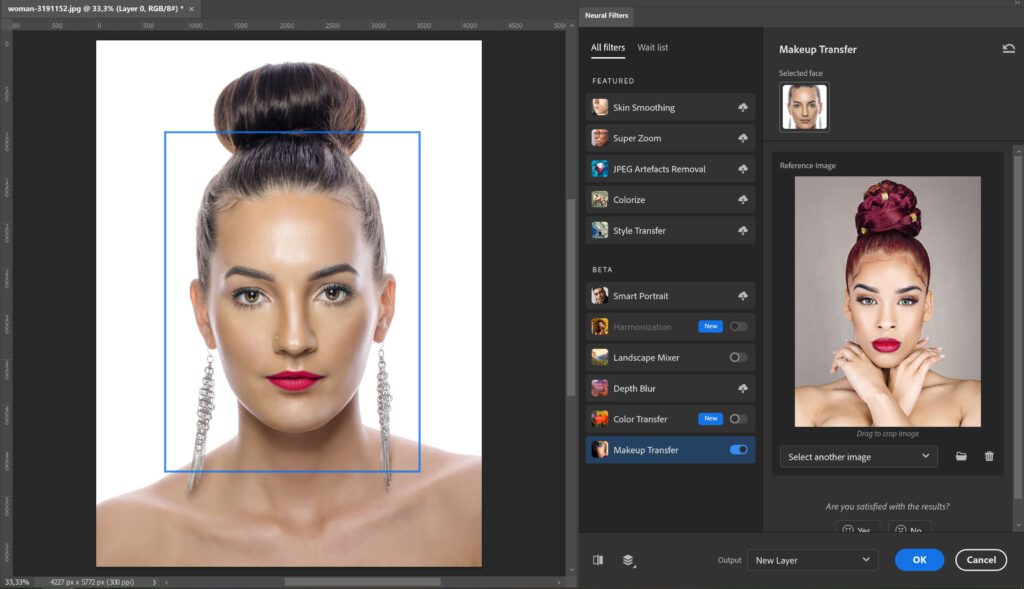
Let’s get started! Open the photo you want to transfer the makeup to (I’m using ‘photo 1’). Navigate to ‘Filter > Neural Filters’. You’ll see the ‘Makeup Transfer’ Neural Filter. If you’re using it for the first time, you have to download it first (click on the cloud icon to start the download). If you’ve downloaded it already, click on the icon next to the filter to activate it.
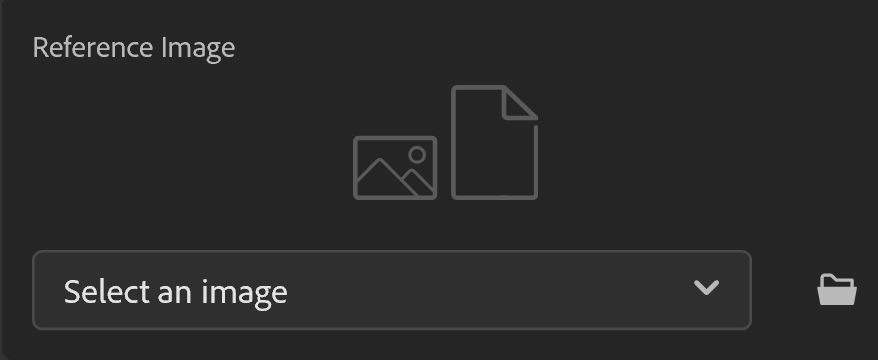
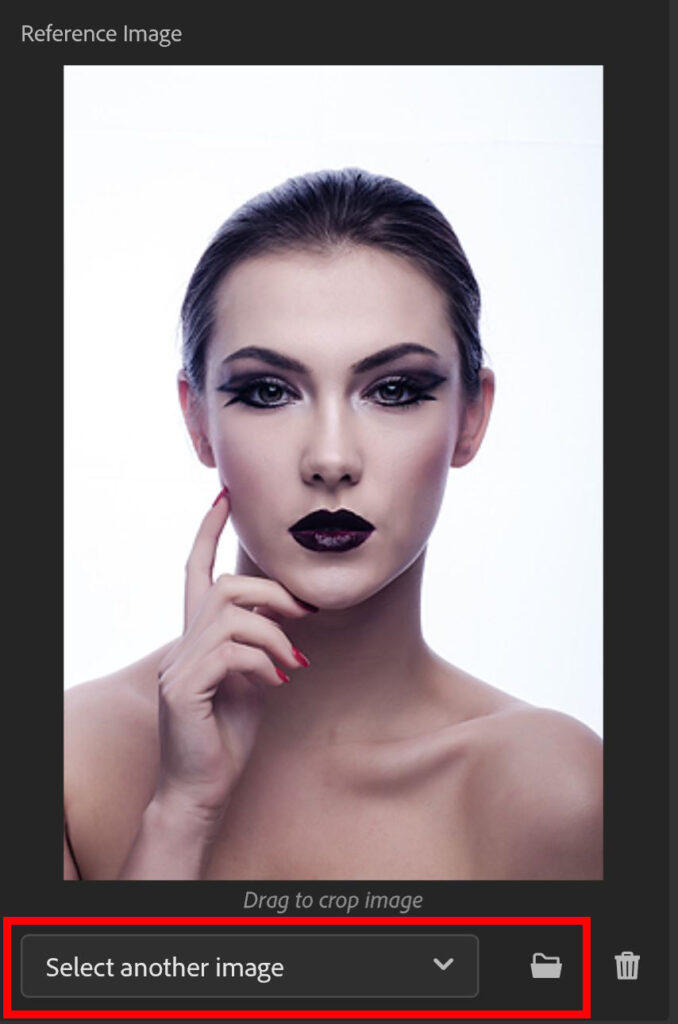
Now you need to add a reference image. The makeup of this image will be transferred to the photo you’re using. Add the image from your computer (I’m using ‘photo 2’ first).
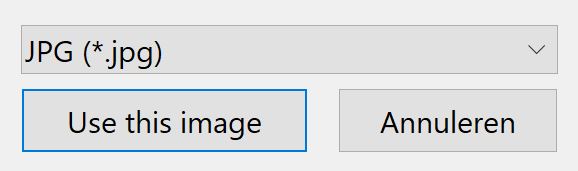
If you can’t find your files, make sure the correct file format is selected (you can find that in the right lower corner). My files are .jpg so I need to select that to see my files.
As you can see in the image below, the dark makeup from the reference photo is now transferred to the original image.

If you click on the icon shown in the image below, you can switch between the before and after image to see the difference.

Output options
If you’re happy with the way this looks, you can apply the changes. You can choose from a variety of output options:
- Current Layer: Applies the adjustments to the layer you’re working on.
- New Layer: Creates a new layer with the adjustments.
- New Layer masked: Creates a new layer and applies the adjustments as a mask.
- Smart Filter: Applies the adjustments as a smart filter.
- New Document: Opens the adjusted image in a new document.
If you don’t like the way this looks, you can try it with another image. Click ‘Select another image’ and pick a different image (I’m using ‘Photo 3’ now).
You can see the result in the image below.
And that’s how you use the Makeup Transfer Neural Filter in Adobe Photoshop. It’s a fun and easy method to transfer makeup from one photo to another!
If you want to learn more about Adobe Photoshop, check out my other blogs or take a look at my YouTube channel. You can find the video tutorial of this process below!
Photoshop
Basics
Photo editing
Creative editing
Camera Raw
Neural filters
Text effects