

Published on February 24, 2022
Create a chrome text effect
In this blog I’ll show you a very fast and simple method to create a chrome text effect in Adobe Photoshop.
Rather watch the video tutorial? Click here or scroll down to the end of this page!
Step 1: Create file and text
Create a new file. My file size is 1600×900 pixels. You can use a different file size, but if your file is much smaller or larger the settings I use might look different on your text.
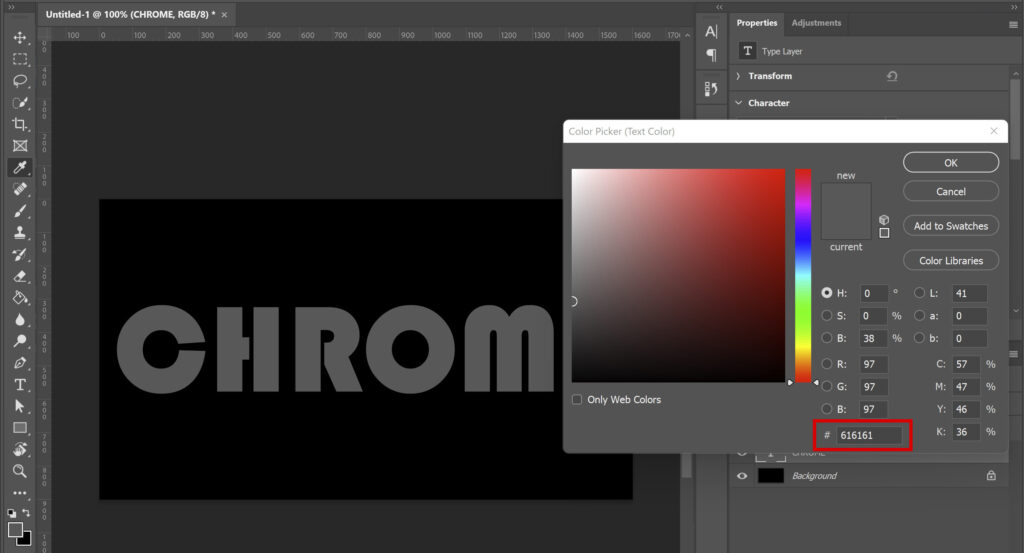
Select the horizontal type tool and pick a bold font (the font I used is called Bauhaus 93). Change the font color to grey, code #616161. Then type your text.
Select the move tool. Press CTRL+T to activate free transform. Resize your text and pick the correct placement.
Step 2: Chrome text effect
Double click on your text layer to open the layer style panel (or select your text layer, click on the ‘fx’ icon at the bottom of your layer panel and select ‘blending options’).
Select ‘Bevel & Emboss‘. You can find the settings I used in the image below, copy these.
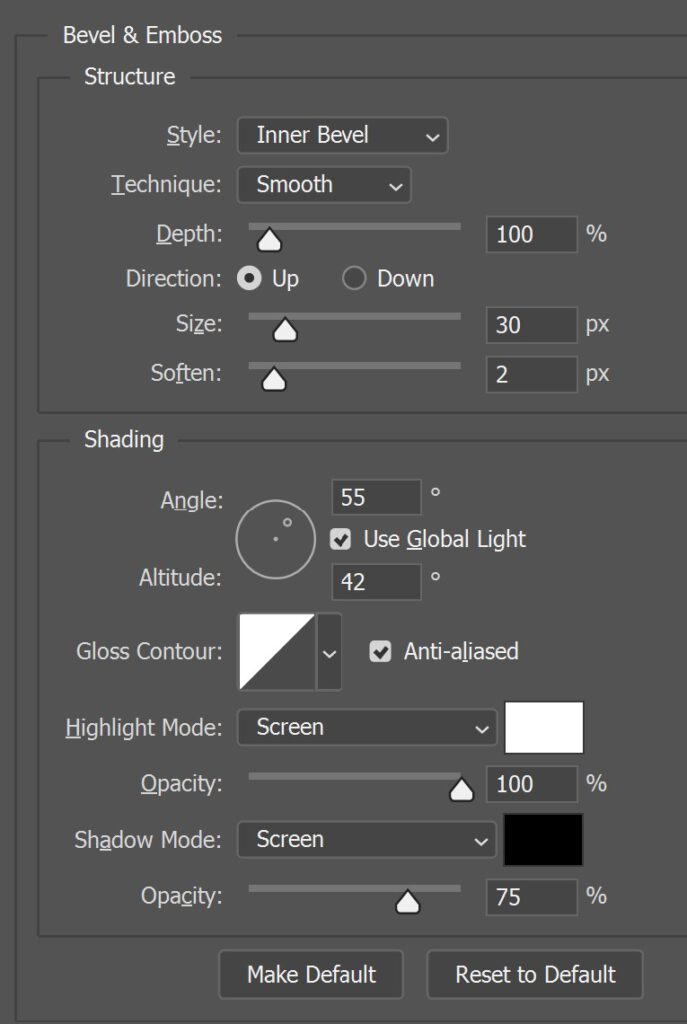
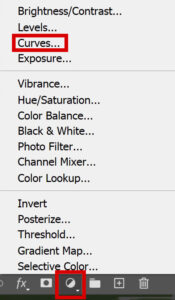
Click OK to apply these setting. Then add a curves adjustment layer.
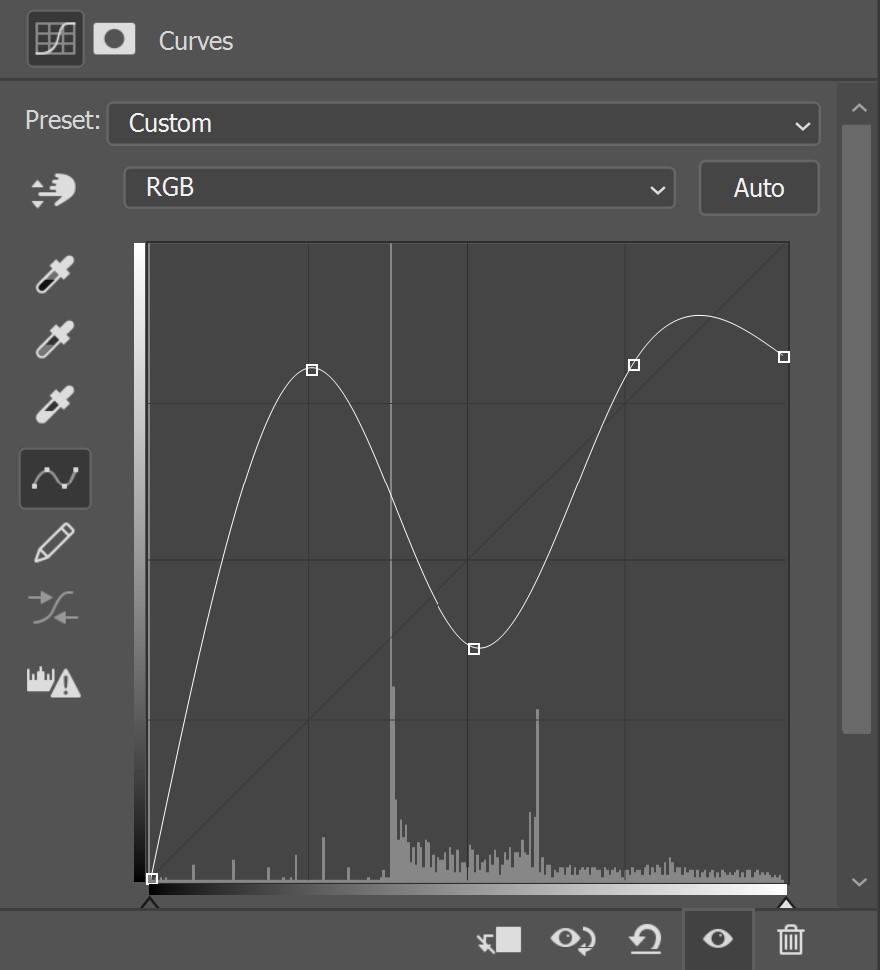
Create a curve that looks similar to the one below. You can move the anchor points up and down to see what looks good on your text. Your curve doesn’t have to be identical to this one, as long as you follow the ‘wave’ I created.
And that’s how you create a chrome text effect in Adobe Photoshop. You can find the result below!

Learn more about Photoshop
Want to learn more about editing in Adobe Photoshop? Check out my other blogs or take a look at my YouTube channel.
Follow me on Facebook to stay updated! You can find the video tutorial below!
Photoshop
Basics
Photo editing
Creative editing
Camera Raw
Neural filters
Text effects