

Published on March 17, 2024
In this blog I will show you how to automatically edit a sky using Adaptive Presets in Adobe Lightroom (Classic).
Rather watch the video with instructions? Then click here to open the video on YouTube or scroll down to the end of this page.
If you want, you can download the photo I used here.
Edit sky (Adaptive Presets)
Open the photo you want to edit.
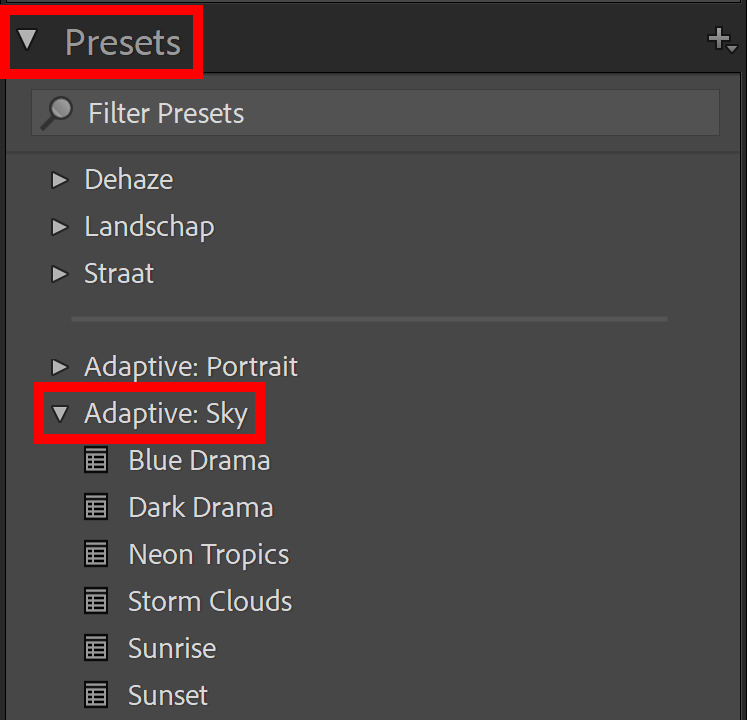
Then open the ‘presets‘ tab and select ‘Adaptive: Sky‘. If you hover over the presets, you can see what they look like. The adjustments only apply to the sky!
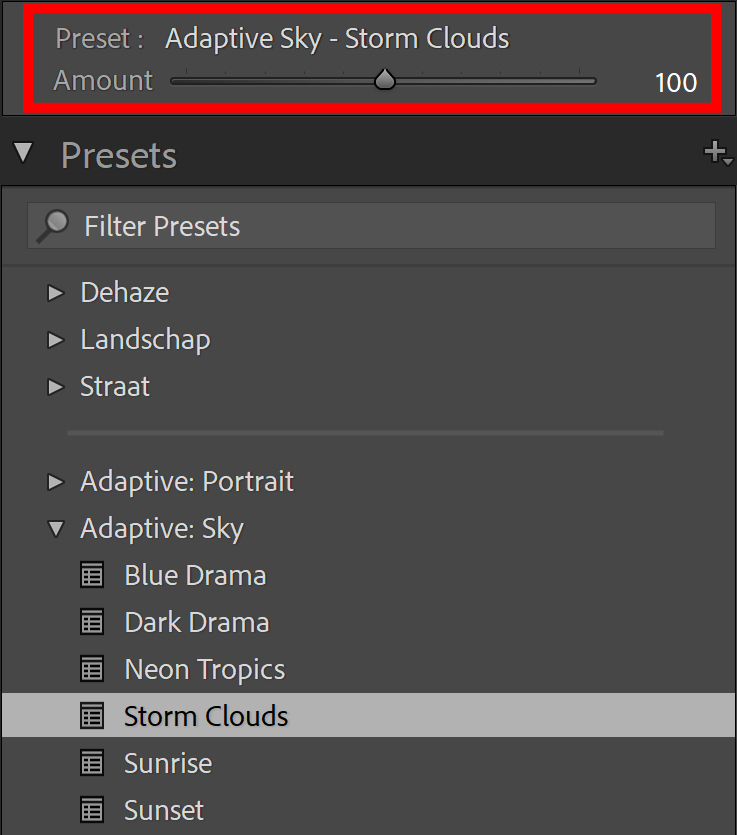
Select the preset you like. You can adjust the amount to make the effect stronger or more subtle.
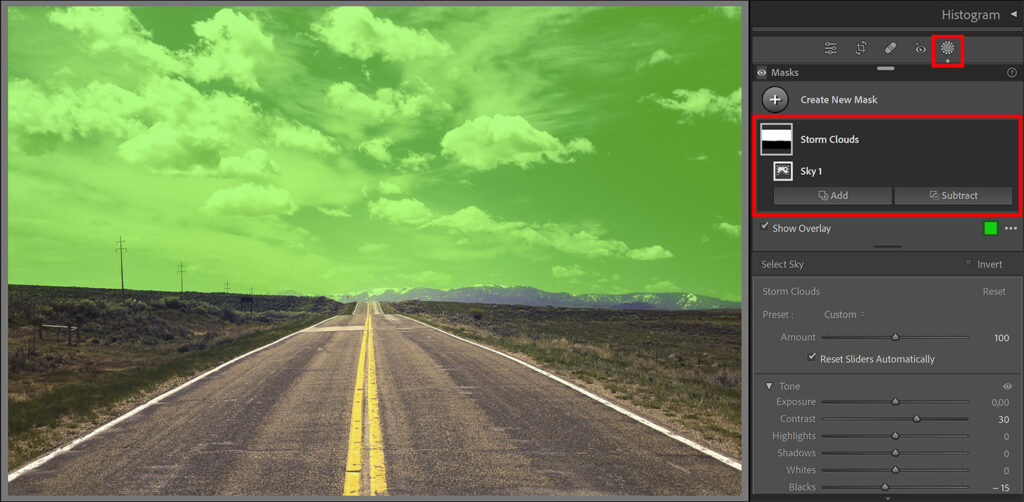
If you select ‘masking‘, you can see that the sky is masked now. If the sky is not masked correctly, you can add to or subtract from the mask.
And that’s how you automatically edit a sky using Adaptive Presets in Adobe Lightroom!

Learn more about editing in Lightroom
Want to learn more about editing in Adobe Lightroom? Check out my other blogs or take a look at my YouTube Channel.
You can also follow me on Facebook to stay updated about new blogs and tutorials!
Photoshop
Basics
Photo editing
Creative editing
Camera Raw
Neural filters
Text effects