
Published on January 8, 2023
Blur edges of a photo (create soft border)
In this blog I will show you how to blur the edges of a photo to create a soft border in Adobe Photoshop.
Rather watch the video with instructions? Then click here or scroll down to the end of this page!
If you want, you can download the photo I used here.
Step 1: Make selection
Open the photo you want to edit. Then unlock the background layer (click on the lock icon of the background layer).
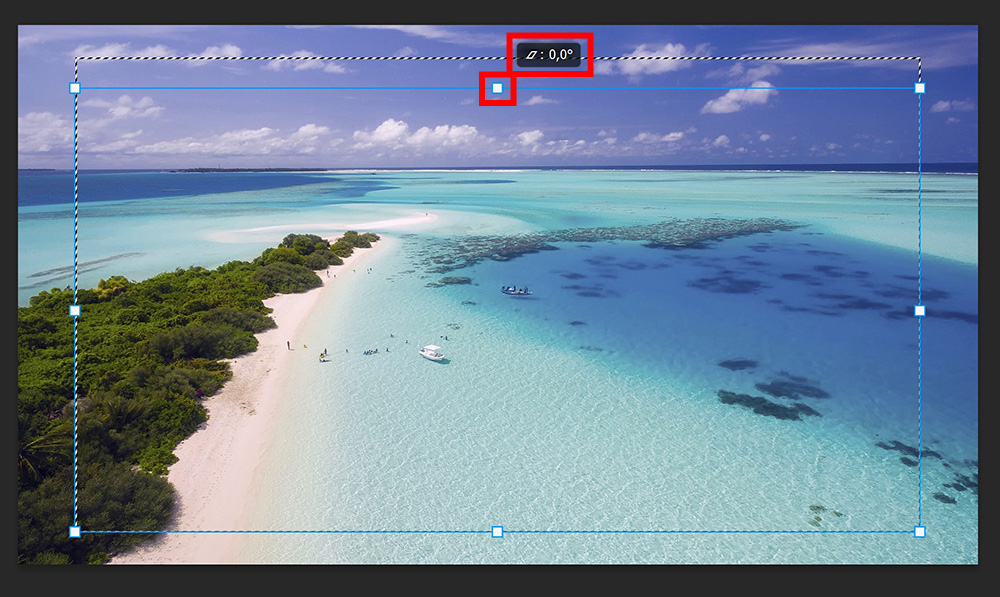
Navigate to ‘Select > All‘. The entire photo is now selected. Then navigate to ‘Select > Transform selection‘. Make the selection smaller by moving one of the anchor points and place it in the middle.

The area outside of this selection becomes the border. If you look at the image above, you’ll see that the area outside of the selection isn’t equal on all sides. The area on the left and right side is larger than the area on the top and bottom. You can keep it this way, but then the borders won’t be equal on all sides.
If you want all sides of the border to be equal, you need to adjust the ratio of the selection. To do that, press and hold CTRL while moving one of the anchor points. By doing this, you can move this point individually.
I need to make the area on the top and bottom larger, so I drag the top anchor point in the middle down while pressing CTRL. If you look at the image below, you can see that only the top of the selection changed.
Make sure you keep the angle at 0,0°, otherwise the selection becomes crooked.
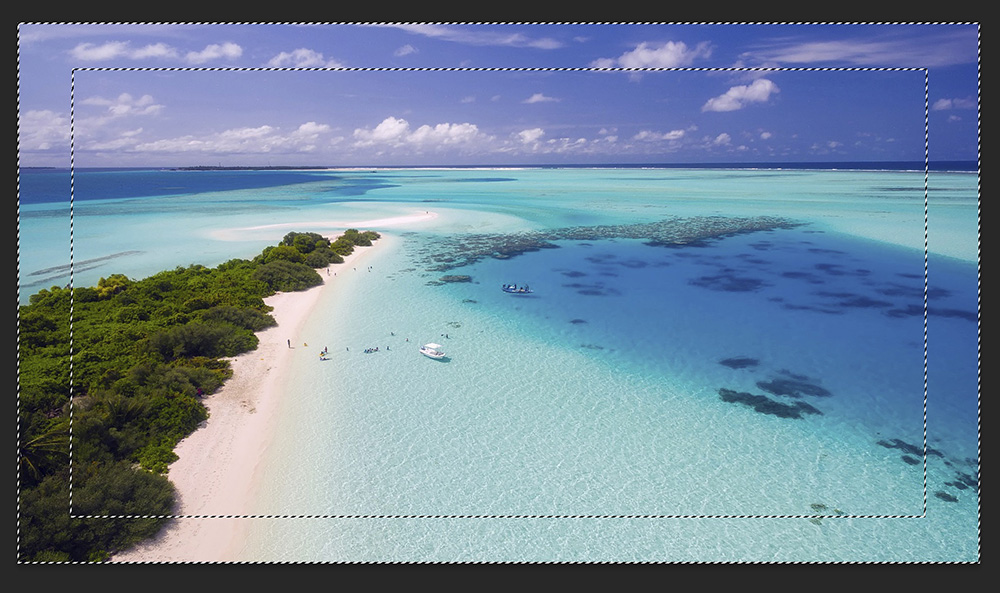
Then place the selection in the middle again. The area around the selection doesn’t have to be exactly the same on all sides, as long as it’s visually even. When you’re done, click on the ✓ icon.
Navigate to ‘Select > Inverse‘. You’ll see two dotted lines now, one around the photo and one inside of it. This means that the outside of the photo is now selected. This selected area will become the border.
Step 2: Blur edges (soft border)
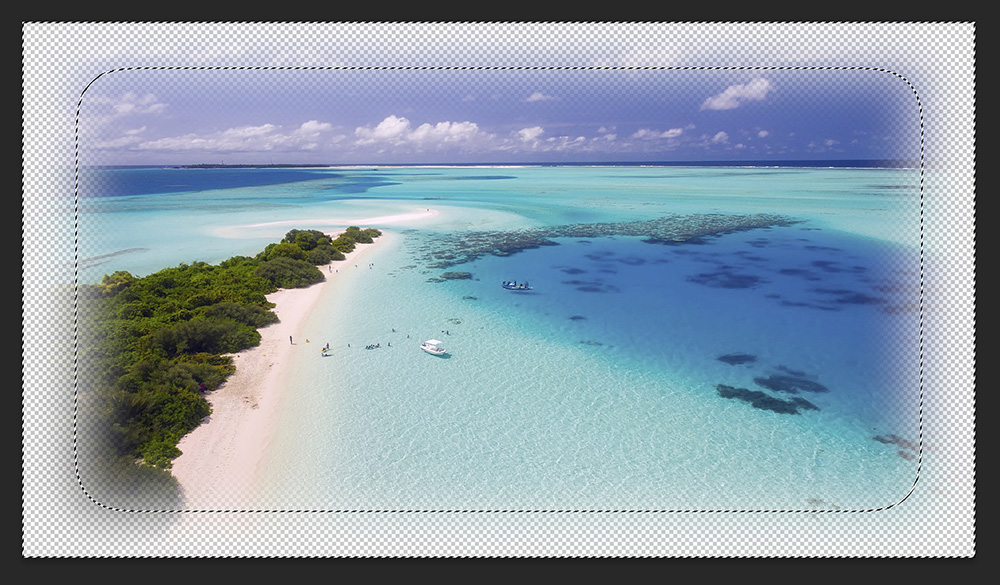
Then navigate to ‘Select > Modify > Feather‘. Start with an amount of 50 pixels. Uncheck ‘apply effect at canvas bounds’ and click OK.

You’ll see that the corners of the selection are now rounded. Press your DELETE key to remove the selected area. You have now blurred the edges of the photo.
If you’re happy with the way this looks, press CTRL+D to deselect and continue with step 3.
To make the edges blurrier, press the DELTE key again (you can do this multiple times to make it even more vague). You will see that the border is now larger and the edges are blurrier.
You can also navigate to ‘Select > Modify > Feather‘ again to pick a different amount of pixels. A higher number of pixels results in more blur, a lower number in less. If you changed the feather, click OK and press DELETE to remove the selected area.
You can continue doing this (feather and delete) until you’re happy with the way the border looks. Then press CTRL+D to deselect.
Step 3: Add color to border
If you want to give the border a color, create a solid color layer. Pick a color (I make the border white) and click OK.
Place the color fill layer below the layer with the photo.

And that’s how you blur the edges of a photo to create a soft border in Adobe Photoshop!
I added a black outline to the example below, so you can see the edges of the white border on the white background of this website. You’re not going to have that outline, your border will just be one color.
Learn more about Photoshop
If you want to learn more about editing in Adobe Photoshop, check out my other blogs or take a look at my YouTube channel.
Also follow me on Facebook to stay updated! You can find the YouTube video with instructions below.
Photoshop
Basics
Photo editing
Creative editing
Camera Raw
Neural filters
Text effects