

Published on July 28, 2024
How to Convert an Image to Outlines Only in Photoshop (Step-by-Step Tutorial)
Want to convert an image to outlines only in Photoshop? In this short step-by-step tutorial, you’ll learn how to turn an illustration or subject into clean contour lines using Adobe Photoshop.
This technique is perfect for creating line art or outline effects where only the edges of your subject are visible.
Rather watch the video with instructions? Then click here to open the YouTube tutorial or scroll down to the end of this page.
If you want, you can download the image I used here.
How to convert image to outlines?
Open the file with the image you want to use.
Then select your subject. You can use one of the selection tools to do this, but you can also navigate to ‘Select > Subject‘.
Press CTRL+J to duplicate the selected area (the subject) in a new layer. You can now make the background layer invisible by clicking on the eye icon. The background is now transparent.
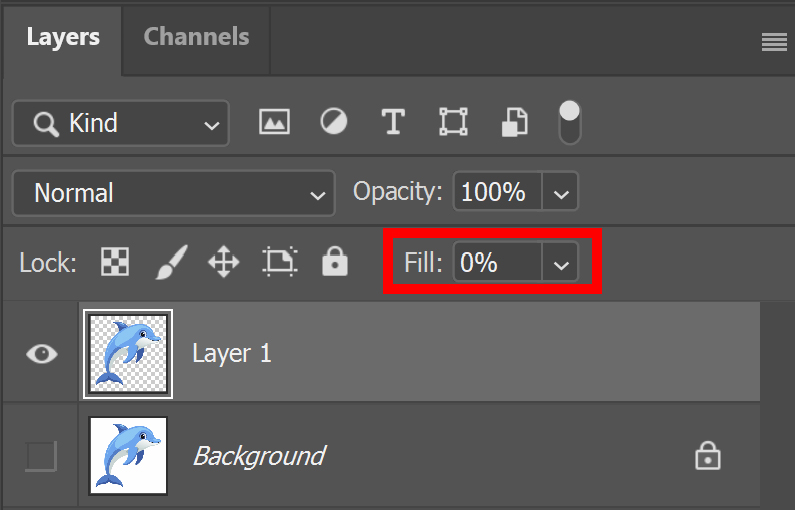
Select the new layer with the subject and lower the fill to 0%.
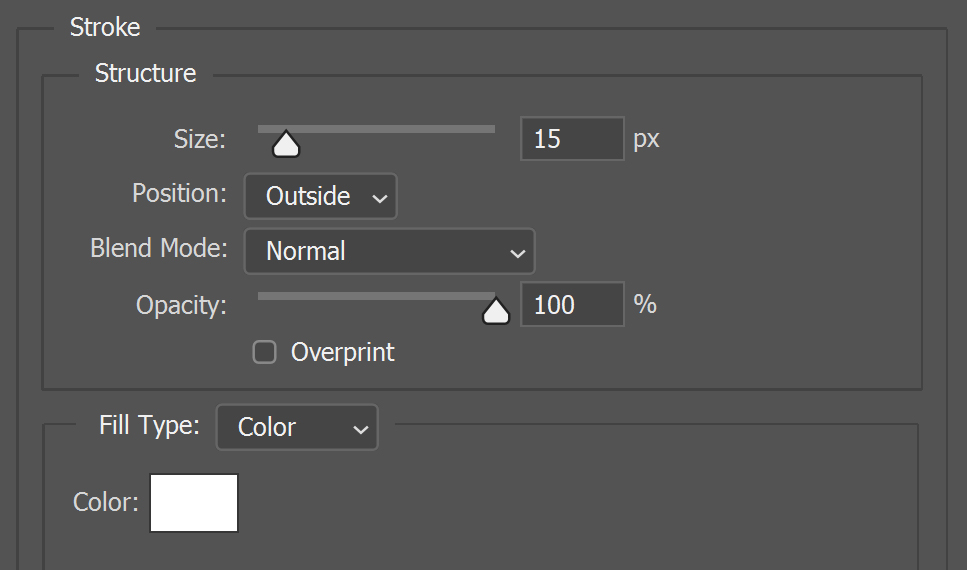
Click on the fx icon below your layers and select ‘stroke‘.
Adjust the size and pick a stroke color. You can find the settings I used in the image below.
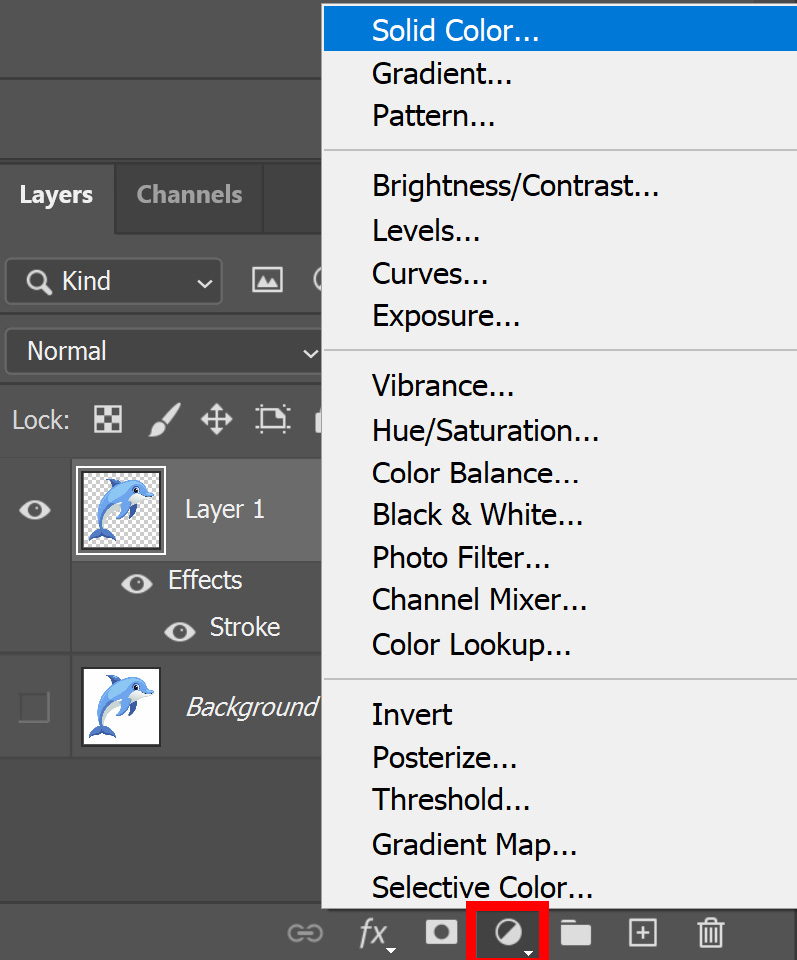
The background is now transparent. Create a solid color layer and pick a background color.
Then place the color fill layer below the layer with the stroke.
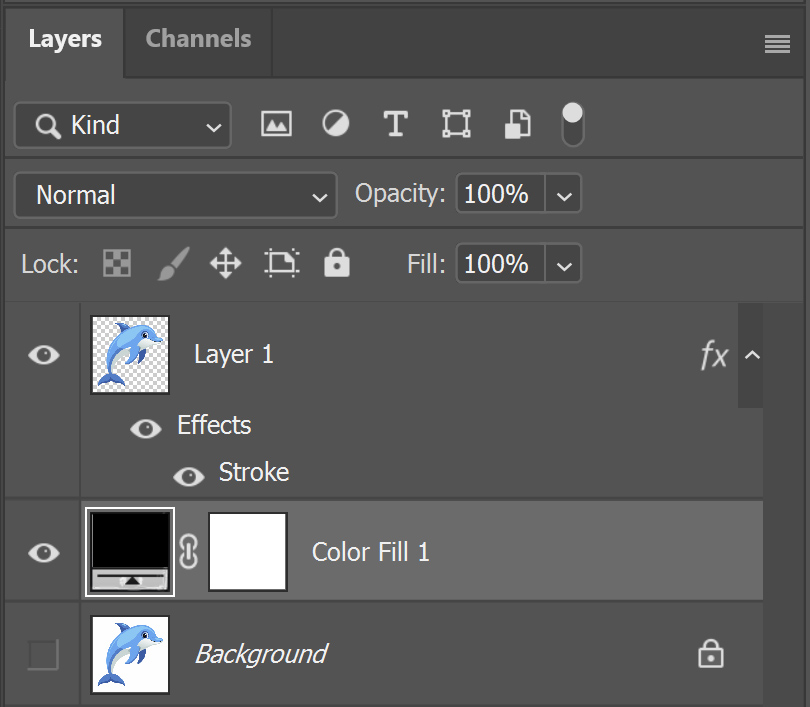
And that’s how you convert an image to contours in Adobe Photoshop!

Looking for other methods to convert an image to outlines? Read these articles:
- Method 1: Image to outlines with filter gallery
- Method 2: Image to outlines with threshold
- Method 3: Image to outlines with color dodge and levels
Learn more about Photoshop
Check out my other blogs and my YouTube channel if you want to learn more about editing in Adobe Photoshop!
Follow me on Facebook if you want to stay updated about new blogs and tutorials!
Photoshop
Basics
Photo editing
Creative editing
Camera Raw
Neural filters
Text effects