

Published on July 13, 2022
Create a window reflection
In this blog I’ll show you how to create a window reflection in Adobe Photoshop!
Rather watch the video with instructions? Then click here or scroll down to the end of this page!
Download the photos I used:
Model
Street photo
Step 1: Combine photos
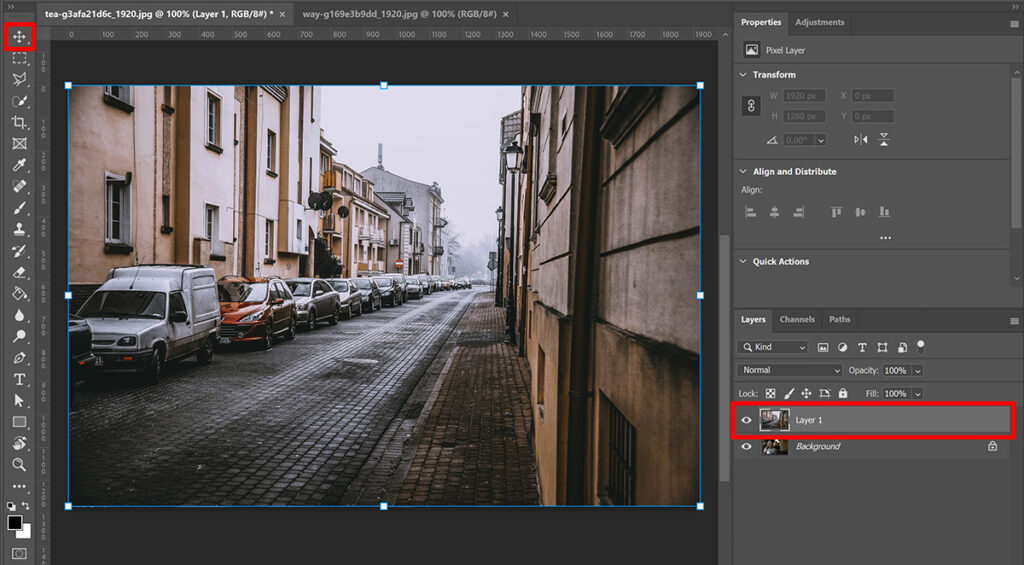
First open the photo you want to add the reflection too. Then also open a photo of a street (or another environment), this will become the reflection.
Place the photo of the street over the other photo. To do that, select the move tool and drag the street photo towards the other photo. Make sure the street photo fully covers the other photo. If you need to resize your photo, press CTRL+T to activate free transform. You can now resize the street photo.
I want to flip my street photo, because I want the wall to be on the right side. To do that, right click on the image (with free transform activated) and select ‘flip horizontal’.
Step 2: Window reflection
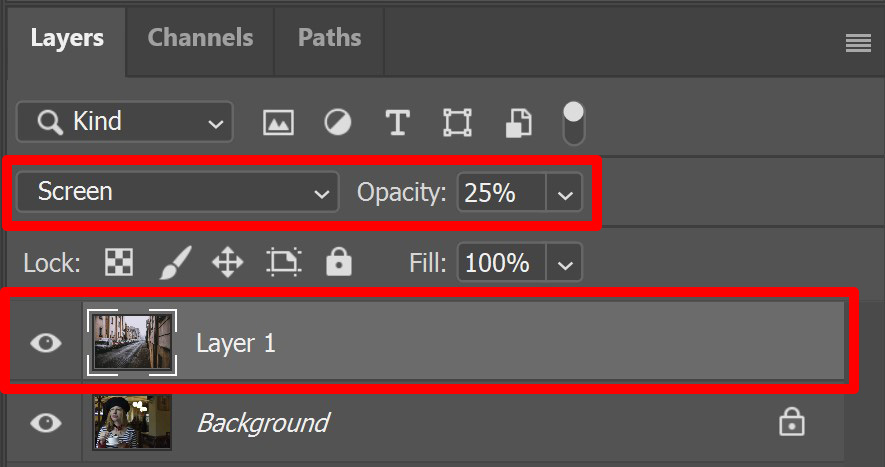
Change the blending mode of the street photo layer to ‘screen‘. Also lower the opacity of this layer (I lower it to 25%).
It’s already starting to look like a reflection now! In the next step I’ll show you some extra adjustments you can make so the reflection looks even better.
Step 3: Extra adjustments
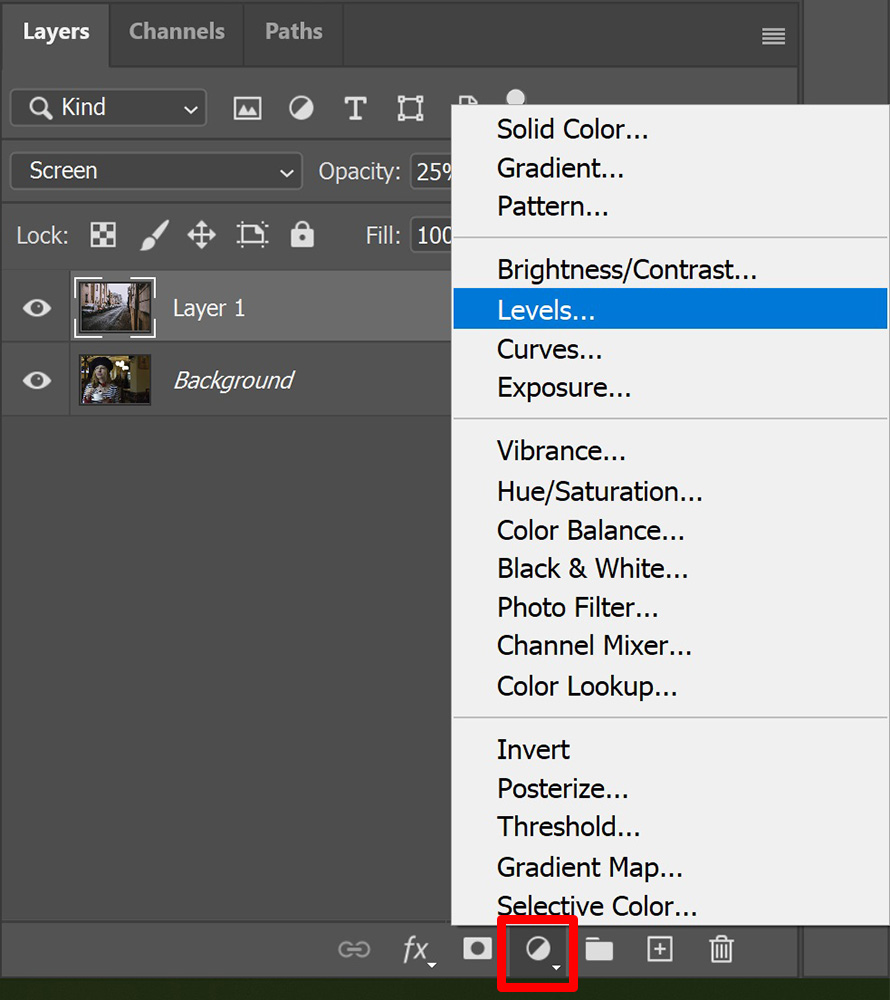
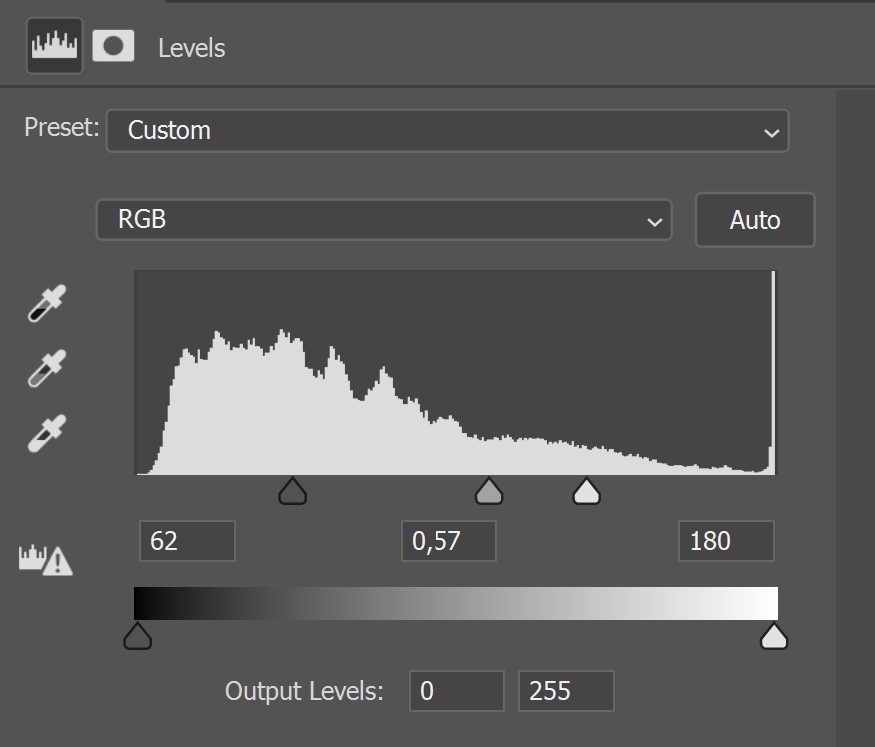
Add a levels adjustment layer.
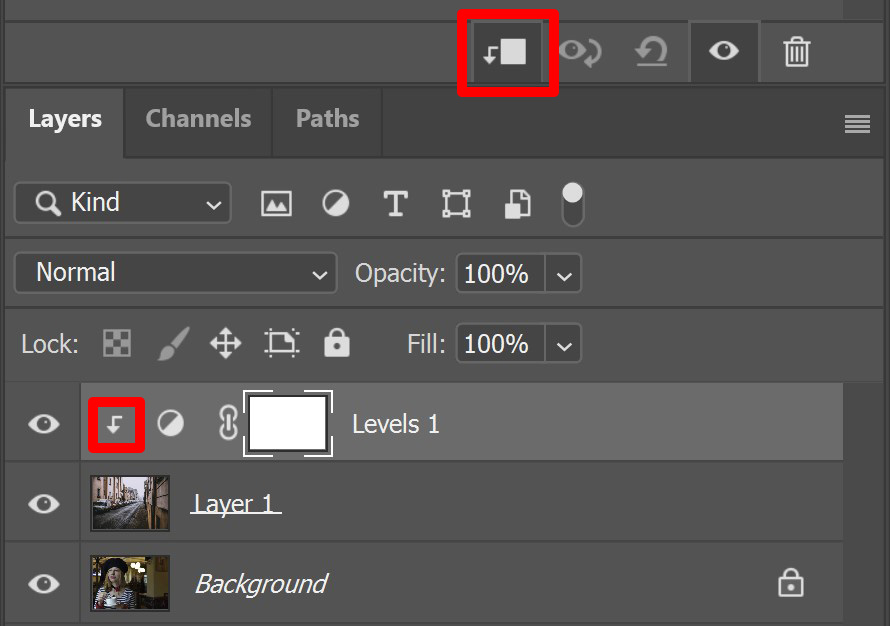
First create a clipping mask by clicking on the icon I marked in the image below (or press ALT+CTRL+G). By adding a clipping mask, the adjustments you make will only apply to the layer directly below the levels layer (the reflection layer, in this case). You can tell that your layer contains a clipping mask by the arrow icon.
Then adjust the shadows, midtones and highlights. You don’t have to use the same settings I’m using. Just try out some different settings to see what looks good on your image.
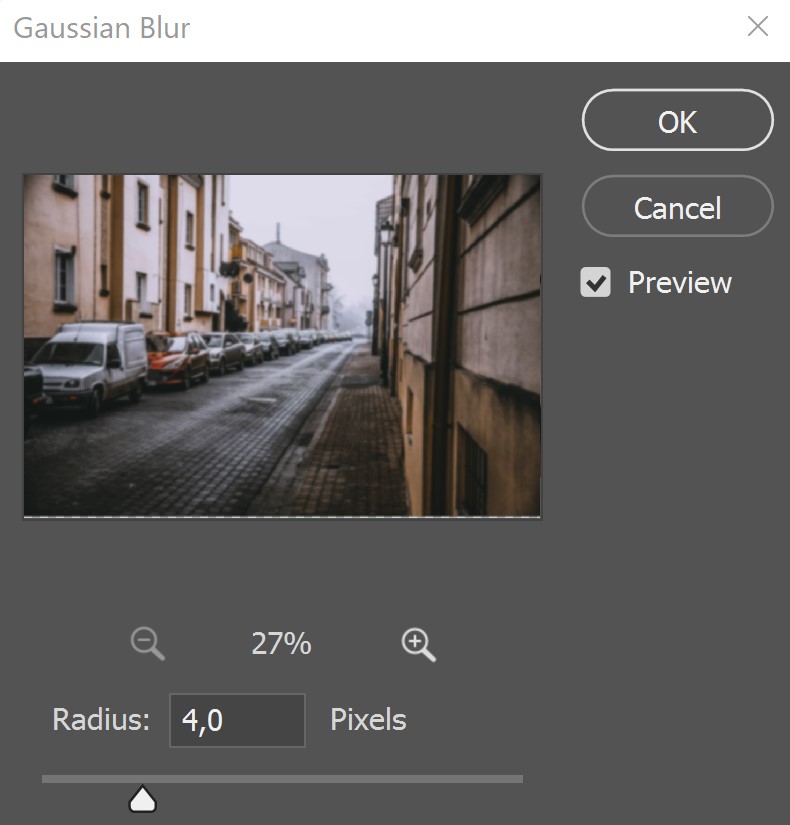
The last thing we’ll do, is blurring the reflection layer a little bit. To do that, select the reflection layer (layer 1, in this case). Then navigate to ‘Filter > Blur > Gaussian blur‘.
I use a radius of 4 pixels, but you can also use a different amount. If you check ‘preview’, you’ll see the effect of this adjustment immediately. So pick an amount that looks good on your photo.
And that’s how you create a window reflection in Adobe Photoshop! You can see the result below.

If you want to learn more about editing in Adobe Photoshop, check out my other blogs or take a look at my YouTube channel.
Also follow me on Facebook to stay updated! You can find the video tutorial below.
Photoshop
Basics
Photo editing
Creative editing
Camera Raw
Neural filters
Text effects