

Published on July 15, 2022
Create a long text reflection
In this blog I’ll show you how to create a long text reflection or shadow in Adobe Photoshop.
Rather watch the video with instructions? Then click here or scroll down to the end of this page!
Step 1: Create file and text
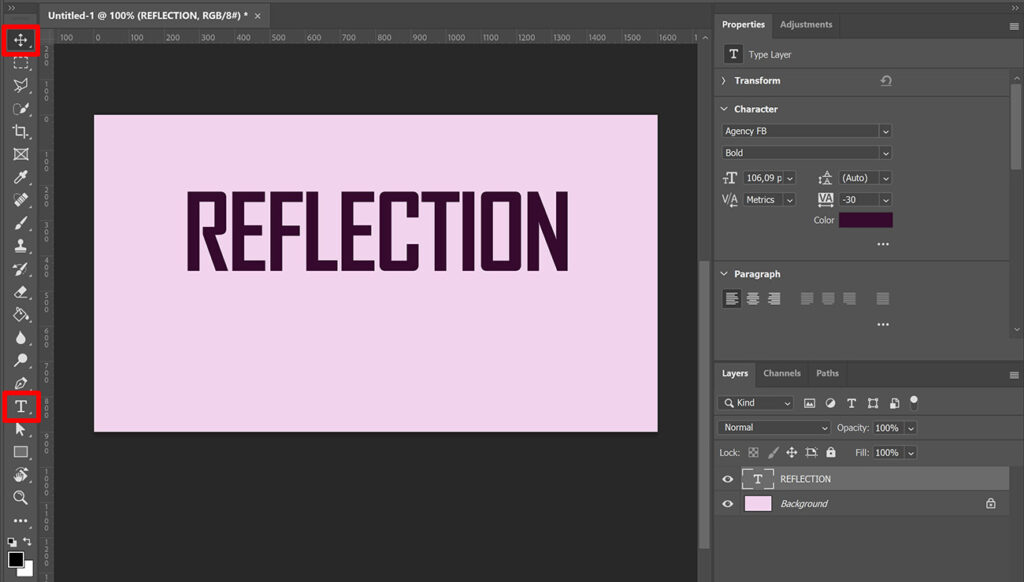
Create a new file. It doesn’t matter what size the file is. Also pick a background color you like.
Select the horizontal type tool and pick a font and text color you like. Type your text.
Then select the move tool and place the text above the middle (so there’s enough space left for the reflection to go below it).
Press CTRL+J to duplicate the text layer. Right click on the copy and convert it to a smart object.
Step 2: Flip text and change perspective
Select the move tool and select the text layer copy (the one you converted to a smart object). Press CTRL+T to activate free transform. Right click on the text and select ‘flip vertical‘.
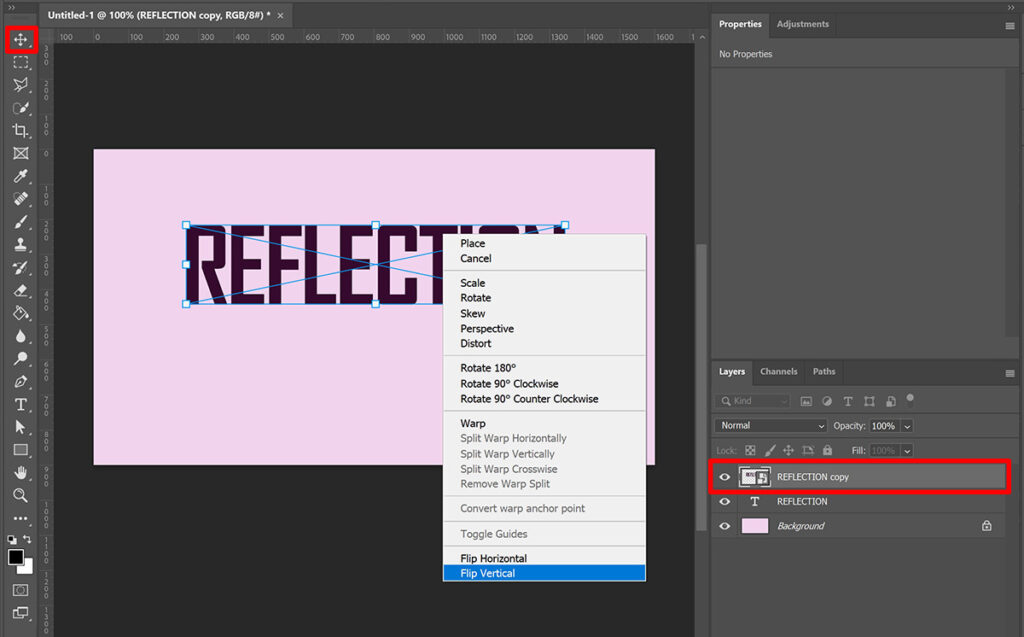
Place the flipped text below the other text (I use the arrow keys to move the flipped text down).
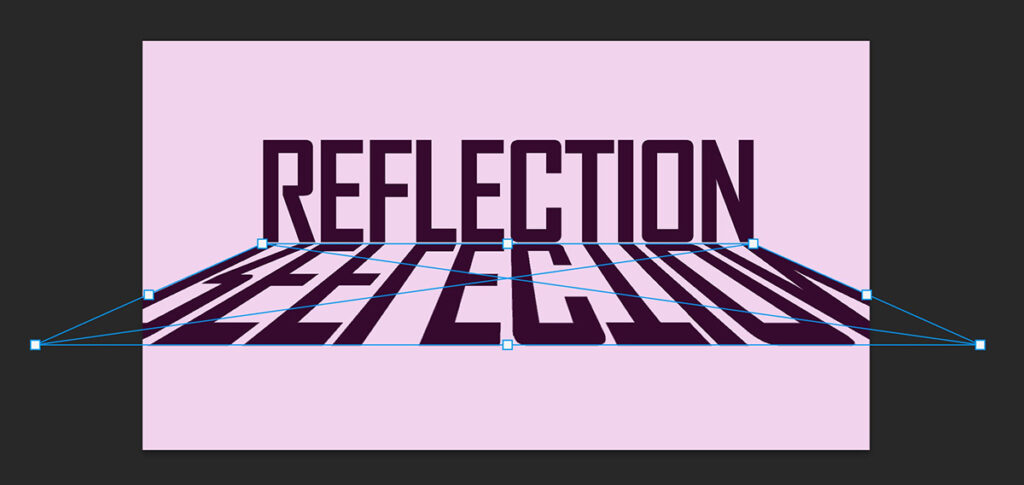
Right click on the (flipped) text layer again and select ‘perspective‘.
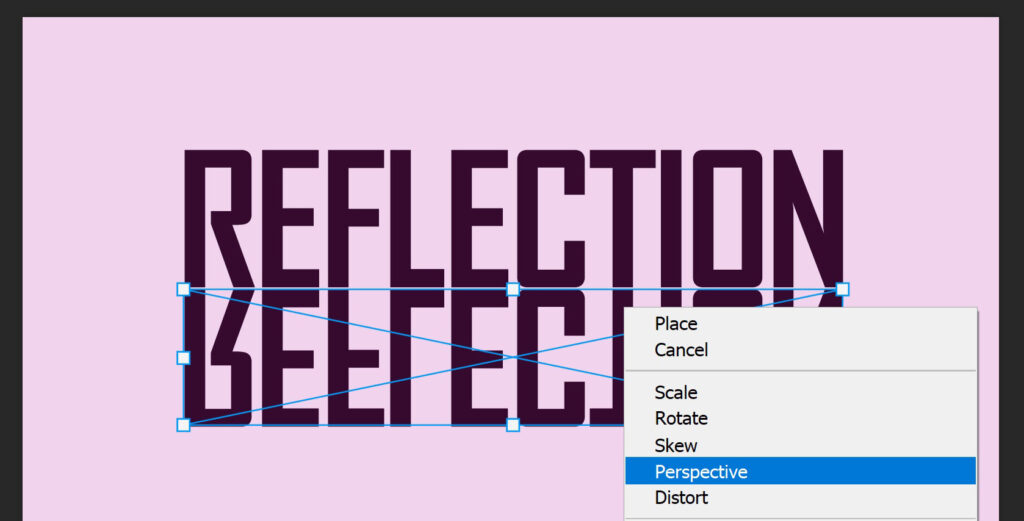
You can now move the bottom left or right corner to change the perspective of the flipped text.
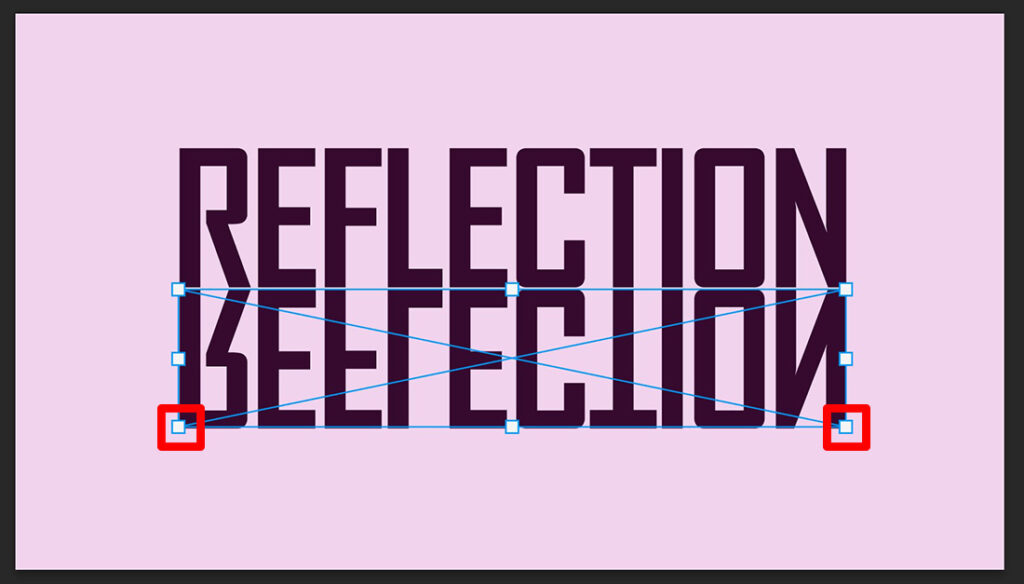
It should look similar to the image below. You can change the size of it later.
Step 3: Long text reflection effect
Now that you have placed your text in perspective, it’s time to make it look more like a reflection.
Select the layer with the flipped text. Click on the fx icon and select gradient overlay.
Click on the gradient to change the color.
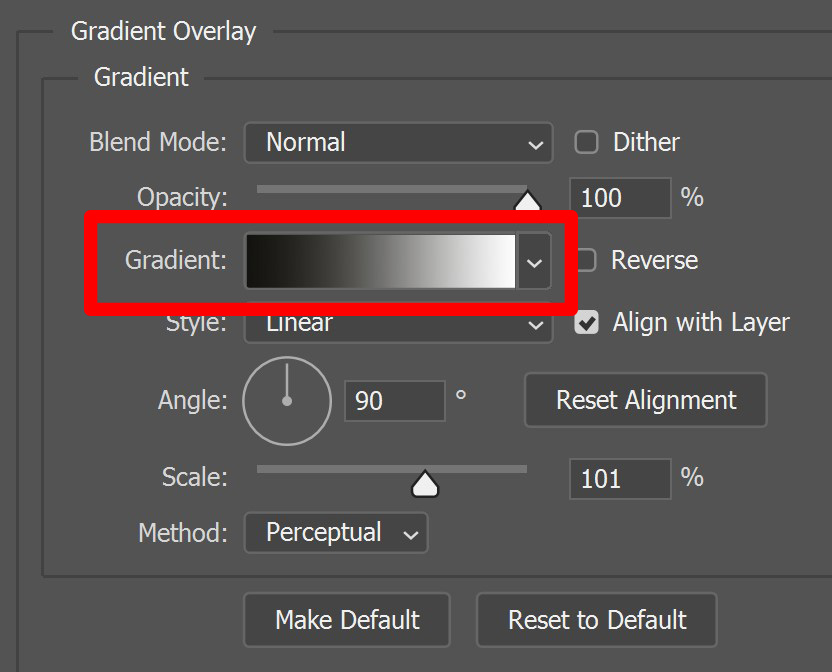
Select a gradient that contains 2 colors (it doesn’t matter which one, this is just the starting point).
Now change the colors of the gradient. To do that, double click on the color stop. The left side of the gradient should have the same color as the background and the right side of the gradient should have the same color as the text. Click on the background or the text with the color picker to do that.
If you want to make a shadow effect instead of a reflection, make the right side of the gradient black or dark grey.
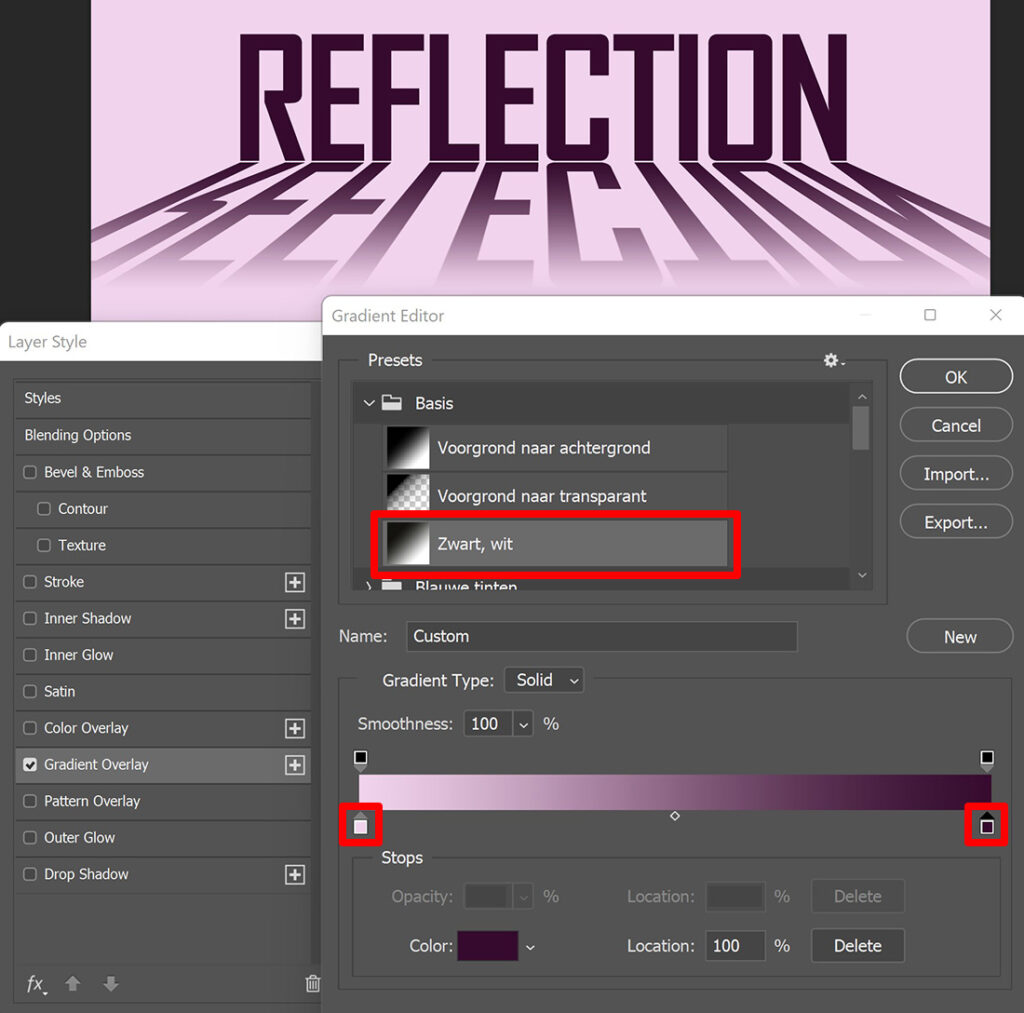
You can use the point in the middle of the gradient to change the ratio between the colors. See what this does to your reflection and whether you like it.

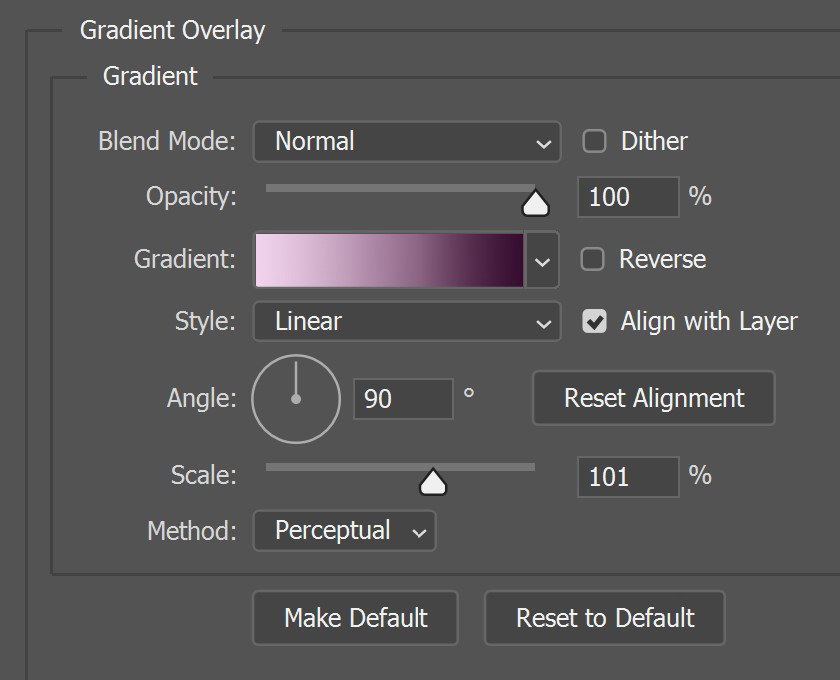
You can see the rest of the settings I used in the image below. You can change the scale or use a different method. Try out some different settings to see what you like.
Step 4: Adjust text reflection
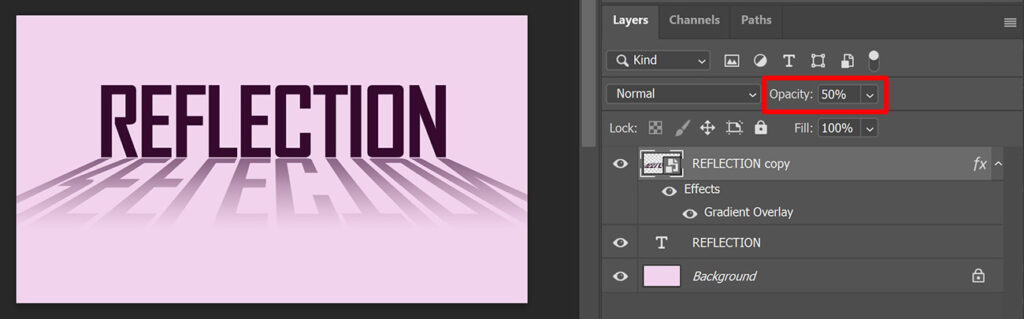
Select the reflection layer and lower the opacity. I lower it to 50%.
If you want to adjust the size or placement of the text and reflection, select both the text layer and the reflection layer. Then select the move tool and press CTRL+T to activate free transform. You can now adjust both the text and the reflection.
If you select the reflection layer, you can move it up or down to place it closer to or further away from the text. I use the arrow keys to do that. Pick the correct placement to make it look good.
And that’s how you create a long text reflection or shadow in Adobe Photoshop! You can see the result in the image below.

If you want to learn more about editing in Adobe Photoshop, check out my other blogs or take a look at my YouTube channel.
Also follow me on Facebook to stay updated! You can find the video tutorial below.
Photoshop
Basics
Photo editing
Creative editing
Camera Raw
Neural filters
Text effects