
Published on April 14, 2024
Make sky more dramatic
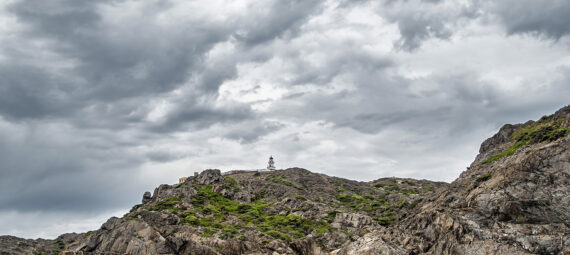
In this blog I will show you how to make your sky look more dramatic in Adobe Photoshop!
Rather watch the video with instructions? Then click here to open the YouTube video or scroll down to the end of this page.
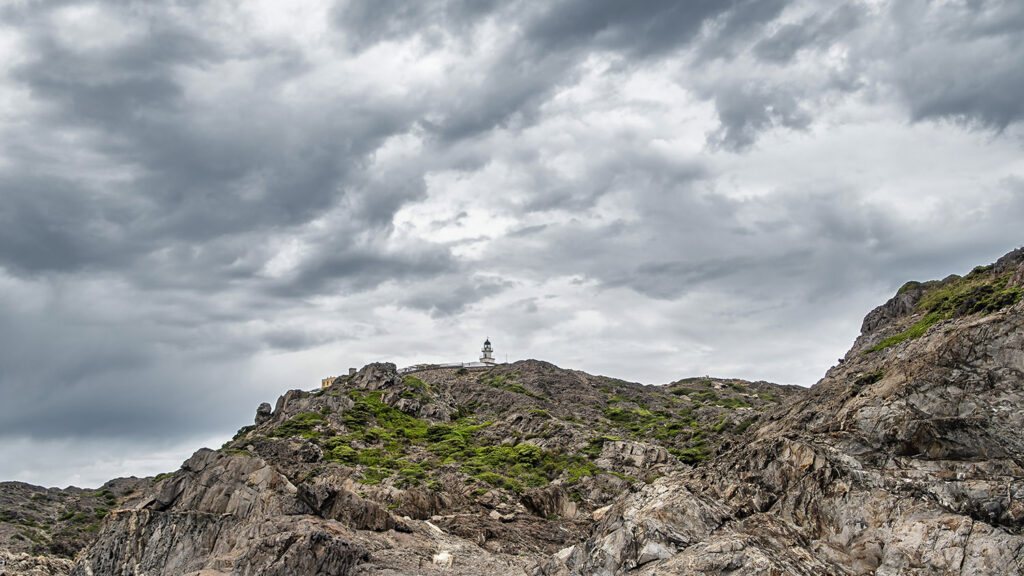
If you want, you can download the photo I used here.
Step 1: Preparations
Open the photo you want to edit. Then navigate to ‘Select > Sky‘. Photoshop will now select the sky for you.
When the sky is selected, create a solid color layer. Pick a dark blue-gray color. You can adjust this color later, so it doesn’t matter what color you pick.
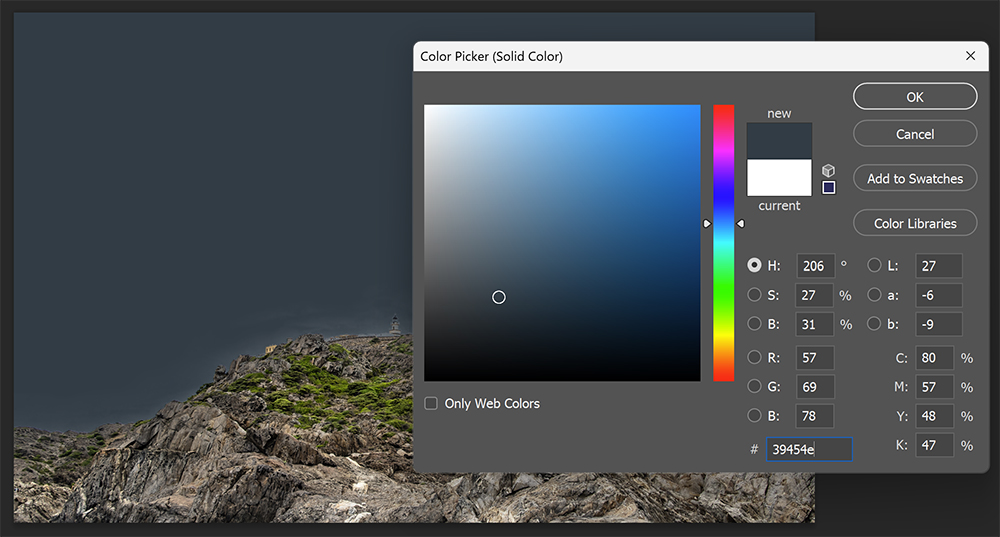
Because you selected the sky, the color fill layer will be masked (and only cover the sky).
Step 2: Blend with sky
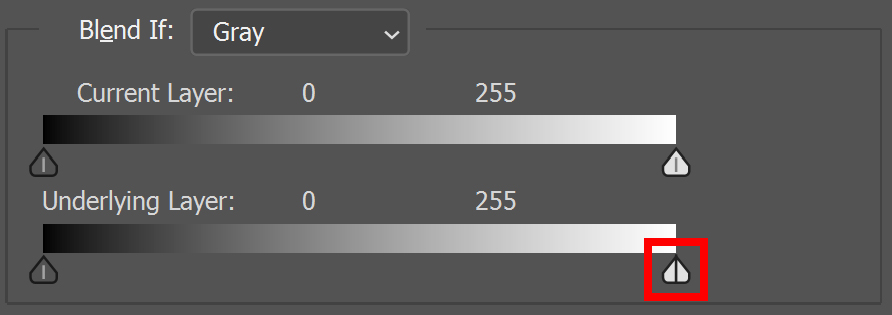
Make sure the color fill layer is selected. Click on the fx icon (below your layers) and select ‘blending options‘.
Press and hold ALT and click on the right slider control beneath ‘underlying layer’. This will split the slider control in half.
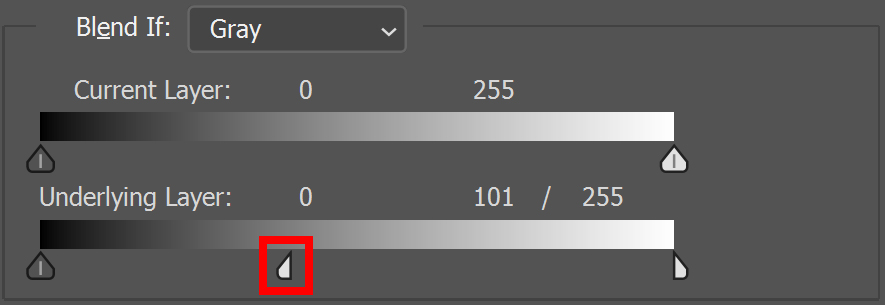
Move the left part of the slider to blend the dark blue color with the sky.
Step 3: Adjustments
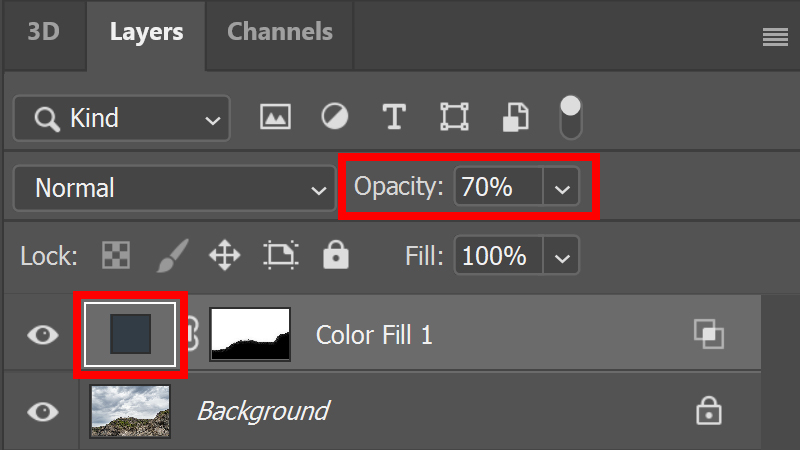
You can adjust the color of the color fill layer (double click on the color box). Pick a blue or gray color, depending on what suits your photo. You can also use this to make the sky darker or lighter.
Lower the opacity of the color fill layer if you want to make the effect more subtle.
And that’s how you create a dramatic sky in Adobe Photoshop!
Learn more about Photoshop
Do you want to learn more about editing in Adobe Photoshop? Check out my other blogs or my YouTube channel!
You can follow me on Facebook if you want to stay updated about new blogs and tutorials!
Photoshop
Basics
Photo editing
Creative editing
Camera Raw
Neural filters
Text effects