

Published on April 17, 2024
In this blog I will show you how to make someone smile using the liquify filter (face tool) in Adobe Photoshop!
Rather watch the video with instructions? Click here to open the YouTube video or scroll down to the end of this page.
If you want, you can download the photo I used here.
Make someone smile (liquify filter)
Open the photo you want to edit.
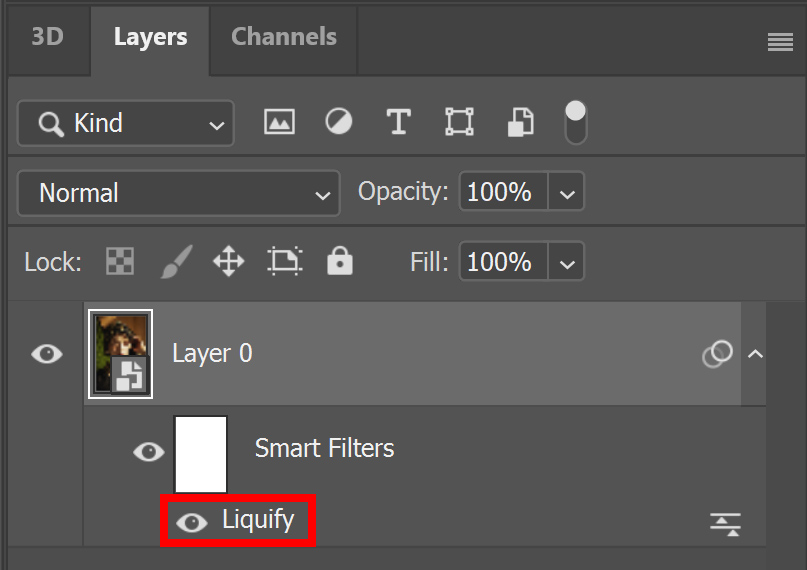
Right click on the background layer and select ‘convert to smart object‘. If you convert your layer to a smart object, you will be able to adjust your settings later.
Then navigate to ‘Filter > Liquify‘ and select the face tool.
You can make your adjustments by moving the areas around the mouth. You can also use the sliders to create a smile. First use the smile slider. Then adjust the upper lip, lower lip and mouth width to make the smile look more realistic. Keep it subtle, you don’t want it to look fake.
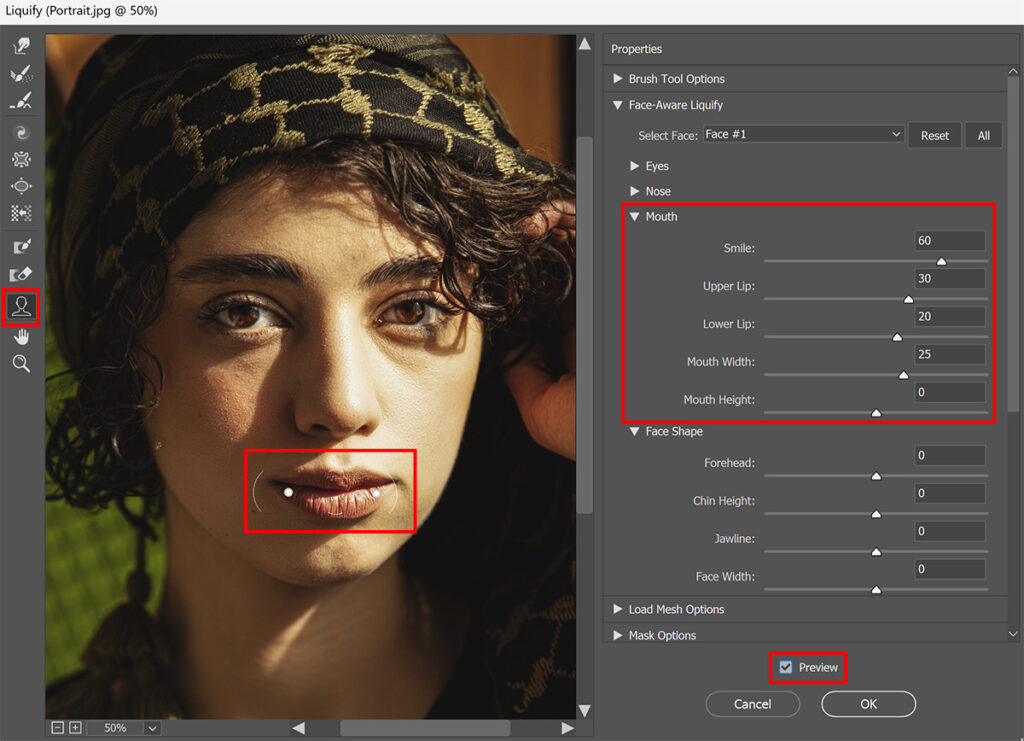
To enhance the effect of a smiling face, you can also move the cheeks up a little. Do this by dragging the cheek area up in your photo.
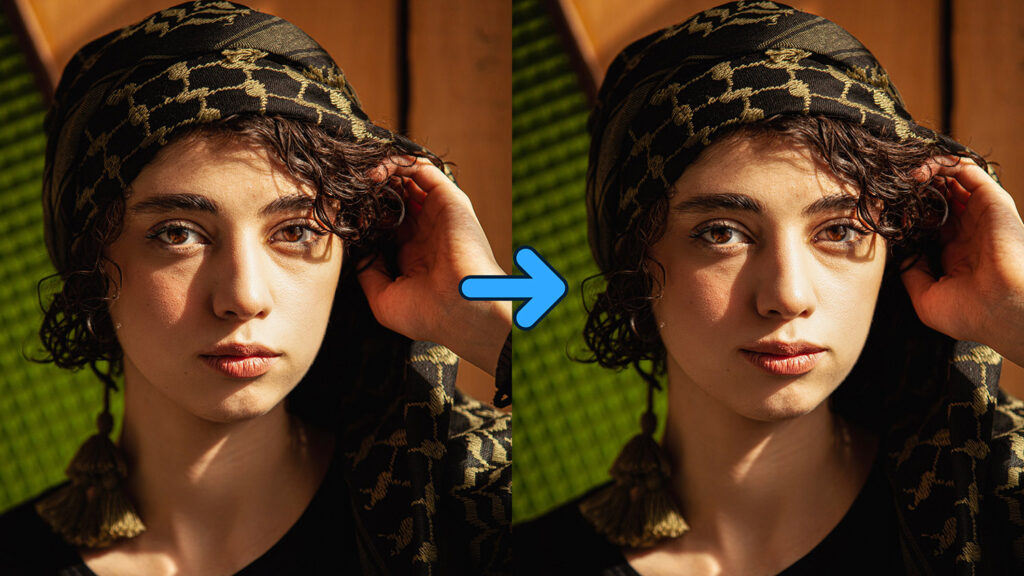
Tip: Compare the original photo to the edited version by turning the preview off and back on.
If you want to adjust the settings, you can do this at any time by double clicking on the ‘liquify‘ layer. The window shown in the image above will then open again and you can make your adjustments to the face and smile.
And that’s how you can make someone smile using Adobe Photoshop!
Learn more about Photoshop
Do you want to learn more about editing in Adobe Photoshop? Check out my other blogs or my YouTube channel!
You can follow me on Facebook if you want to stay updated about new blogs and tutorials!
Photoshop
Basics
Photo editing
Creative editing
Camera Raw
Neural filters
Text effects