

Published on April 19, 2024
Fix white balance with curves
In this blog I will show you the quickest method to color correct photos (fix the white balance) in Adobe Photoshop.
Rather watch the video with instructions? Click here to open the video on YouTube or scroll down to the end of this page.
If you want, you can download the photo I used here.
Color correct photo
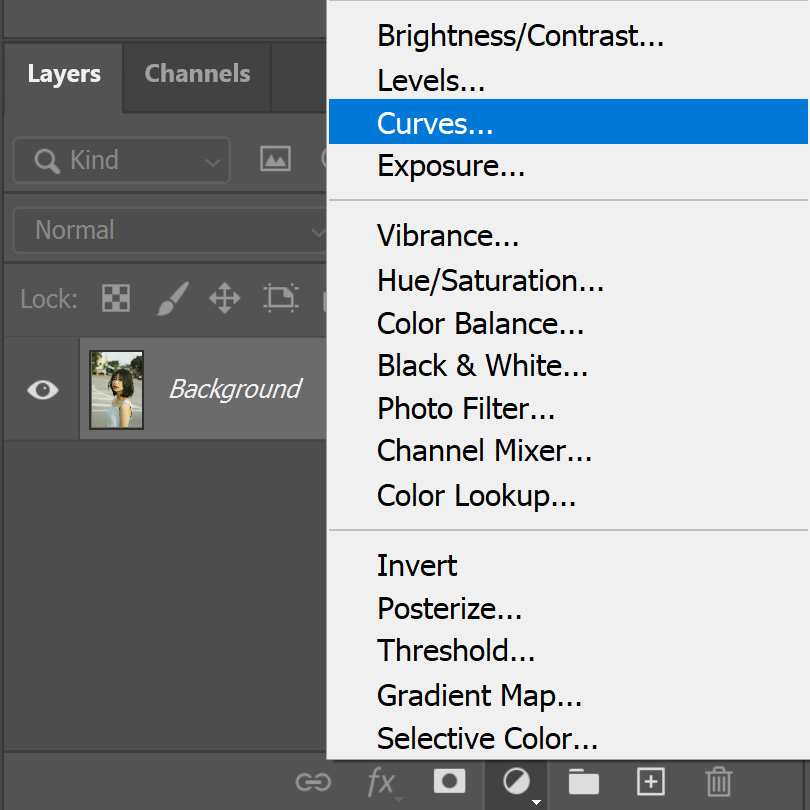
Open the photo you want to edit. First create a curves adjustment layer.
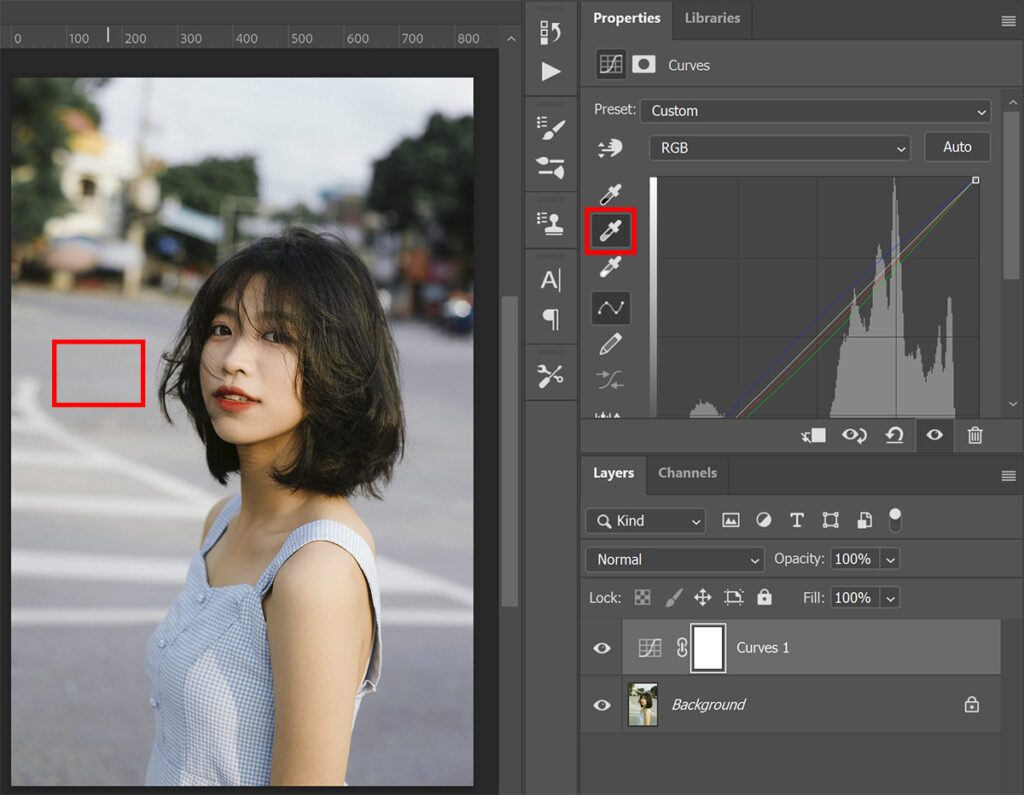
Then select the eyedropper (sample in image to set gray point). Click on an area in your photo that sould have been gray or neutral. In this case, that’s the street.
You can click on different areas in your photo to see how this changes the colors of your photo. Try some things out until the colors look good!
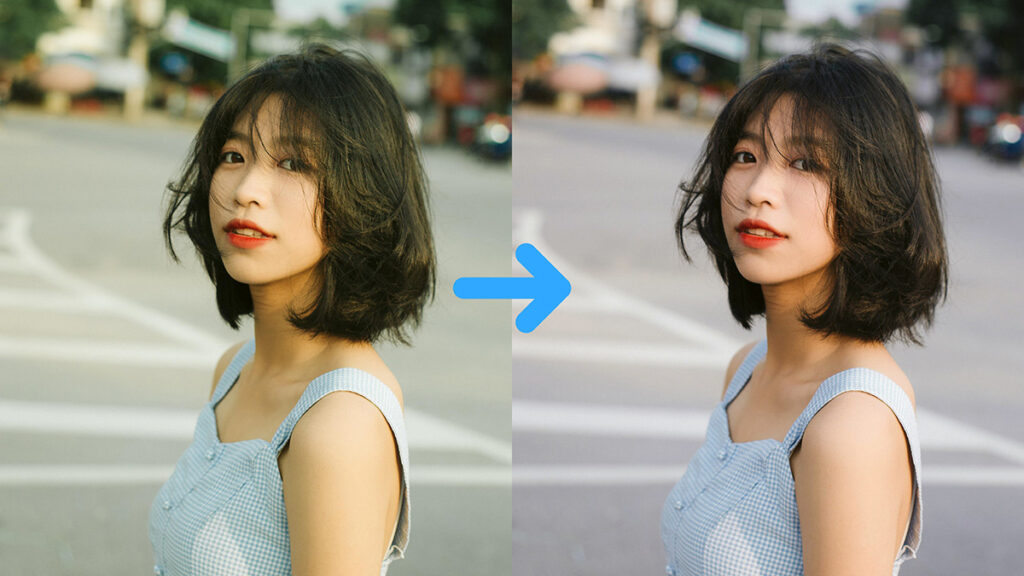
And that’s how you color correct your photos in just a couple of clicks using Adobe Photoshop!
I now showed you one method to color correct your photos, but there are more ways to do this!
There’s another way to fix the white balance of your photo with a curves layer. Want to learn more about this? Then read this blog I wrote about that.
You can also use the Camera Raw Filter to color correct your photos. I’ll tell you more about that in this blog.
Learn more about Photoshop
Check out my other blogs and my YouTube channel if you want to learn more about editing in Adobe Photoshop!
Follow me on Facebook if you want to stay updated about new blogs and tutorials!
Photoshop
Basics
Photo editing
Creative editing
Camera Raw
Neural filters
Text effects