

Published on December 7, 2021
In this blog I’ll show you 2 simple and fast methods to create a matte effect in Adobe Photoshop.
Rather watch the video tutorial? Click here or scroll down to the end of this page! To download the image I’m using, click here.
Matte effect – Exposure
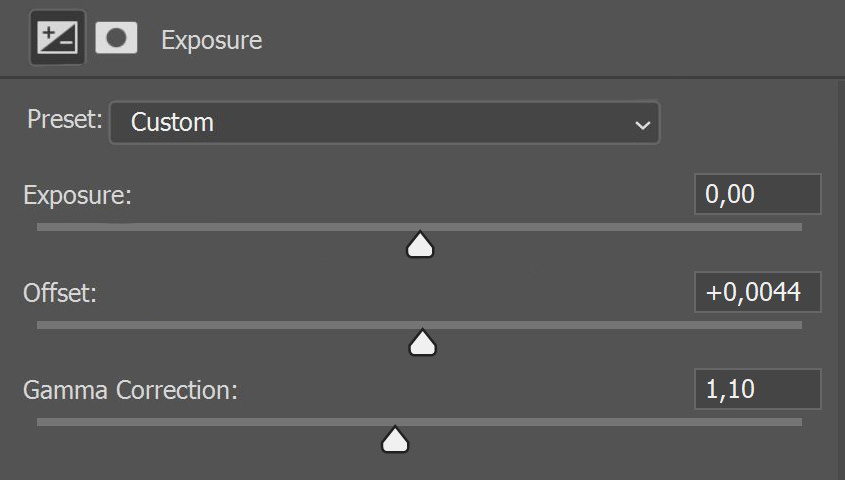
For this first method you need to add an ‘exposure‘ adjustment layer.

Slide the offset to the right. To create a lighter matte effect, slide the gamma correction to the left. Slide the gamma correction to the right to create a darker matte effect (whatever suits your photo best).
You can also adjust the exposure. I’m not doing that for this image. You can see the settings I used in the image below.
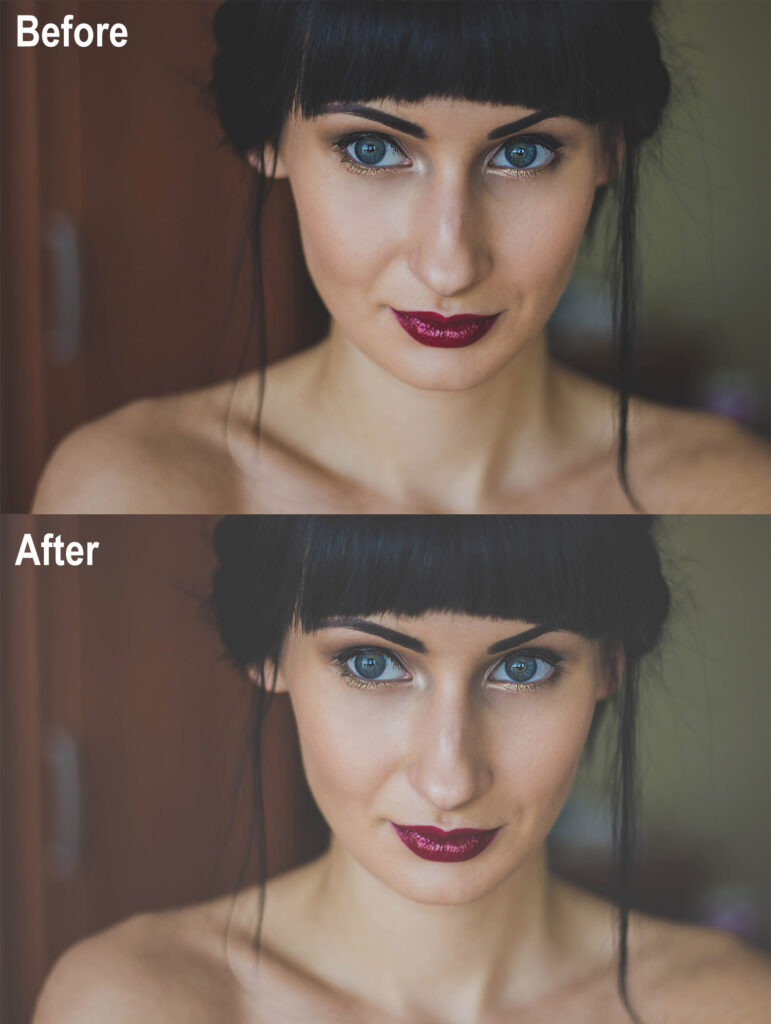
And that’s the first method to create a matte effect. You can see the result in the image below. I made some subtle changes, but feel free to use different settings to make the effect more prominent.
Matte effect – Curves
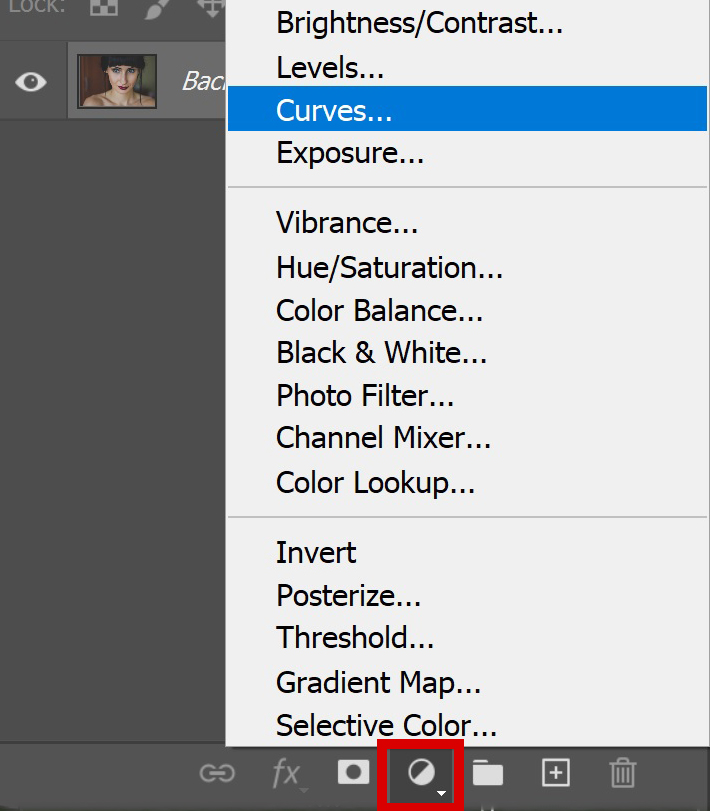
Add a ‘curves‘ adjustment layer.
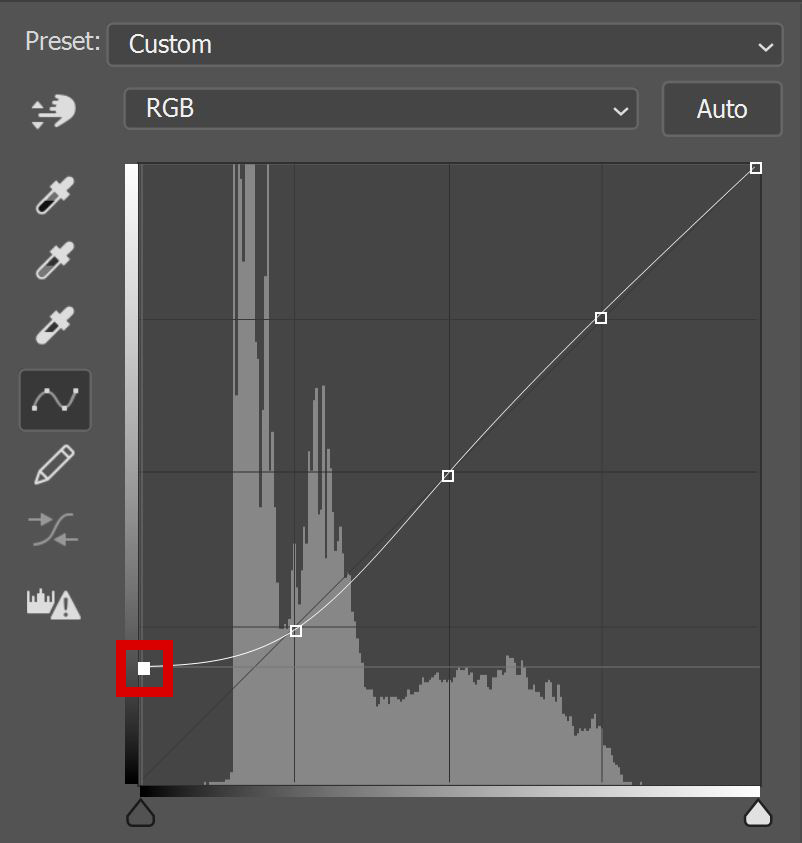
First create anchor points on all the grid crosslines (see image below).
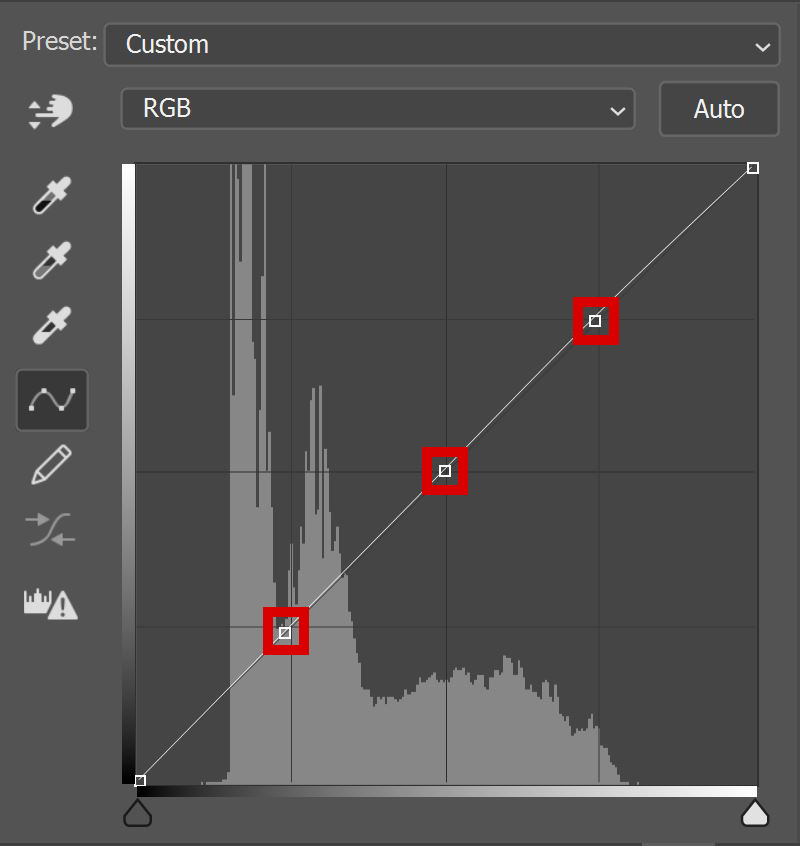
To create the matte effect, drag the left anchor point up.
Optional: Try out what moving another anchor point does to your image. You can use this to make your image lighter or darker, for example. You can see my curve in the image below.
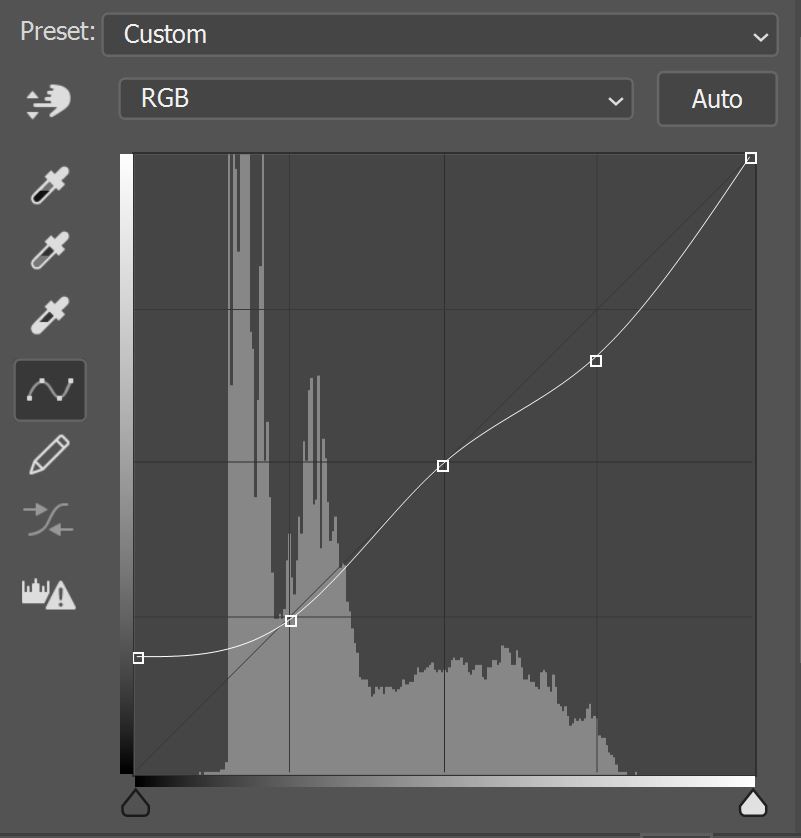
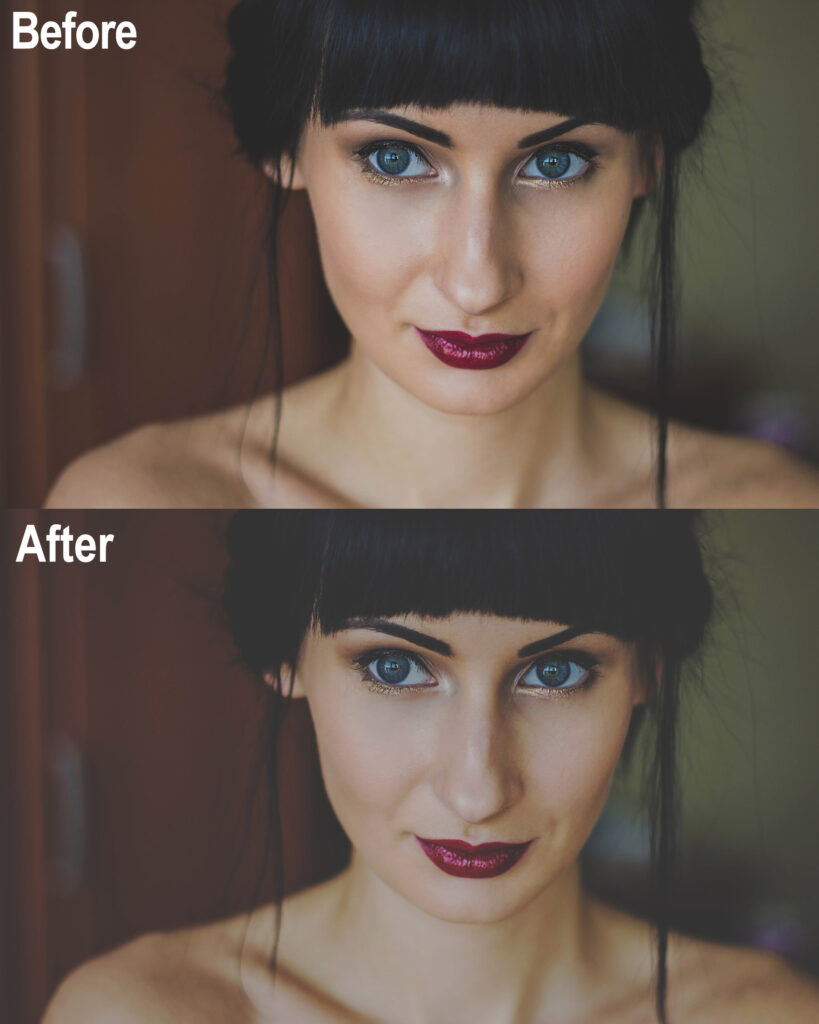
And that’s the second method to create a matte effect. You can see the result in the image below.
Try out both methods to see which one you prefer or which one looks best on the photo you’re editing.
Want to learn more about Adobe Photoshop? Check out my other blogs or take a look at my YouTube channel. You can find the video tutorial below!
Photoshop
Basics
Photo editing
Creative editing
Camera Raw
Neural filters
Text effects