
Published on June 4, 2023
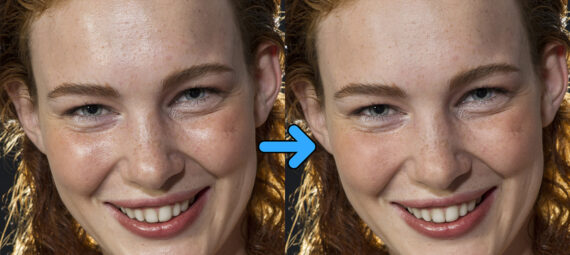
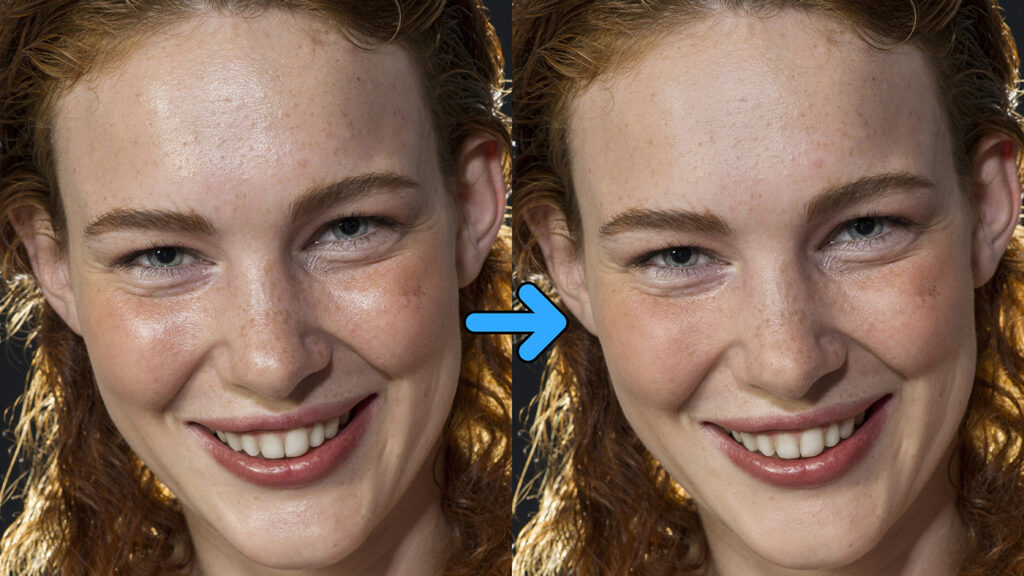
Remove shiny skin with 1 layer
In this blog I will show you how to reduce skin shine with just 1 layer in Adobe Photoshop!
Rather watch the video with instructions? Then click here to watch the video on YouTube or scroll down to the end of this page.
You can download the photo I used here.
Reduce skin shine
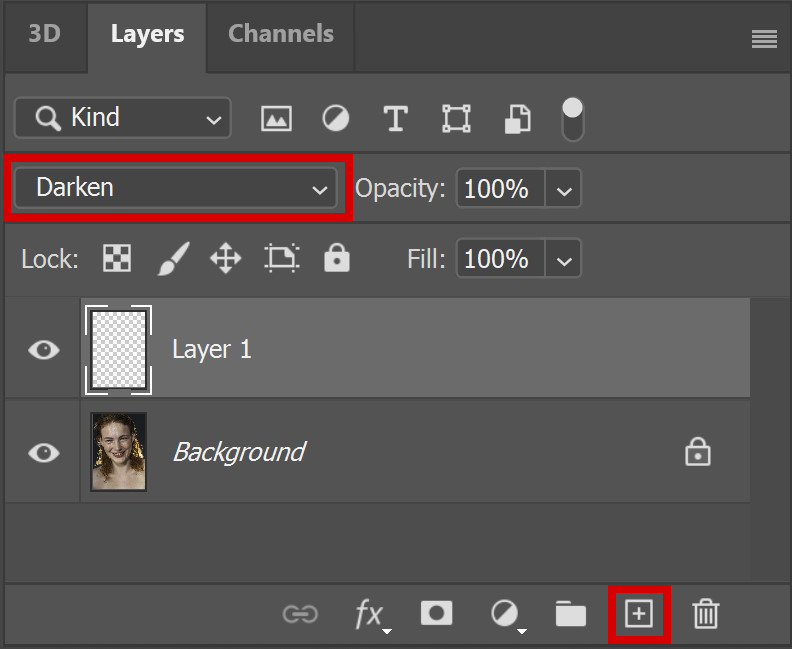
Open the photo you want to edit. Then create a new layer and change the blend mode of this layer to ‘darken‘.
Then select the brush tool. Lower the brush opacity to 50% and select the soft round brush.
If you press ALT, you will see the eyedropper tool. Click on a skin tone next to the shiny skin to sample that color with the eyedropper tool.
Then brush over the shiny skin. You can use the [ and ] keys to adjust the brush size.
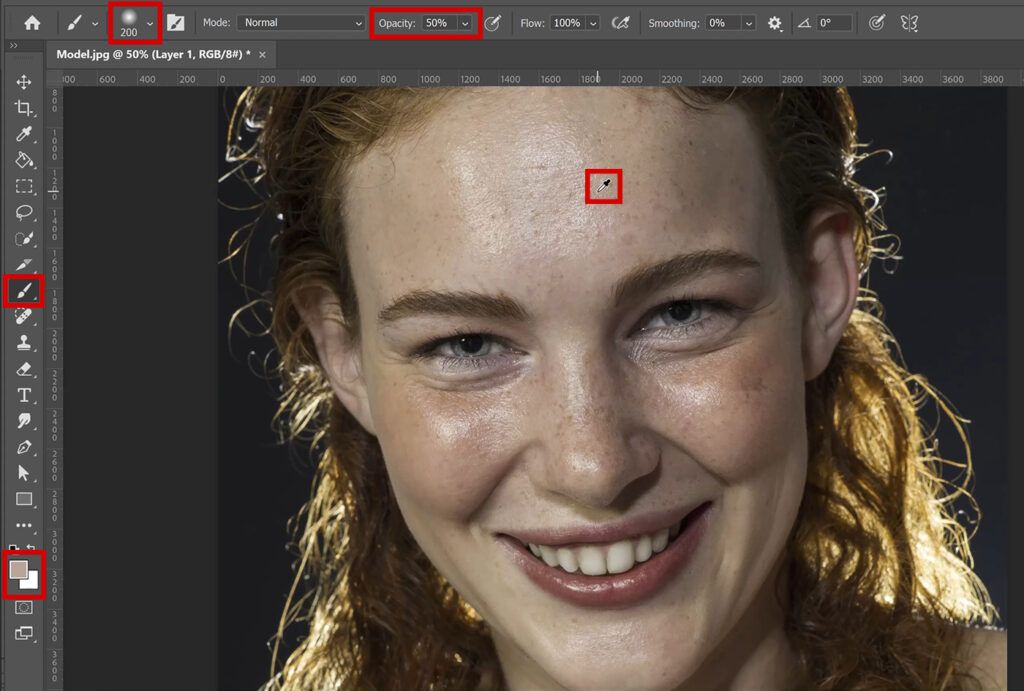
If you want to remove the shine in other areas too, you have to repeat this. So press ALT for the eyedropper tool. Then click on a skin tone next to the shiny area to sample that and brush over the shiny skin.
It’s important that you sample the color next to the shiny skin again each time. If you look at the image above, you’ll see that the cheeks are darker than the forehead, for example. If you would use the same color for the entire face, it won’t look good. So always sample a color close to the shiny skin!
If you want to make the changes a bit more subtle, you can lower the opacity of this layer.
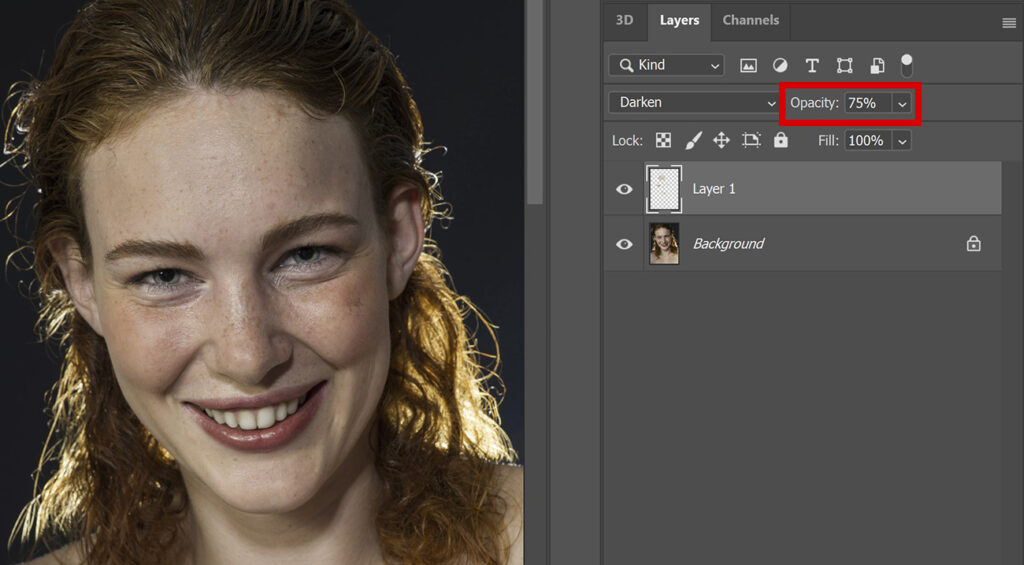
And that’s how you remove shiny greasy skin in Adobe Photoshop with just 1 layer!
Learn more about Photoshop
Also check out my other blogs and my YouTube channel if you want to learn more about editing in Adobe Photoshop!
You can follow me on Facebook if you want to stay updated about new blogs and tutorials!
Photoshop
Basics
Photo editing
Creative editing
Camera Raw
Neural filters
Text effects