

Published on June 6, 2023
Cool text effect with the wind filter
In this blog I will show you how to create a cool text effect with the wind filter in Adobe Photoshop!
Rather watch the video with instructions? Click here to open the video or scroll down to the end of this page.
Step 1: Create file and text
First create a new file. My file is 1920 x 1080 pixels (resolution 300). Also pick a background color while creating the new file.
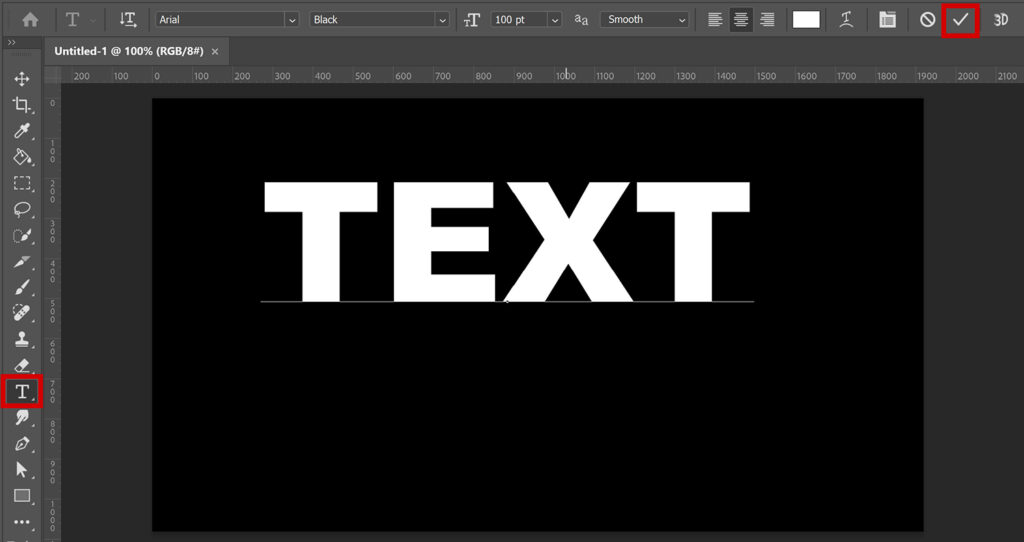
Then select the horizontal type tool. Pick a font and text color. The color you pick, will be the color of the effect. Then type your text.
Click on the ✓ icon when you’re done typing the text.
Press CTRL+T to activate free transform. You can now resize and/or move the text. Then click on the ✓ icon again.
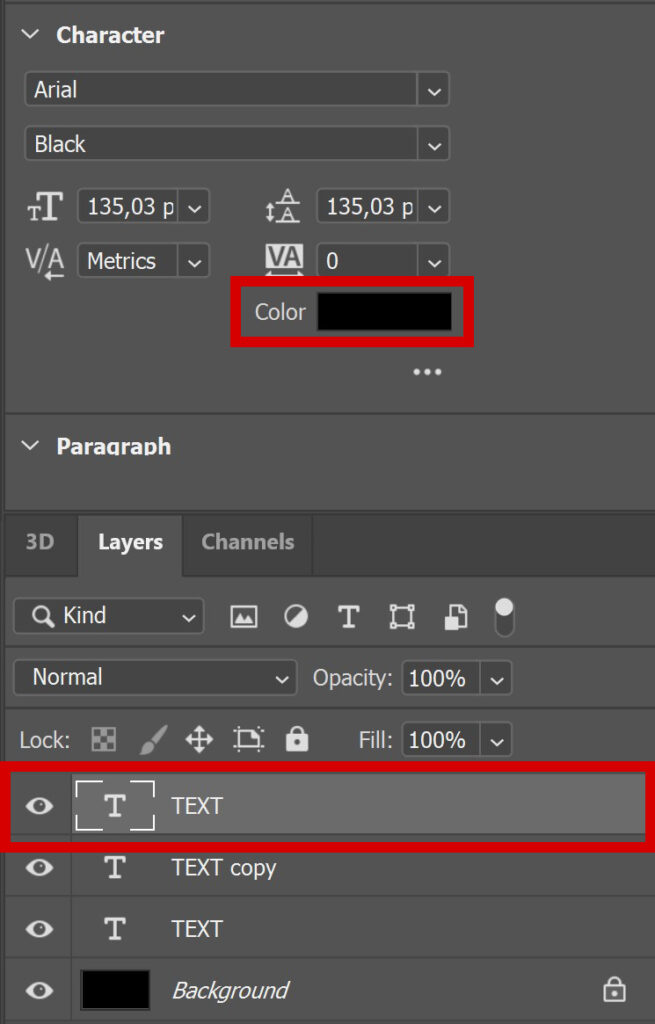
Then press CTRL+J two times to duplicate the text layer twice. Select the top text layer and make the color of this text the same as your background color. My background is black, so I make the text black.
Step 2: Text effect with wind filter
Then select the middle text layer. Navigate to ‘Edit > Transform > Rotate 90° clockwise‘.
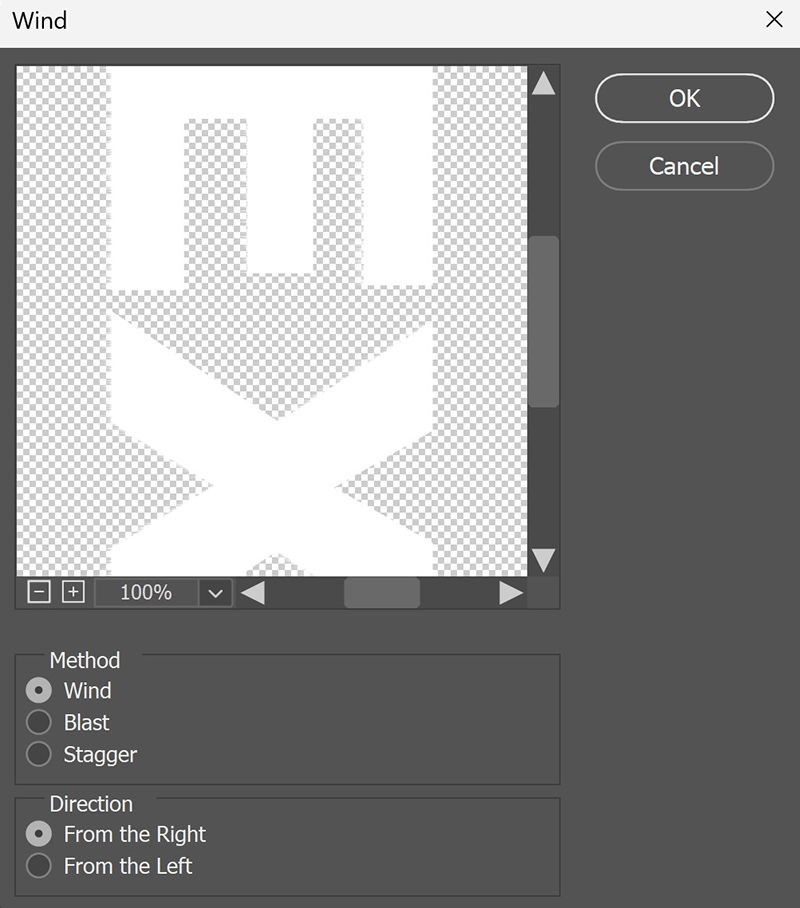
Then navigate to ‘Filter > Stylize > Wind‘. If you get a notification, select ‘rasterize‘.
Copy the settings in the image below.
Then go to ‘Filter > Wind‘ (the top option) or press ALT+CTRL+F to make the wind effect longer. Repeat this until the wind effect is long enough. I do this 4 times. Remember how many times you do this, because you need to do this again for the next text layer.
Navigate to ‘Edit > Transform > Rotate 90° counter clockwise‘ to rotate the text back.
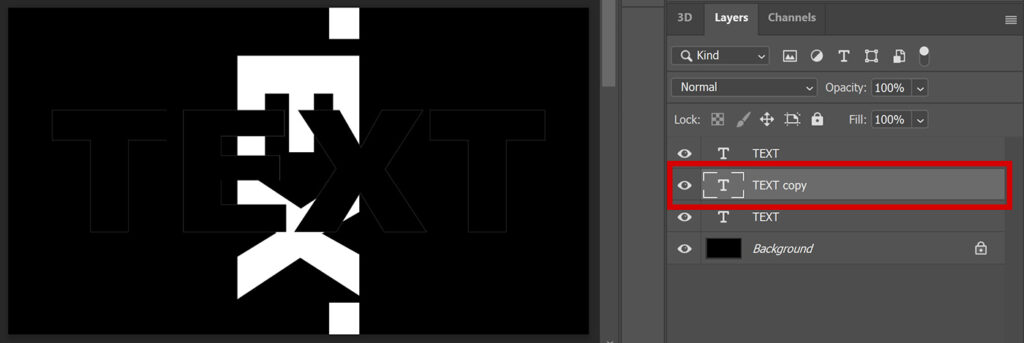
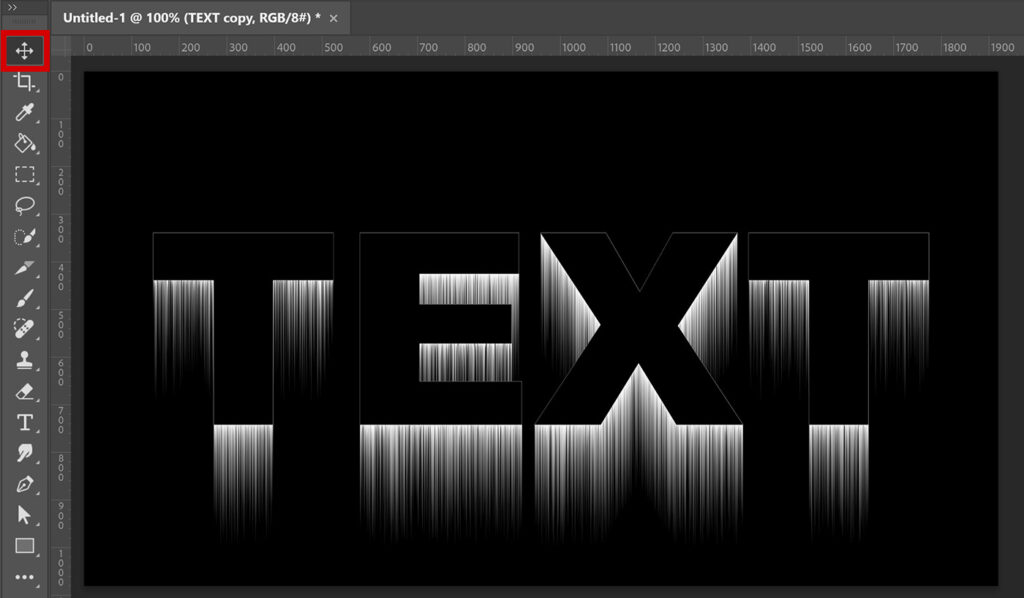
Select the move tool. Place the text layer with the effect behind the other text layer, so you only see the wind effect. You can use the arrow keys to move the text more precisely.
Now select the bottom text layer. Again go to ‘Edit > Transform > Rotate 90° clockwise‘.
Navigate to ‘Filter > Stylize > Wind‘. Again select ‘rasterize‘ when you get the notification. Change the direction to ‘From the left‘ and click OK.
Again navigate to ‘Filter > Wind‘ (or press ALT+CTRL+F) to make the wind effect longer. Do this the same amount of times as the first time, so the wind effect looks similar.
Then go to ‘Edit > Transform > Rotate 90° counter clockwise‘ to rotate the text back. Again select the move tool and place the text behind the other text.

And that’s how you create this text effect with the wind filter in Adobe Photoshop!

Learn more about Photoshop
Check out my other blogs and my YouTube channel if you want to learn more about editing in Adobe Photoshop!
You can follow me on Facebook if you want to stay updated about new blogs and tutorials!
Photoshop
Basics
Photo editing
Creative editing
Camera Raw
Neural filters
Text effects