
Published on July 2, 2023
Remove sky behind a tree
In this blog I will show you a very simple method to remove the sky behind a tree using channels in Adobe Photoshop.
Rather watch the video with instructions? Then click here or scroll down to the end of this page.
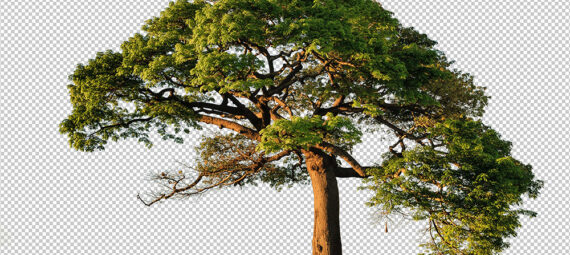
You can download the photo I used here.
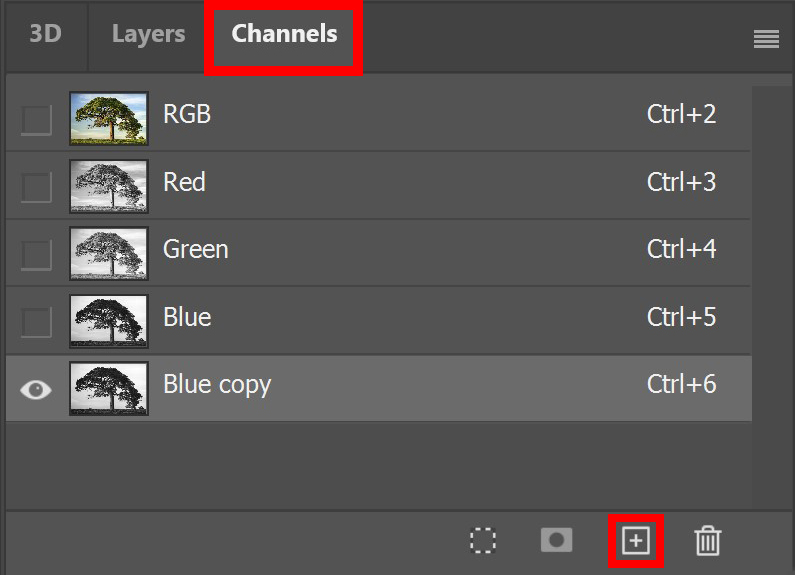
Step 1: Make selection
Open the photo you want to edit. Then select ‘channels‘ and duplicate the blue channel (select the blue channel and drag it towards the + icon below your layers).
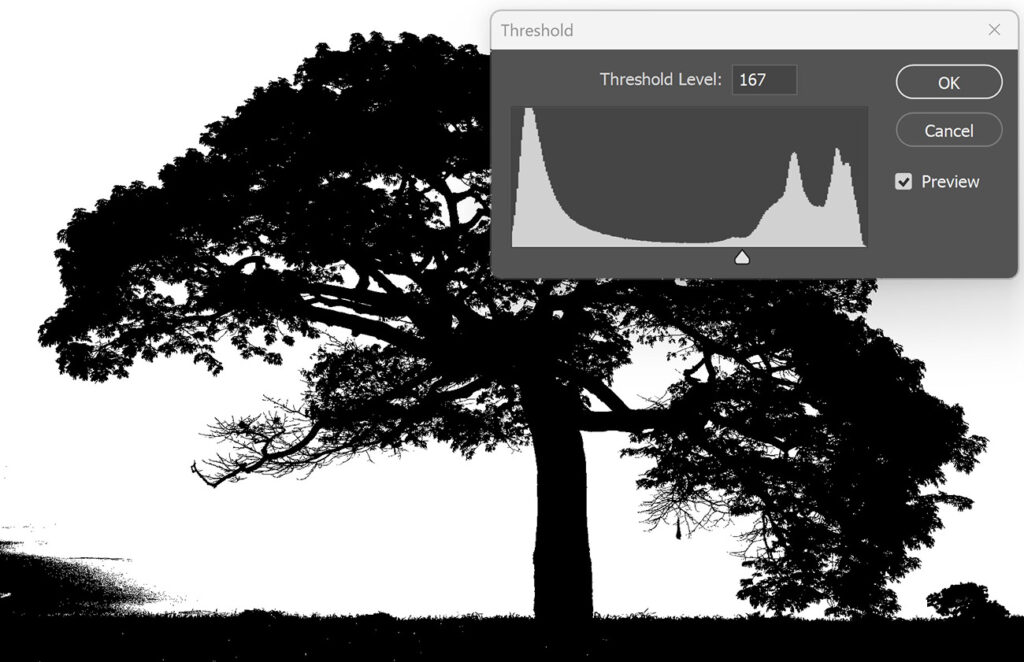
Then navigate to ‘Image > Adjustments > Threshold‘. Adjust the threshold until the tree is completely black.
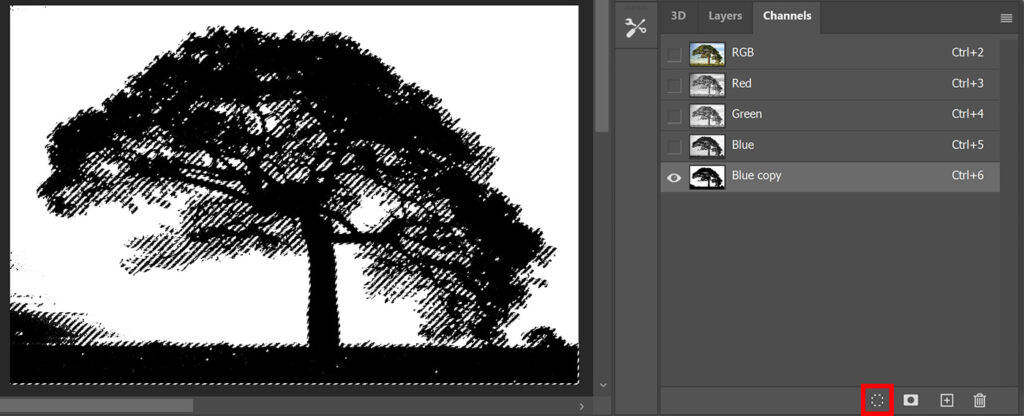
Then load the channel as a selection. After doing that, go to ‘Select > Inverse‘.
Step 2: Remove sky
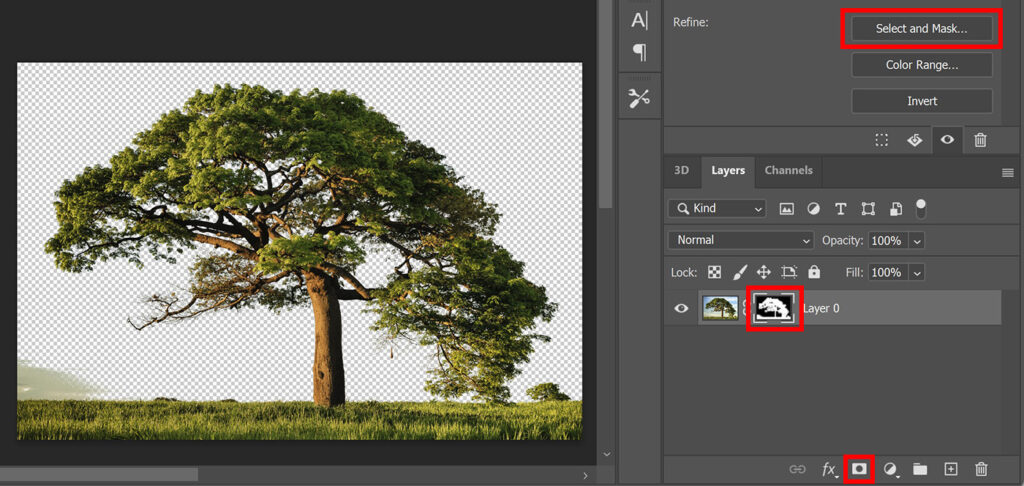
Go back to your layers and add a mask. You have now removed the background and the sky is transparent.
As you can see, part of the sky is still visible. To fix that, select the layer mask and then select ‘select and mask‘.
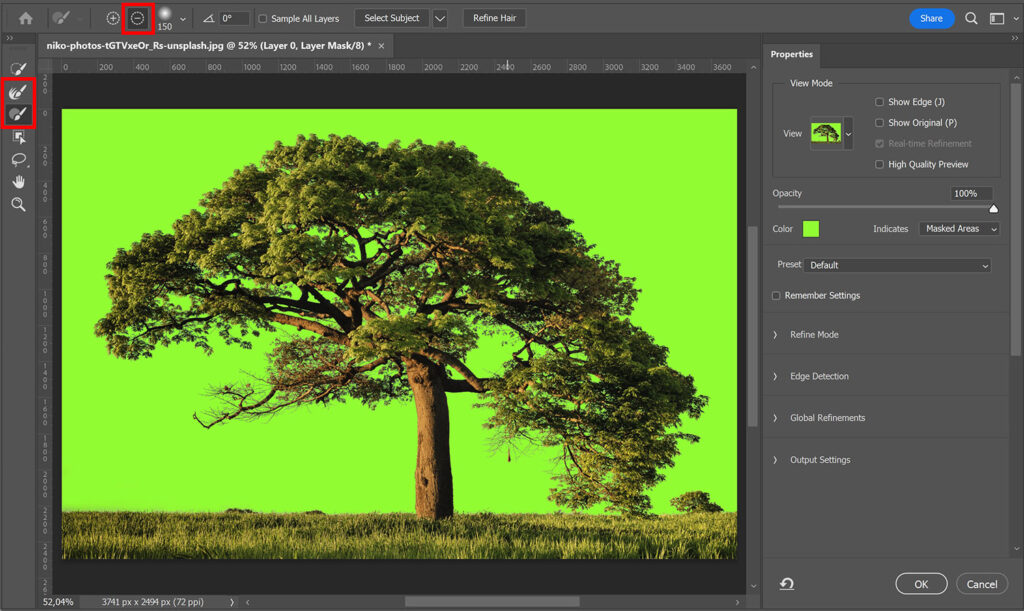
I first use the refine edge brush tool to deselect the part of the sky that’s still visible.
If part of the sky is still selected after that, you can also use the brush tool. You have to subtract from the selection, so make sure you press and hold ALT while using the brush tool (or select the – icon to subtract).
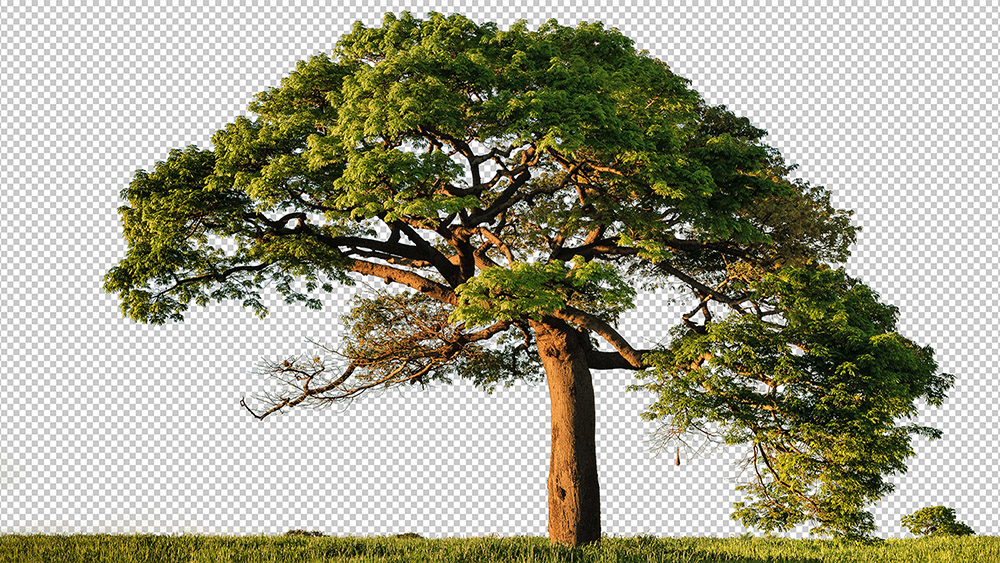
And that’s how you can easily remove the background from a tree in Adobe Photoshop!
I now showed you how to remove the sky using channels, but you can also do this with blending options. Want to know more about this method? Read this blog I wrote about that.
Learn more about Photoshop
Check out my other blogs and my YouTube channel if you want to learn more about editing in Adobe Photoshop!
You can follow me on Facebook if you want to stay updated about new blogs and tutorials!
Photoshop
Basics
Photo editing
Creative editing
Camera Raw
Neural filters
Text effects