
Published on February 20, 2022
Create a text with multiple outlines
In this blog I’ll show you how to create a text with multiple outlines in Adobe Photoshop.
Rather watch the video tutorial of this process? Click here or scroll down to the end of this page!
Step 1: Create file and text
Create a new file. My file size is 1600 x 900 pixels. If you use a different size, you might have to use some different settings when you create the text outlines.
Select the horizontal type tool. Pick a font and a color you like. This effect looks best with a bold font. Then type your text.
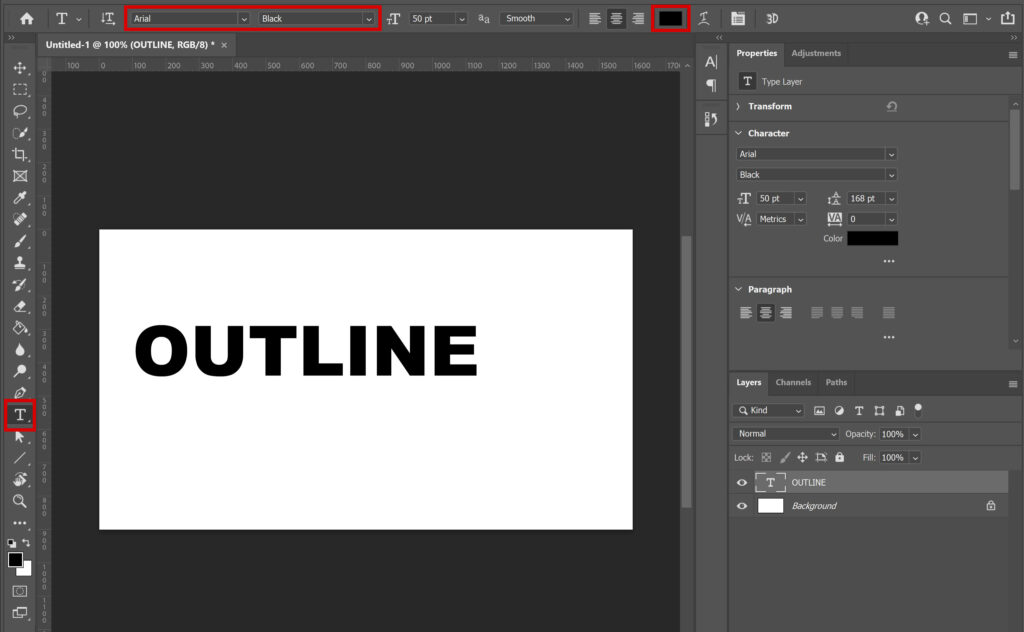
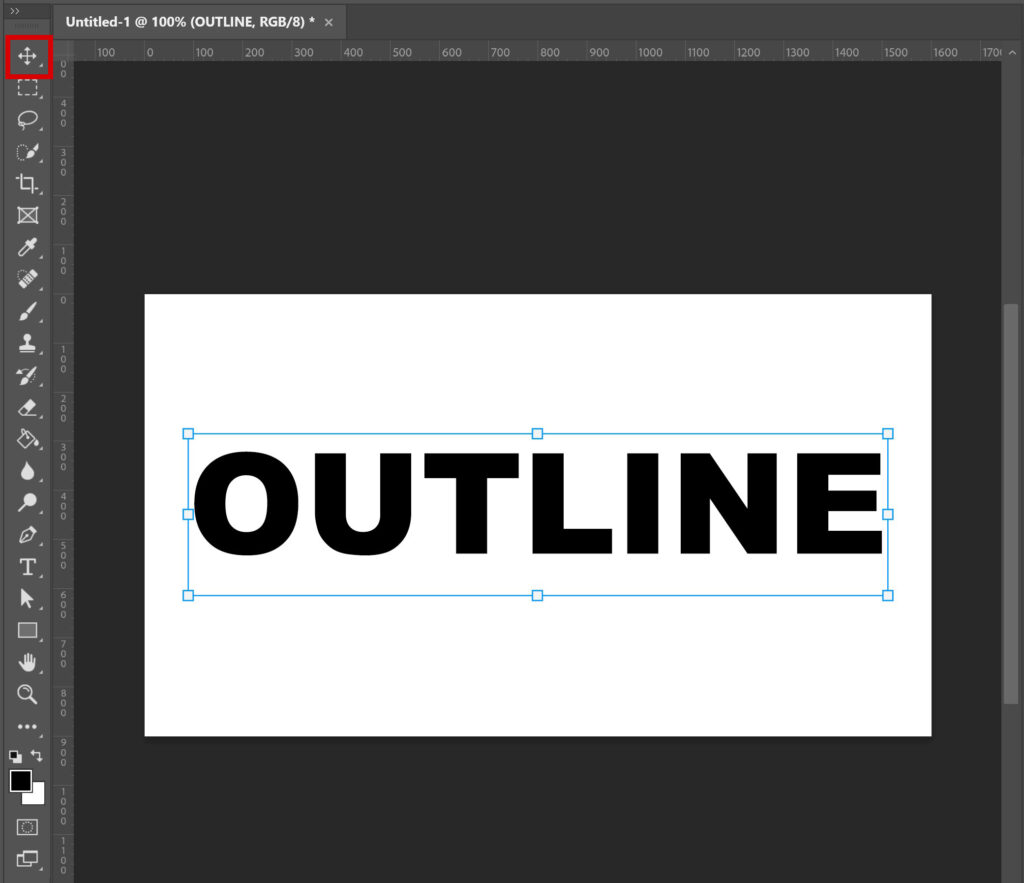
Select the move tool and press CTRL+T to free transform. Pick the right size and placement for your text (it looks best when you place the text in the middle).
Step 2: Create text outlines
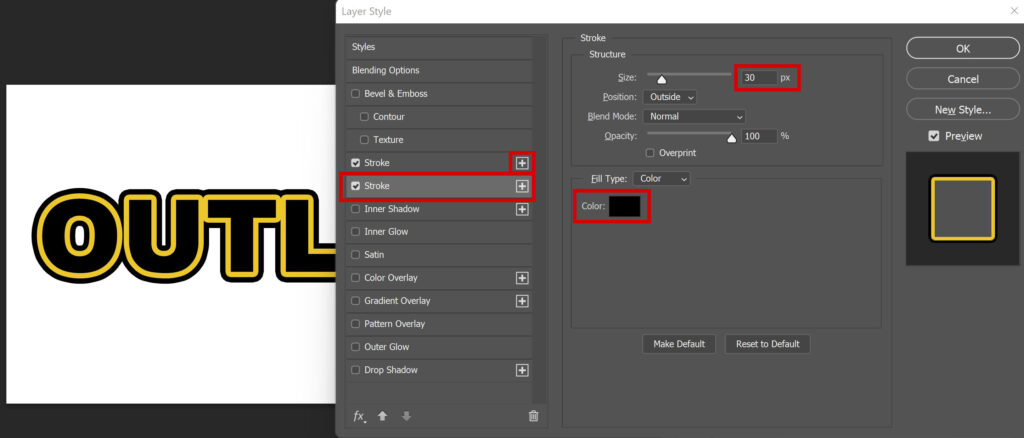
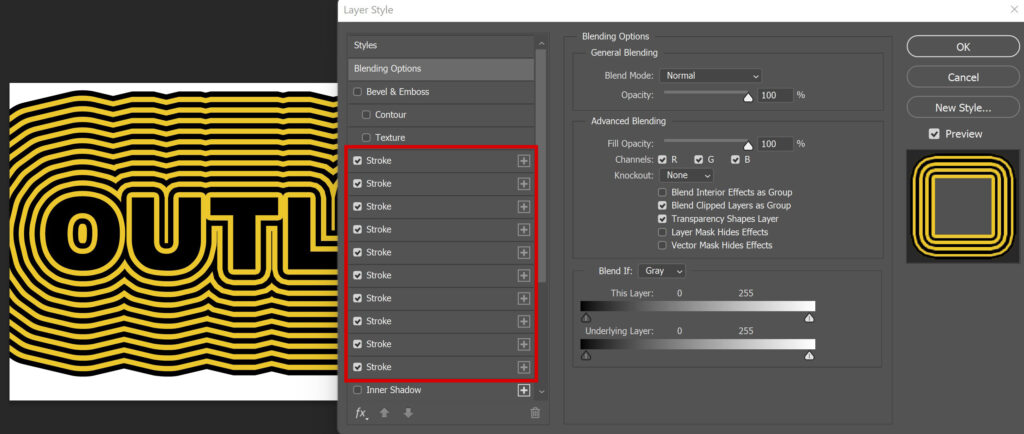
Double click on your text layer to open the layer style panel (or select your text layer, click on the ‘fx’ icon at the bottom of the layer panel and select ‘blending options’).
Select ‘stroke‘. You can find the settings I used in the image below, copy these. You can change the size to make the outline thicker of thinner. I’m creating black and yellow outlines, but you can use different colors.

You now have the first outline. To create the second outline, click on the + icon next to stroke. Then select the second stroke layer.
All you have to do now, is change the color and size. I change the color back to black. To create even outlines, you need to add the same amount of pixels for each new outline. I started with 15px, so I need to add 15px for each outline (15, 30, 45, 60, 75..). If you started with a different amount, you need to add that amount each time.
To add a new outline, always click on the + icon of the latest stroke you created (the bottom one) and then select the new stroke layer. Keep changing the color and size.
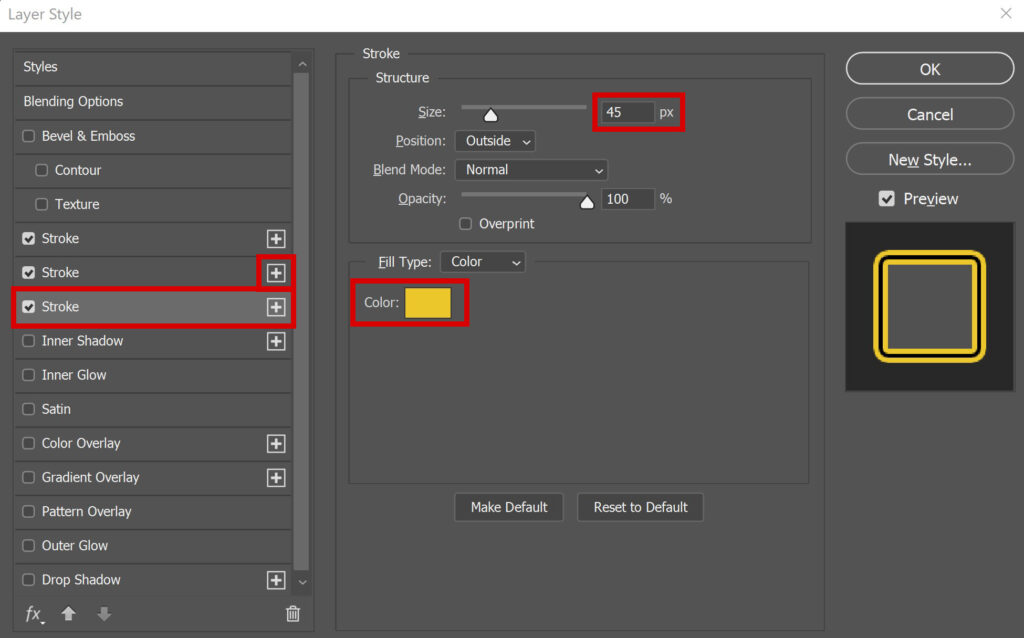
You can create a maximum of 10 strokes. Once you reached that, click OK.
Step 3: Add more outlines
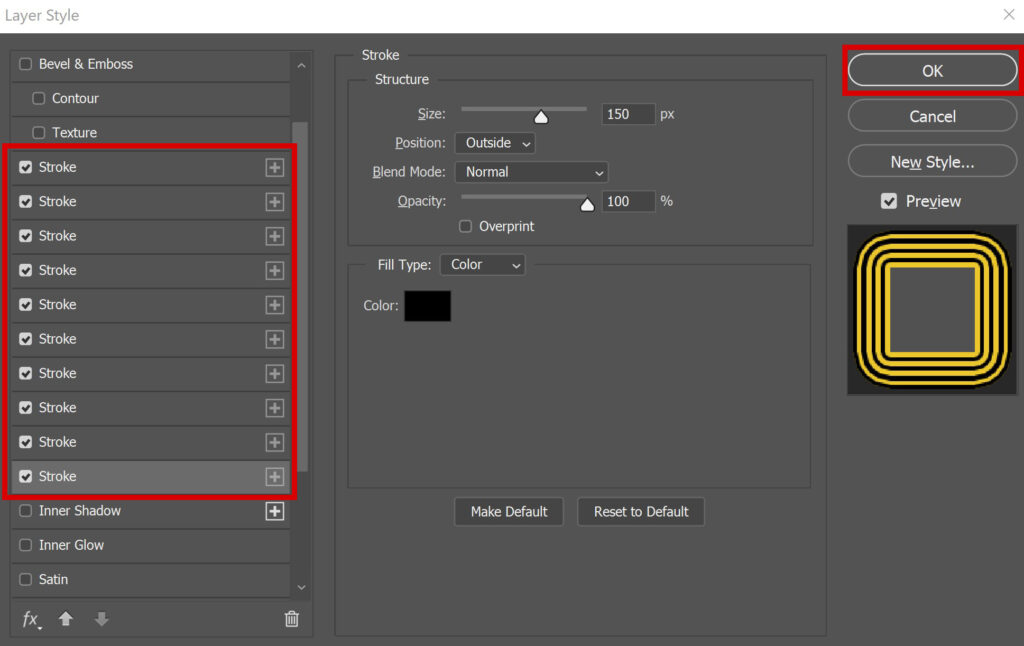
If you want to fill the entire image with outlines, you need to create more strokes. To do that, right click on your text layer and convert to smart object. You layer panel should now look similar to the one below.
Double click on the text layer (the smart object) to open the layer style panel again. All the stroke layers are still there. Check all the boxes to activate them.
If you activated all the stroke layers, you’ll have 10 new outlines. Click OK.
As you can see in the image above, my text wasn’t exactly in the middle (there’s more room left at the bottom than at the top). If that happens to you, select the text layer and place it in the middle with the move tool.
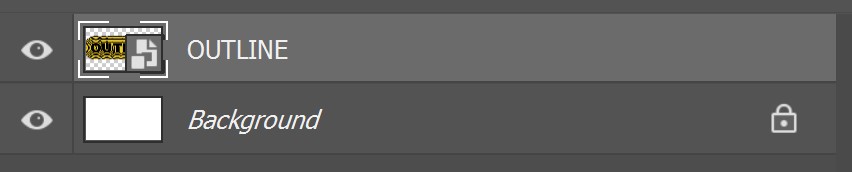
I want to fill the entire image, until there’s no white left. To do that, right click on the text layer (which is already a smart object) and convert it to a smart object again. You do this to merge the stroke layers with the text layer (so you end up with just 1 layer).
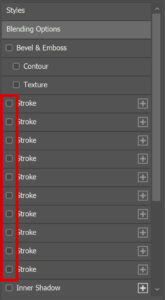
Again double click on the text layer to open the layer style panel. Activate the stroke layers (check the boxes) until the entire image is filled with outlines. Click OK to apply.
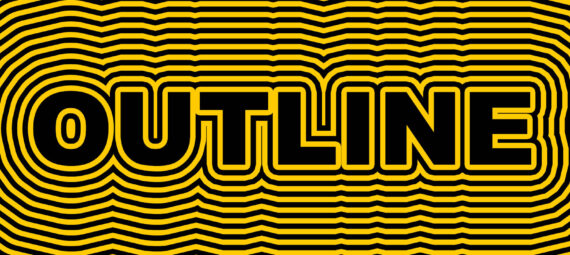
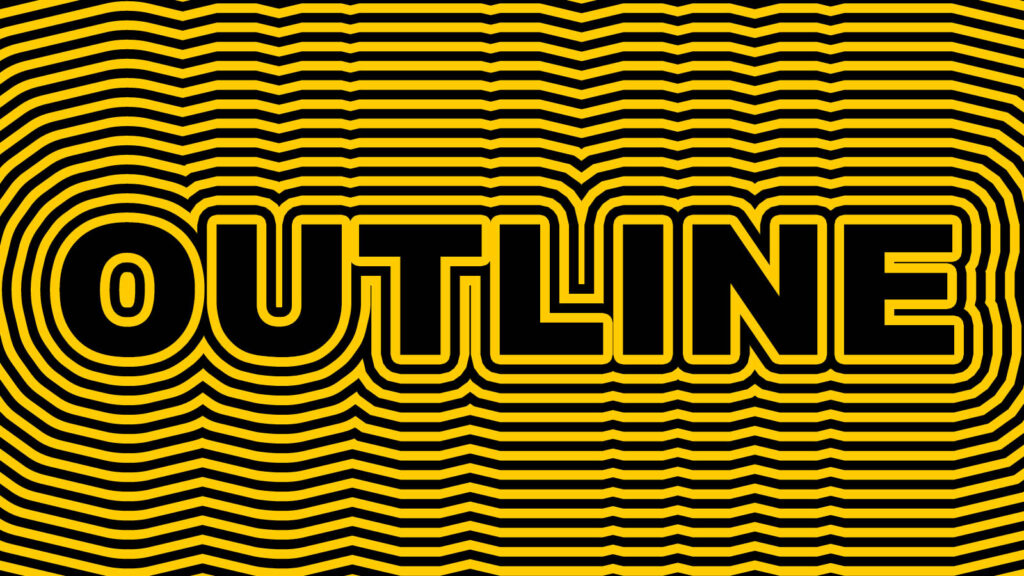
And that’s how you create a text with multiple outlines in Adobe Photoshop! You can find the result below.
Learn more about Photoshop
Want to learn more about editing in Adobe Photoshop? Check out my other blogs or take a look at my YouTube channel.
Follow me on Facebook to stay updated! You can find the video tutorial below!
Photoshop
Basics
Photo editing
Creative editing
Camera Raw
Neural filters
Text effects