
Published on December 4, 2021
Wrap text around image in Photoshop
In this blog I’ll show you how to wrap text around a subject or shape like a magazine in Adobe Photoshop.
If you’d rather watch the video tutorial of this process, click here or scroll down to the end of this page. If you want to download the image I’m using, click here.
Step 1: Create selection
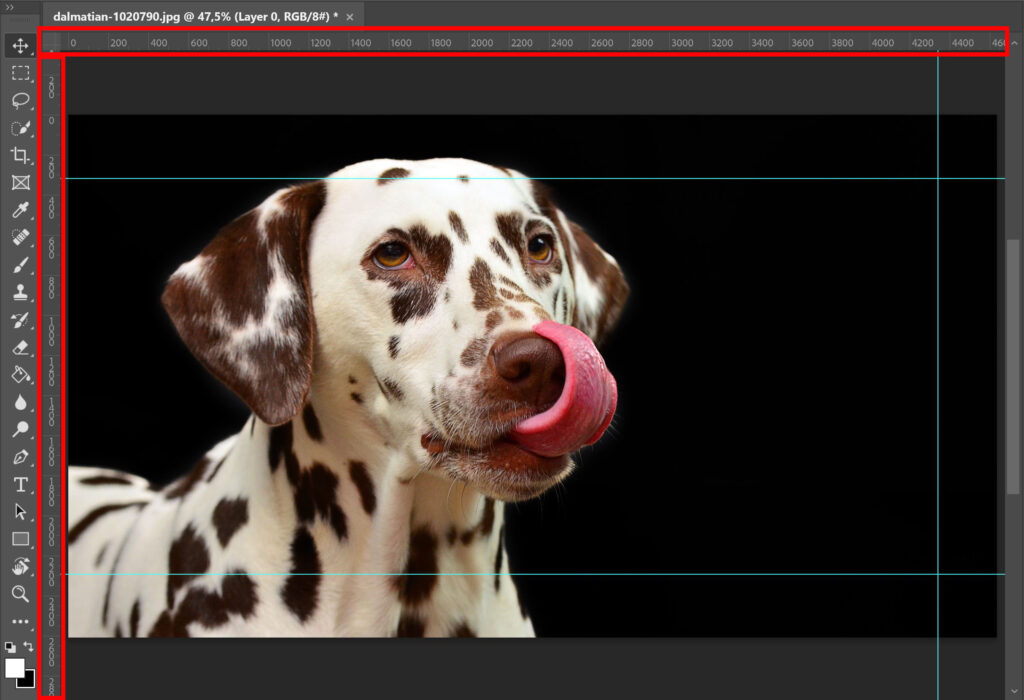
First I create guidelines. To do this, click on the ruler, hold it and drag to create a new guideline (if you don’t see the rulers, press CTRL+R). We’ll use these guidelines to make the selection.
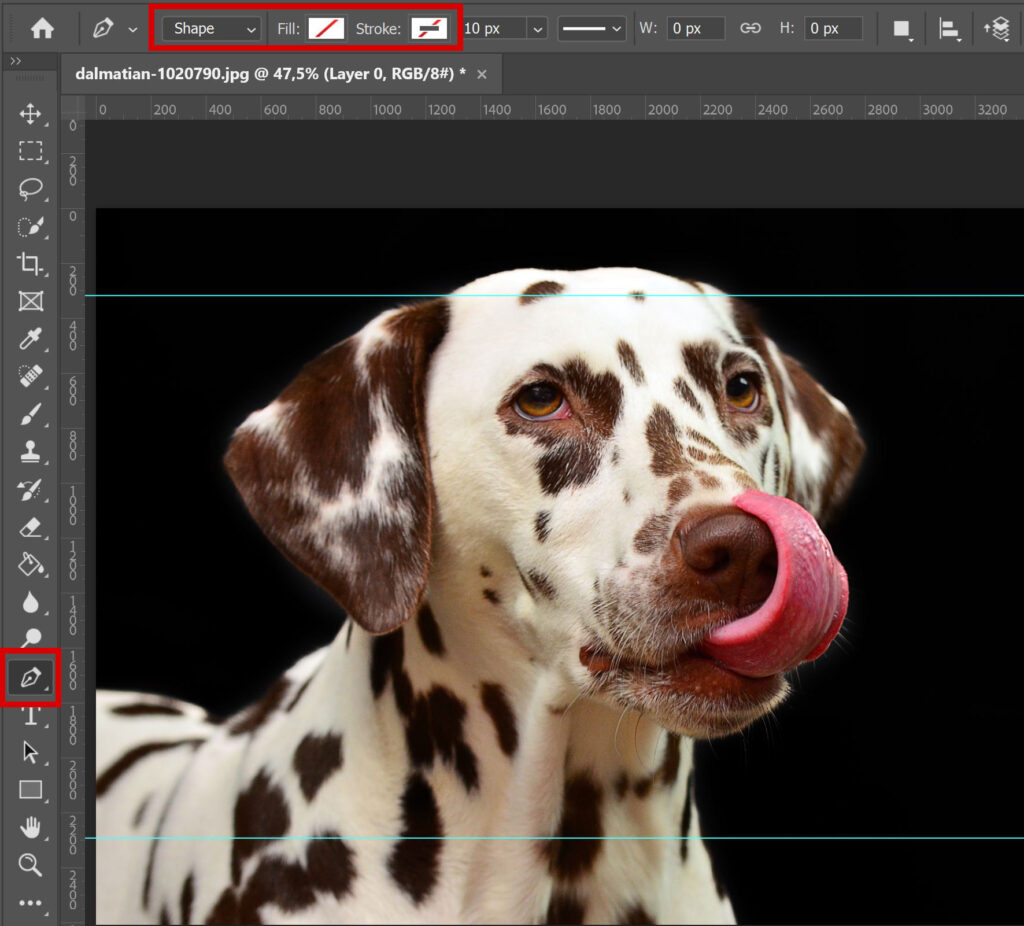
Then select the pen tool. Select ‘shape‘ and select ‘no color‘ for both the fill and stroke.
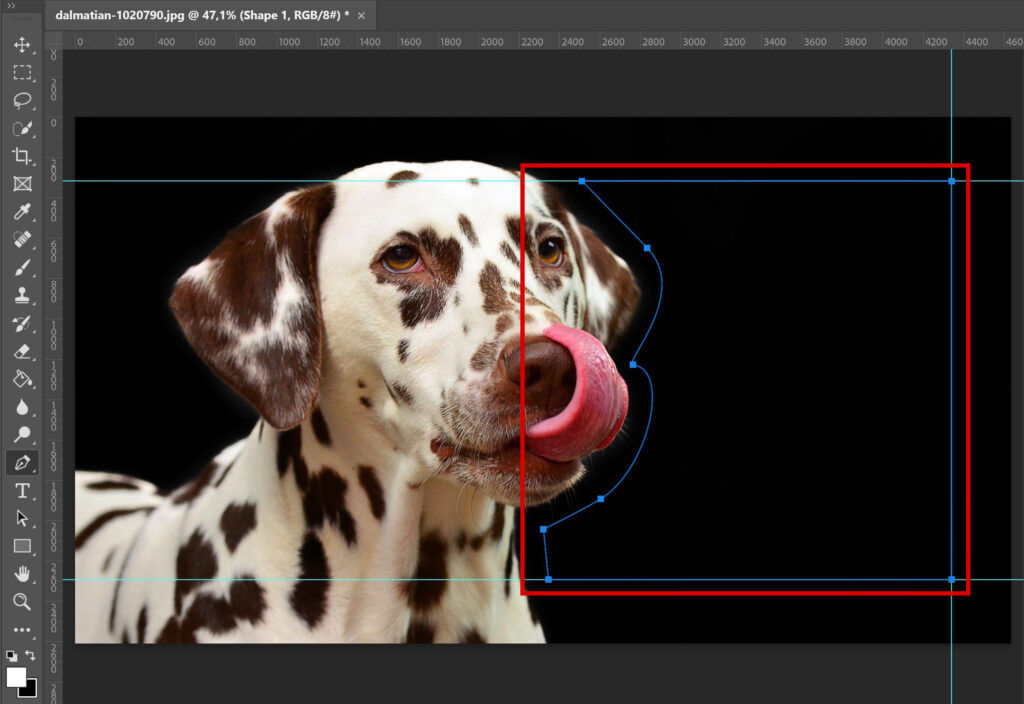
Make a selection around your subject. Start at one guideline and stop at the other guideline, this way the rest of your selection is straight. If you’re done with the selection around the subject, follow the guidelines (click in the corners) to finish the selection. Make sure you end where you started, so the shape is closed.
Step 2: Add text
Now select the horizontal type tool. Click inside of the selection, you can now type or paste a text here. I aligned my text on the right side, because that’s my straight side. Adjust the alignment to what suits your image.
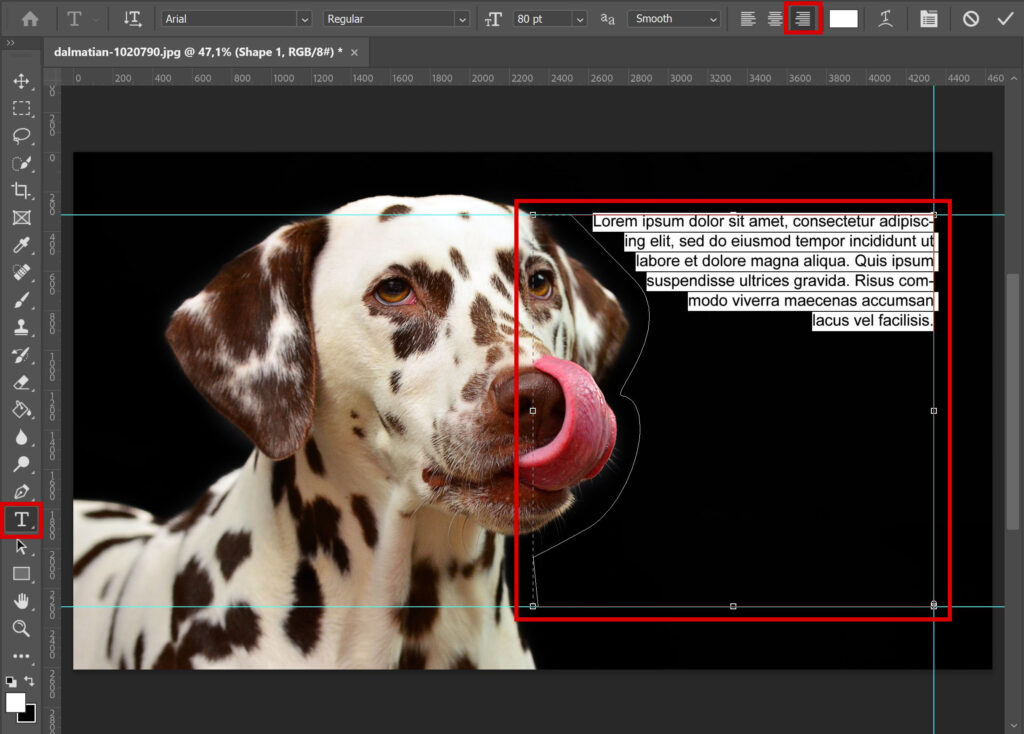
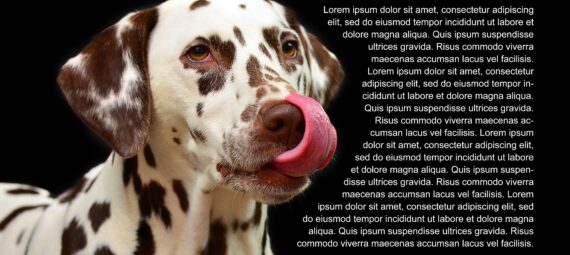
I filled the entire selection with text by copying and pasting the ‘lorem ipsum’ text, but if you’re using your own text you can type or paste that here. Adjust the font size so your text fits perfectly in your selection.
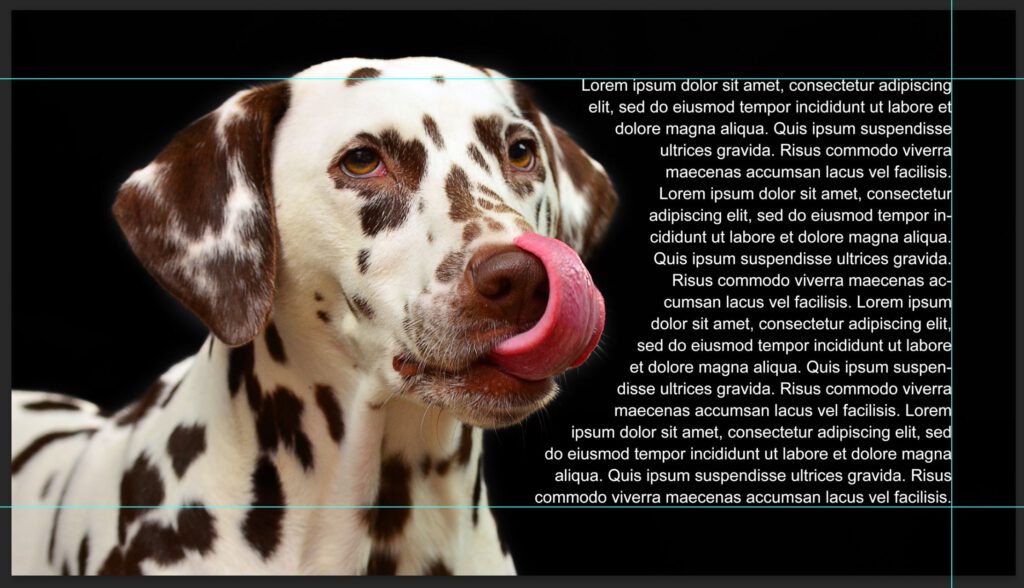
And that’s how you wrap text around an image. If you want to get rid of the guidelines, select the move tool and drag the guidelines out of sight.
Want to learn more about Adobe Photoshop? Check out my other blogs or take a look at my YouTube channel. You can find the video tutorial below!
Photoshop
Basics
Photo editing
Creative editing
Camera Raw
Neural filters
Text effects