

Published on June 4, 2022
Use this shortcut to quickly change the orientation of a photo in Adobe Lightroom! This way you can turn a photo with a horizontal (landscape) orientation into one with a vertical (portrait) orientation, and vice versa.
You really only have to use 2 keys to do this. So, let me tell you more about it!
Change photo orientation
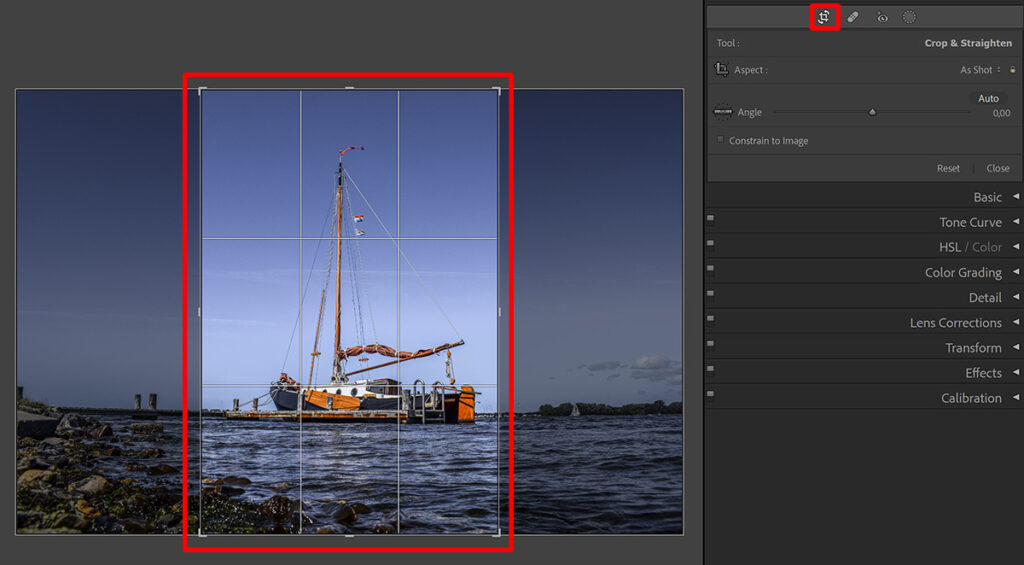
I’m starting with a horizontal photo that I want to turn into a vertical one. To do that, select the crop overlay (shortcut: press R).
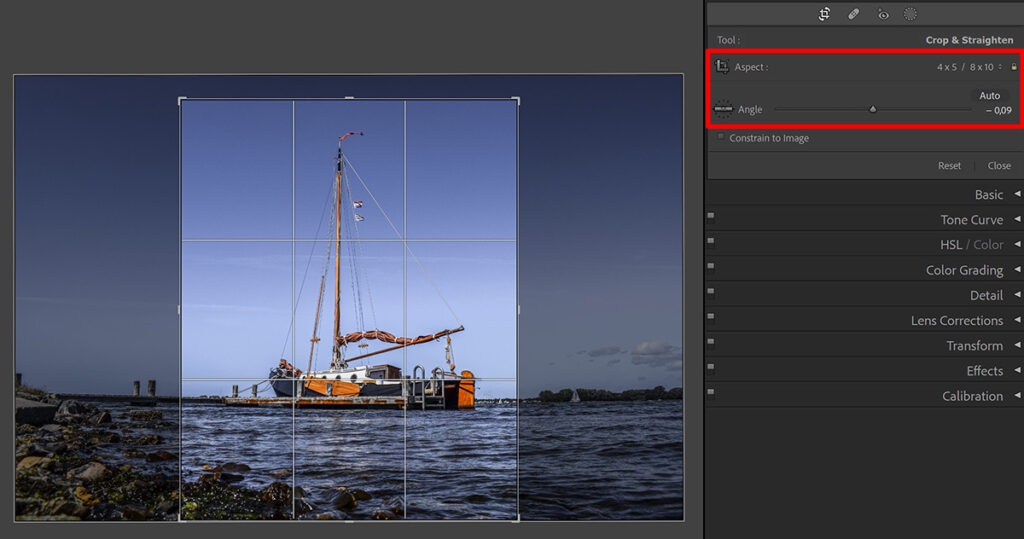
Now all you have to do to change the orientation, is press the X key. The orientation of your photo has now changed!
Adjust aspect and angle
If you want, you can now change the aspect (the ratio of the photo). I want to use this photo for Instagram. Vertical photos on Instagram should have an aspect ratio of 4×5, so I use that.
You can also change the angle to straighten your photo (if necessary).
And that’s how you can quickly change the orientation of a photo in Adobe Lightroom!
I now used it to turn a horizontal photo into a vertical one, but you can also use it the other way around. So just simply press the R key to activate crop overlay and then press the X key to change the orientation!
More editing tricks
Looking for more Lightroom editing tips and tricks? Then read these blogs:
Want to learn more about editing in Adobe Lightroom? Check out my other blogs or take a look at my YouTube Channel.
Also follow me on Facebook to stay updated about new blogs and tutorials!
Photoshop
Basics
Photo editing
Creative editing
Camera Raw
Neural filters
Text effects