

Published on October 14, 2021
Lightroom tips for beginners
If you’re an experienced Adobe Lightroom user, you might know these things already. But when you’re first starting out, these tips may help you on your way to become a skillful Lightroom user!
I’m using Adobe Lightroom Classic. If you’re using Adobe Lightroom or Lightroom mobile, things might be a bit different. With that being said, let’s get to it!
Tip 1: Auto adjustments
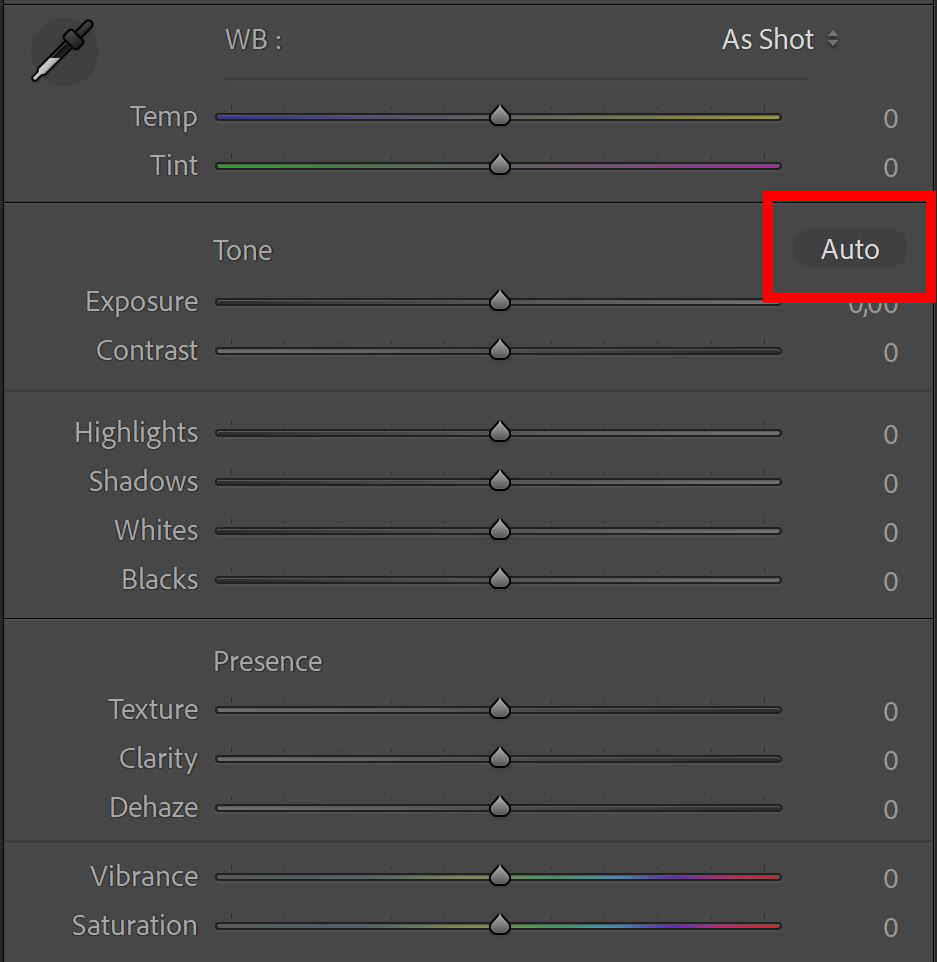
This might not be that useful when you want to create a certain style or when you want to do some dramatic editing. But if you just want to do some basic adjustments to improve the overall image, the auto adjustment option can be a good starting point!
In the basic adjustment panel, you can find the ‘auto’ option (see image below). Click this, and Lightroom will do the basic adjustments for you! This may not always give you the result you’re looking for, but it’s certainly worth trying.
Tip 2: Before/after
You can simply use your keyboard to switch between your before and after image! Press the \ key to switch between the before and after image, press Y to see the before and after image next to eachother. This is a good way to compare the original image to your edited image. I use this comparison to see if I have (or haven’t) overedited my photo.
Tip 3: Lights out
This is great when you want to look at your photo without all the distracting elements around it. Press L once to darken the Lightroom interface.
Press L again to make everything around your photo completely black.

To go back to the regular interface, press L again. Don’t want the interface to turn black? You can change the color. Go to ‘Edit > Preferences’, then select the ‘interface’ tab. You’ll see ‘Lights Out’ with the option to change the screen color and the dim level.

Tip 4: Sync settings
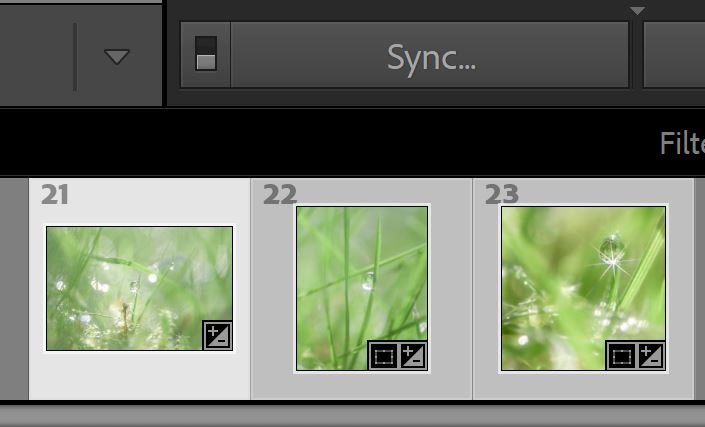
This is something I use very often and it saves me a lot of time! When you’re working on a series of similar looking photos and you want them to look quite similar after editing, all you have to do is edit the first image of the series. Then select the photos that you want to apply these settings to and press ‘Sync’.
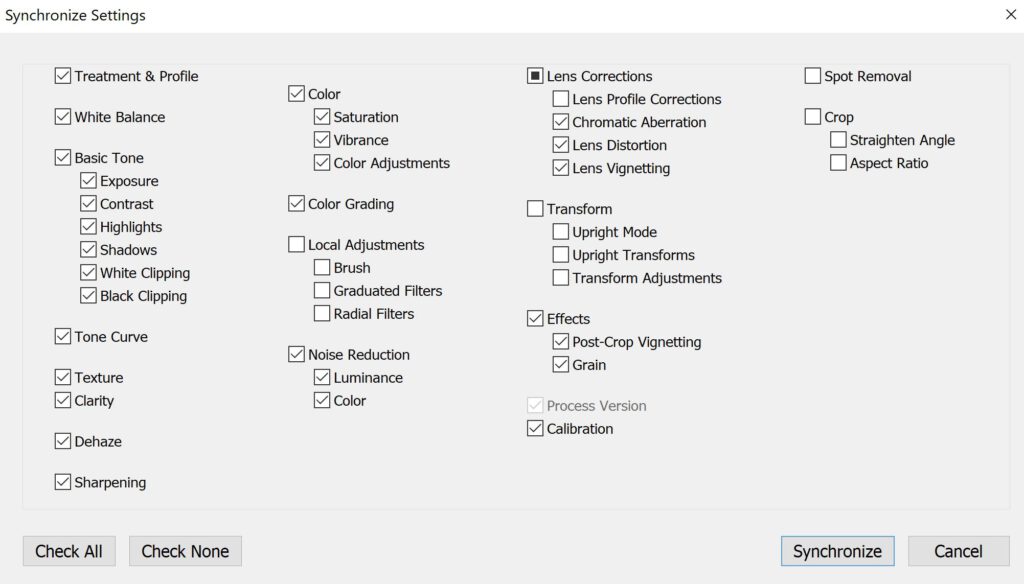
Lightroom opens a window (see image below). Make sure you check all the correct boxes, you want to apply the settings of your first photo to all the other selected photos. You can even synchronize local adjustments (adjustment brush, graduated filter and radial filter), you might have to adjust the masked areas though.
If you press ‘synchronize’, Lightroom applies the selected settings to all the other selected photos. Now all you have to do, is some extra (minor) adjustments to make the edit perfect!
Tip 5: Lightroom presets
When you’re first starting out with editing, it might be hard to decide what editing style you want to use for a certain photo. Luckily Lightroom can get you inspired with some presets! You’ll find them in the left sidebar.
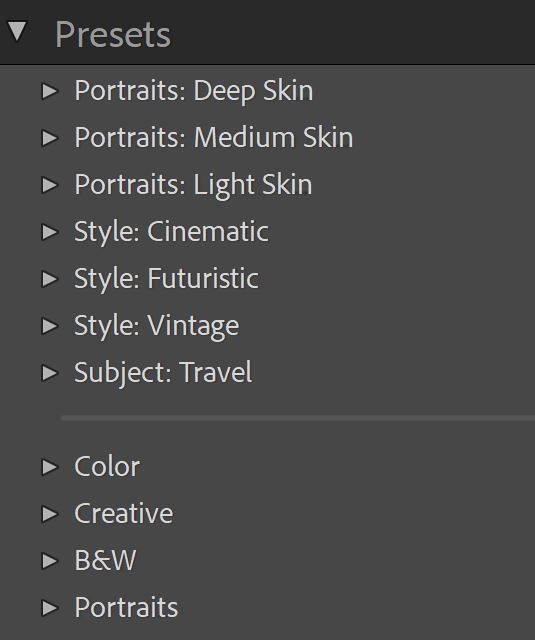
Open one of the categories and hover over the presets with your cursor, you’ll see the changes immediately. When you picked a preset you liked, click on it to apply these settings to your image. Feel free to adjust these settings after applying them, these presets are just a starting point and not the final outcome! Editing is a learning experience, so just try things out and don’t be afraid to fail!
More Lightroom tips
I hope you liked these tips! Looking for more editing tips and tricks? Read these blogs:
- 7 Lightroom shortcuts to speed up your workflow
- A clever trick to reset settings
- Change the intensity of a preset
Want to know more about editing? Check out my other Lightroom blogs or take a look at my YouTube channel.
Photoshop
Basics
Photo editing
Creative editing
Camera Raw
Neural filters
Text effects